
Editor’s Note: This is the second entry in a five-part series of pieces covering the care and maintenance of some of Springfield Armory’s most popular firearms. Other entries in this series include:
- How To Disassemble and Clean Your Hellcat
- How To Disassemble and Clean Your 1911
- How To Disassemble and Clean Your M1A
- How To Disassemble and Clean Your XD-M
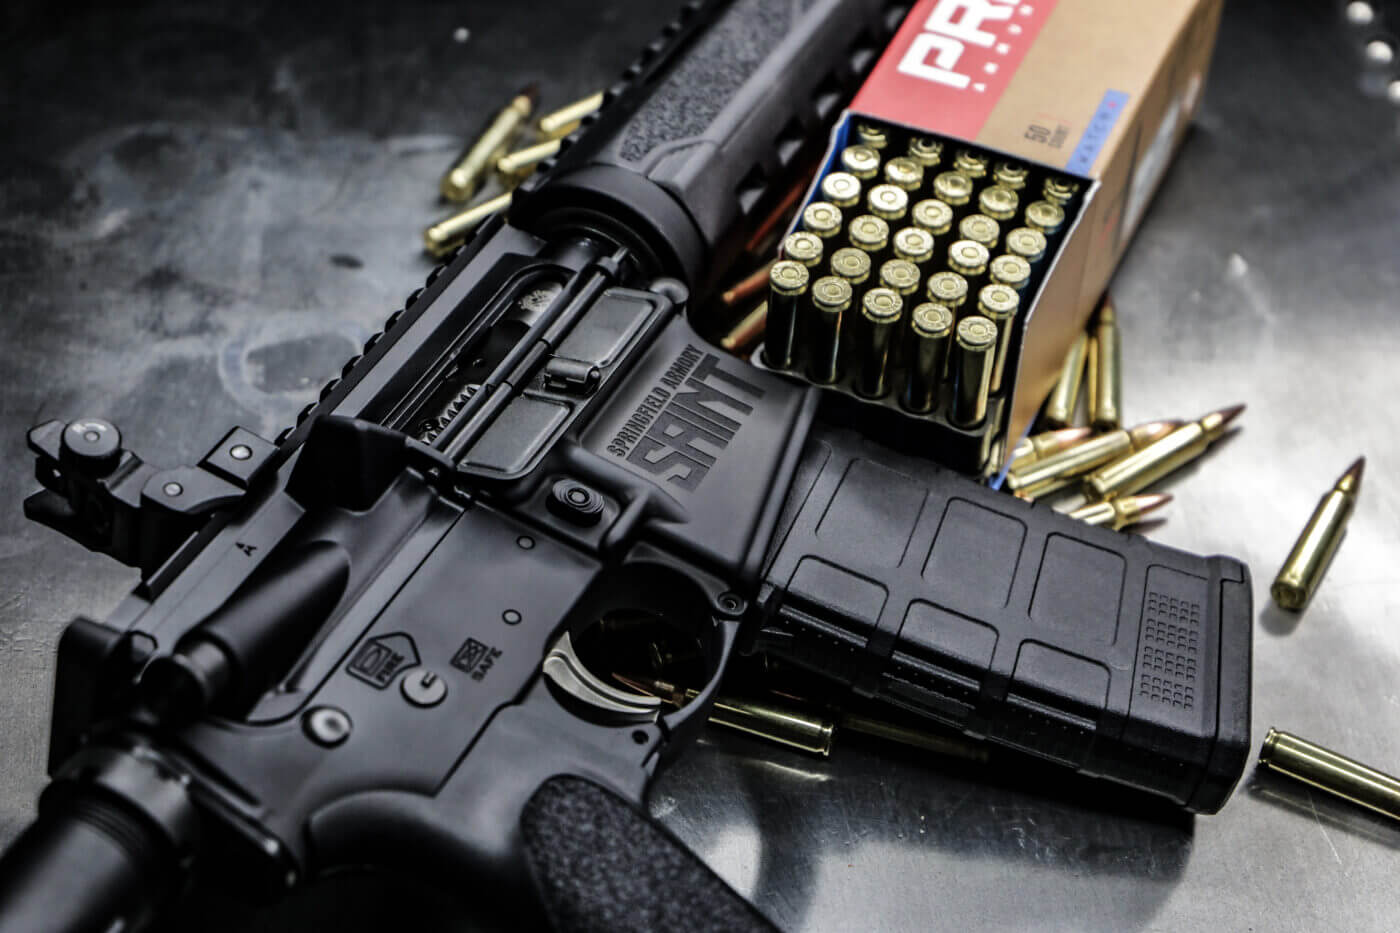
With the unprecedented sales of firearms during the year of 2020, first-time gun buyers are at an all-time high! During the last several years, the sale of AR-pattern firearms like the SAINT has been through the roof. And with many of these going to first-time gun buyers, there is a lot of demand for information on to disassemble and clean them as well as care for them.

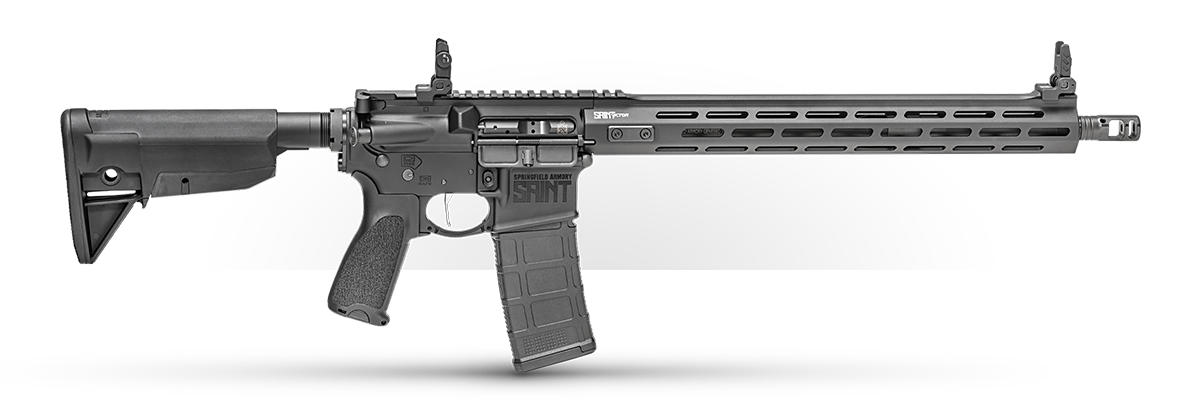
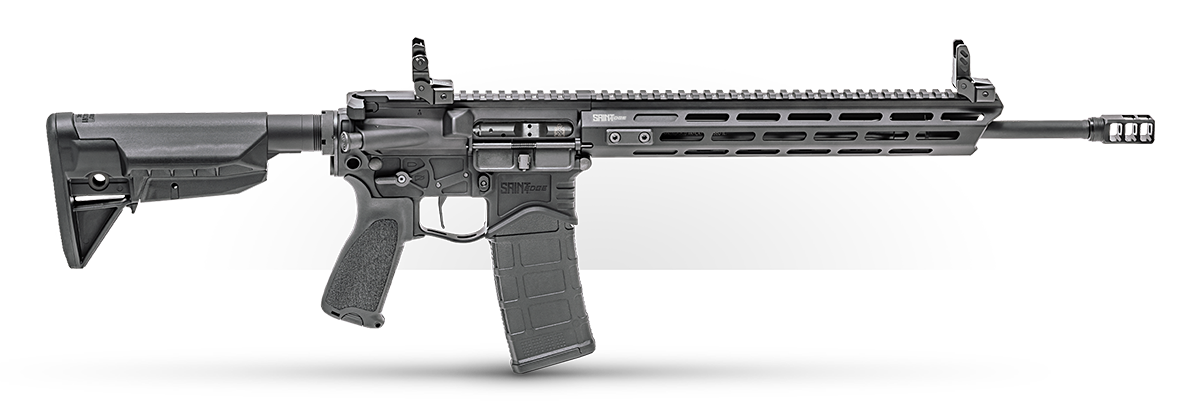
Each type of firearm varies in how it is field-stripped and cleaned for routine maintenance. This article is going to discuss the most popular semi-automatic rifle in America, the AR-15. Since I am a huge fan of Springfield Armory guns, I, of course, am going to use a SAINT rifle in this piece. The SAINT family of rifles and pistols (made up of the SAINT, SAINT Victor and SAINT Edge), offer shooters great firearms with impressive features at exceptional prices.

First Steps
In the video at the top of the page, I discuss in detail basic firearms care/maintenance of the SAINT family of firearms. The first thing any gun owner should do after they purchase a new gun is to read the included owner’s manual. While the manual is included with the SAINT, you can find a digital copy of it here.
And before we get started, let’s touch on gun safety. Whenever you are handling a gun, you must ALWAYS follow the four rules of gun safety, which are as follows:
- Treat every gun as if it was loaded.
- Never point the muzzle at anything you not willing to destroy.
- Keep your finger off the trigger until you have made the decision to fire.
- Be sure you have identified your target, and what surrounds it.
Once you are familiar with the owner’s manual of your specific gun, in this case the SAINT, you can start the process. And the first step is to ALWAYS ensure that the firearm is unloaded and empty. Follow the instructions in the manual to clear the firearm. Also, please be sure to read through the owner’s manual to be familiar with it and some of the terms I will using in this tutorial.
The Low Down
Keeping my rifle pointed in a safe direction, I must ensure that the rifle is unloaded. If there is a magazine in the rifle, I will remove it. I will then lock the bolt carrier group open by using the charging handle to pull it back to the rear-most position, and lock it open by engaging the bolt catch. Once it is open, I can physically and visually inspect the chamber and magazine well to ensure that there is no ammunition in the rifle.
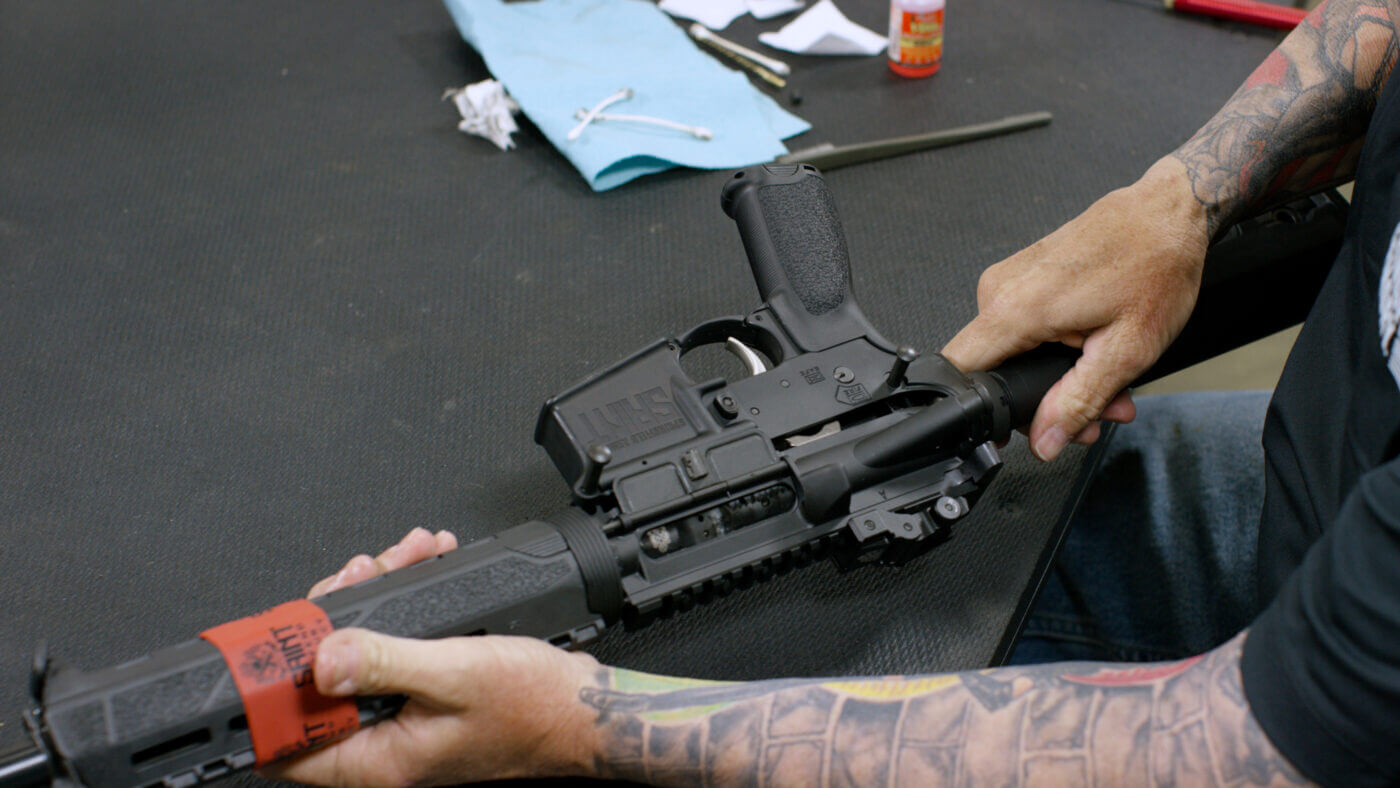
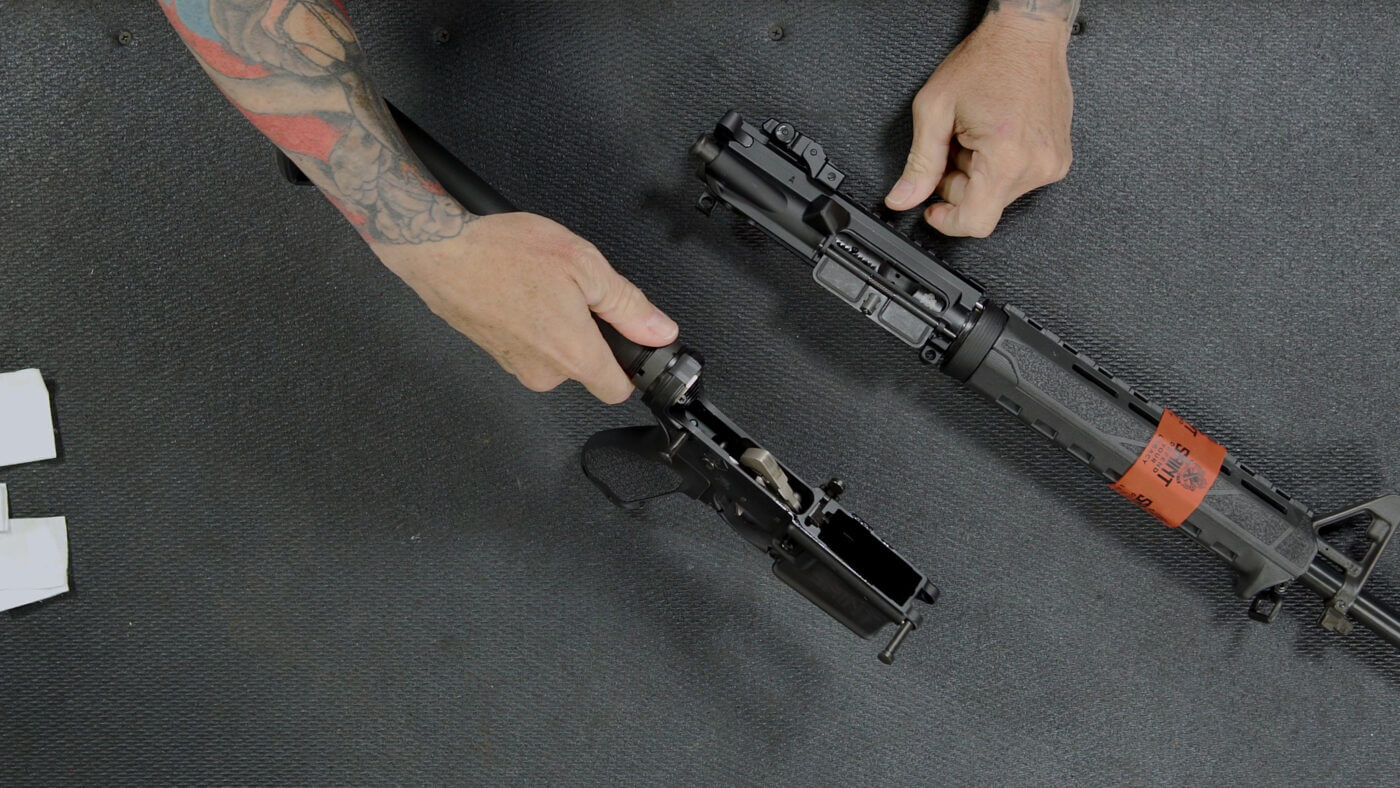
In order to separate the upper and lower portions of the SAINT (also known as the upper and lower receivers), you need to push the takedown and pivot pins from the left to the right side of the gun, to the point where they stop. You can now separate the upper receiver from the lower receiver. At this point, you can set aside the upper receiver, and focus cleaning the lower receiver.
It has been my experience that the lower receiver doesn’t usually get particularly dirty. I usually just use some Q-tips to clean any fouling in the area of the trigger/fire control area. I like to also put a few drops of oil on the springs once cleaned. I will use a red shop rag for wiping down the exterior of the lower, and into the magazine well to remove any light dust.
I will also clean the buffer and buffer spring, along with the interior of the receiver extension (aka buffer tube) about every four to five cleanings. It doesn’t get that dirty, but I do like to use a good synthetic grease to reduce the “boing” sound that happens when shooting, and a light coat of grease on the buffer and spring will help reduce this. The face of the buffer will have some oily residue on it, and I will wipe this off and put a light amount of oil or grease on it every time I clean my SAINT.

Onward and Upward
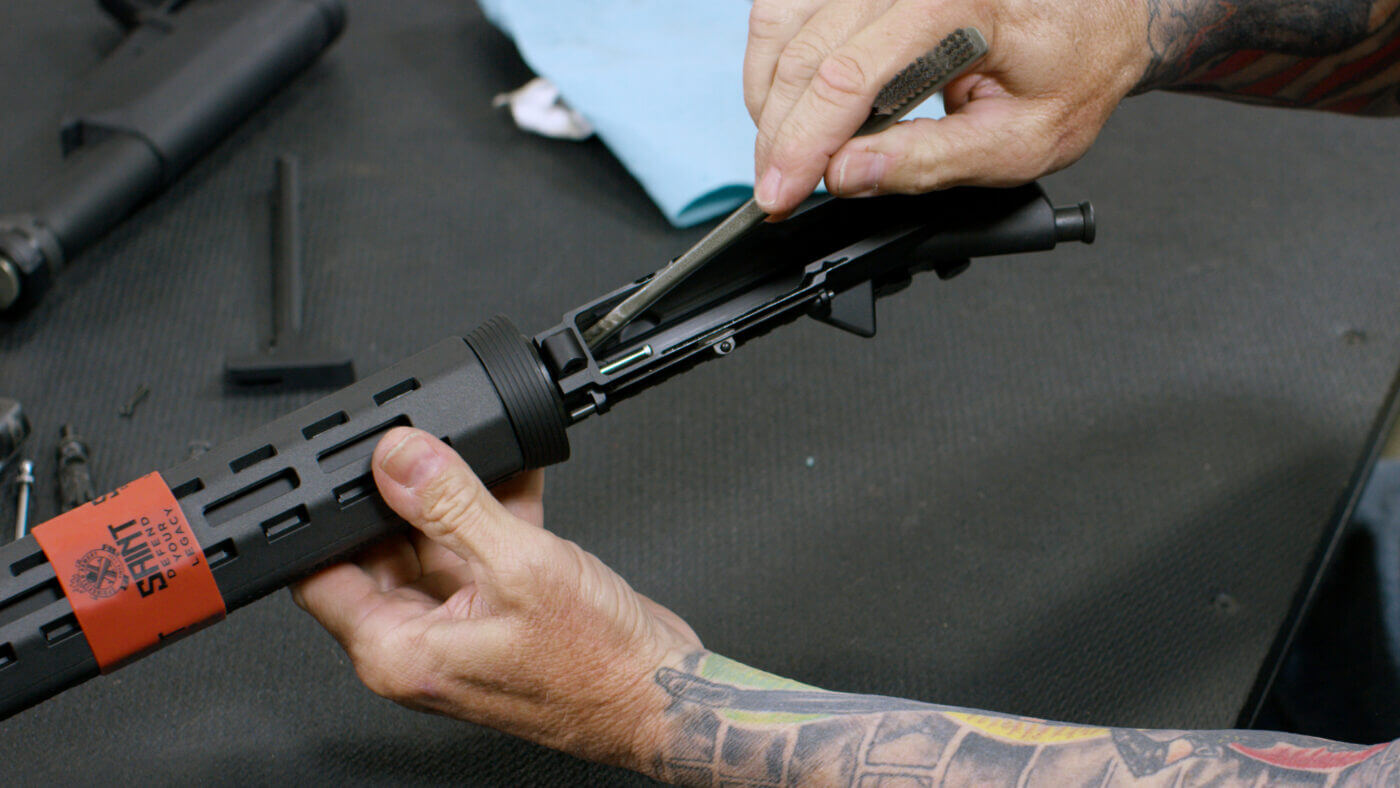
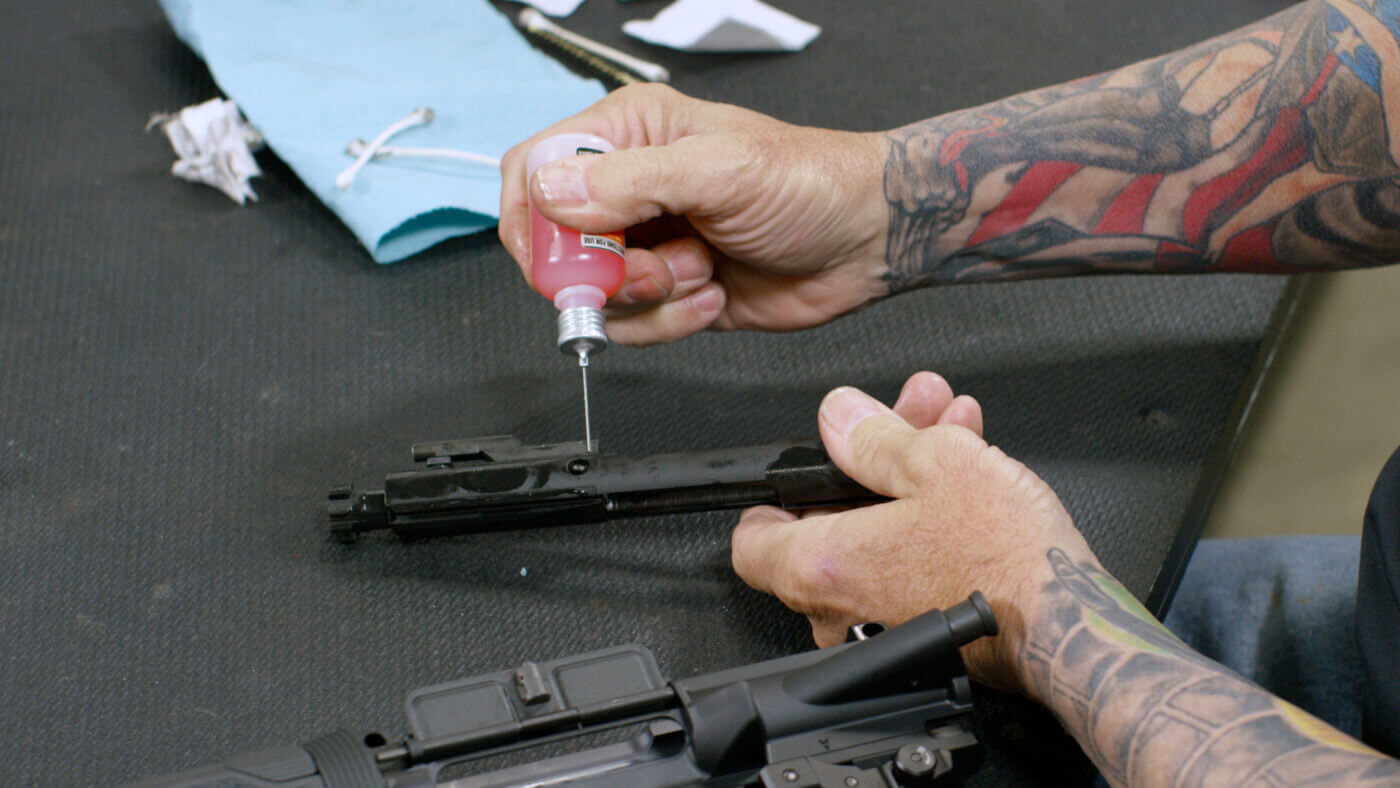
I will now move onto the upper receiver. I unlock the charging handle and pull it along with the bolt carrier group out the back. Once out, I will remove the firing pin retaining pin, which allows me to remove the firing pin, the bolt cam pin and the bolt. These parts are usually pretty dirty, and I really focus my attention on them. I like to use a small M16-style brush. They are made for cleaning guns and are basically a toothbrush, but have a small, short section of bristles on the opposite end, which are great for getting into small areas.
Using this brush along with a gun solvent, I brush the entire bolt, carrier, cam pin, firing pin and firing pin retaining pin, as there will be a lot of fouling on them. The easiest way to remove the dirty solvent from the bolt carrier parts is using one of the gun scrubber-type of cleaners. There are many on the market and they work as advertised.
From here I move onto cleaning the bore. I do like to use a bore guide when I clean the bore of the rifle. Its not necessary, just a nice to have. I will run a couple of solvent-soaked patches through the barrel with an appropriately sized cleaning rod. When pushing the patches through the barrel, make sure you get all the way through the bore and remove the oil-soaked dirty patch. I like to do this a few times, and then I will run a correct-sized bronze bore brush thru the bore about 10 to 20 times.
Once this is complete, I will run a few more solvent-soaked patches through the bore. You will notice that the first three to four wet patches will be very dirty. Once the wet patches are not dirty, I will run three to five dry patches through the bore. Once those are clean, I will run one patch with gun oil through the bore, and then one more dry patch to remove any excess oil in the bore.
Live The Armory Life. The latest content straight to your inbox plus an automatic entry to each of our monthly gun giveaways!
At this point the bore is clean, and I will clean the chamber of any excess fouling or oil. There is a specific “chamber brush” made for AR-pattern rifles, and they are good for loosening any fouling in the chamber and locking lug area. I will then use patches and Q-tips to remove the fouling. You can find AR-specific chamber swabs that make this process really simple.
The last area that needs to be cleaned is the one where the charging handles moves in the upper receiver. You will also see there is about 2” of the gas tube that protrudes into this groove. This area where the gas tube protrudes will usually be quite dirty with carbon fouling from where the gas tube and gas key on the carrier intersect. Q-tips and solvent are the best for this in my opinion.
Conclusion
The last thing I do is to use a red shop rag to wipe off the exterior of the upper receiver. Once these areas are cleaned, you are finished cleaning you SAINT AR rifle. Prior to re-assembling your rifle, it needs to be lubricated. I like to use a light oil on all the parts where there is metal-to-metal contact. Reassembly of your SAINT is as easy as reversing the disassembly procedure. Be safe, have fun and enjoy your SAINT.
Due to an ATF ruling regarding the configuration of pistols with stabilizing braces, these firearms can be subject to NFA (National Firearms Act) regulations as short-barreled firearms. It is the buyer’s responsibility to comply with all rules, restrictions and/or laws determined by your city or state. Please ensure you are up-to-date on all current laws.
Editor’s Note: Please be sure to check out The Armory Life Forum, where you can comment about our daily articles, as well as just talk guns and gear. Click the “Go To Forum Thread” link below to jump in!
Join the Discussion
Featured in this video

Share


Continue Reading
Did you enjoy this video?

 164
164
Springfield Armory® recommends you seek qualified and competent training from a
certified instructor prior to handling any firearm and be sure to read your owner’s manual. These
articles and videos are considered to be suggestions and not recommendations from Springfield Armory. The views
and opinions expressed on this website are those of the authors and do not necessarily reflect the
views and opinions of Springfield Armory.
Product prices mentioned in articles and videos are current as of the date of publication.

Steve Horsman
Steve Horsman has extensive experience serving in military and law enforcement. He spent four years in the U.S.M.C. and followed with 27 years of experience as a police officer. While in law enforcement, he served as an undercover officer, a member of S.W.A.T. and as a police sniper. Adding to his already impressive resume are 30 years of competition shooting.
