
11 Must-Have Survival Skills
![]() September 28th, 2025
September 28th, 2025
![]() 6 minute read
6 minute read
Lots of people consider themselves fairly prepared for a natural disaster or other event. They’ve got food stored, a generator, a first aid kit and assorted other things ready to go.
The problem is that preparedness isn’t just about having the best or most gear. It’s a combination of your stuff, your mindset and your skills. Let’s take a look at ten skills you should master to truly be ready.
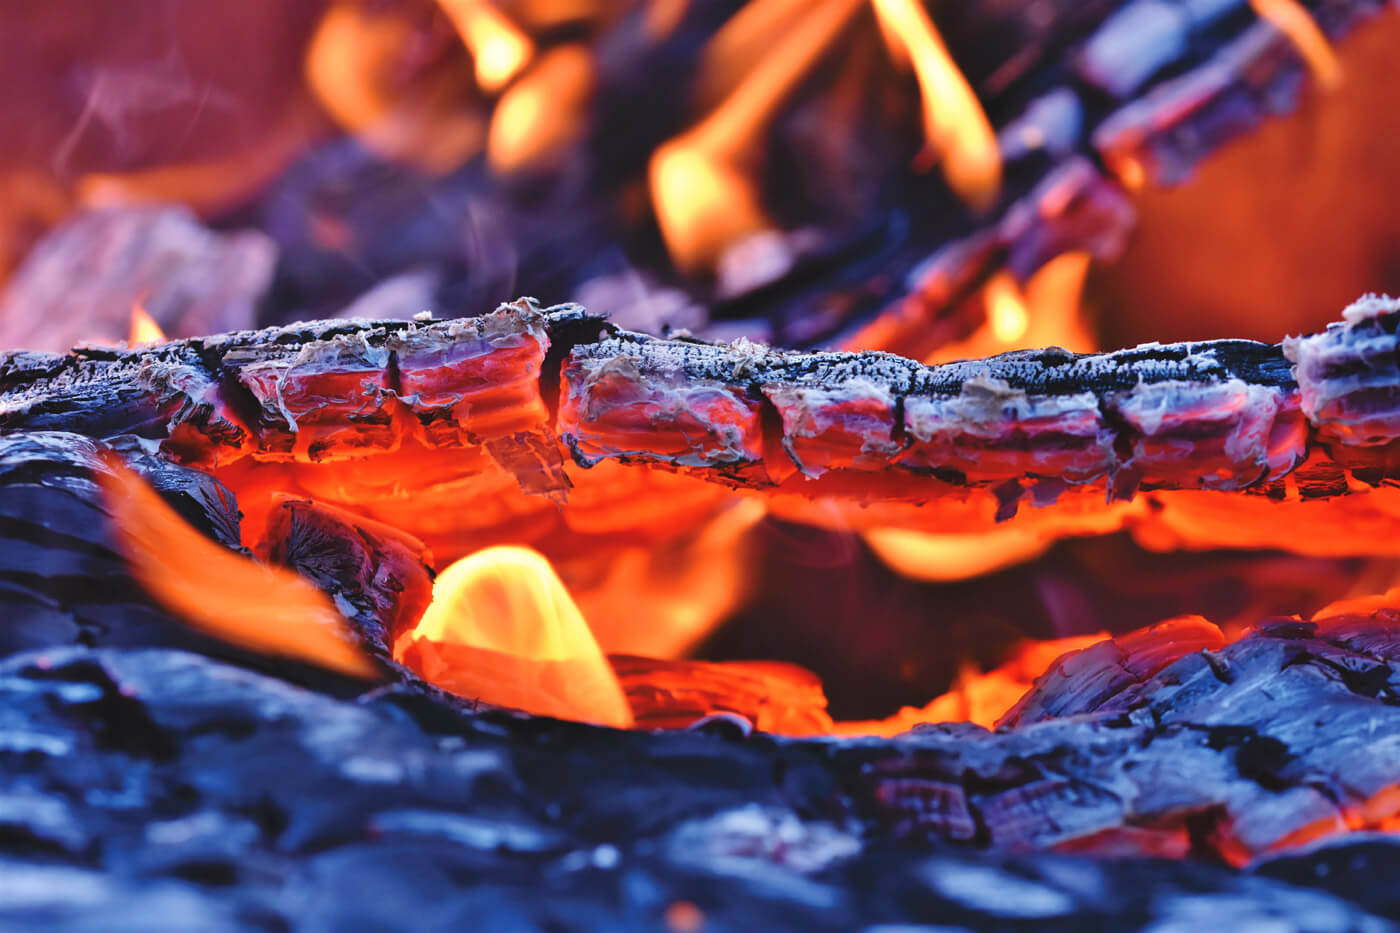
1. Fire in Wet and Windy Conditions
We all know how to build a fire, but what about when every piece of fuel around you is soaking wet, or the wind is going through your bones? Making a fire in poor conditions requires an understanding of the science and process — and sometimes there are a few tricks you can use, such as using dryer lint, cotton balls soaked in Vaseline, or other tools.
2. Kill and Process a Wild Animal
While the wildlife population won’t last long in a widespread event, you should still have an understanding of how to effectively hunt and process them — without a lot of fancy tools and gear. Maybe you won’t use every bit of the animal including the hide, but you can still make sure to get and have a use for every bit of the meat. If you do ever decide to start tanning your hides as well, you’ll find all sorts of uses for that, too.
3. Recognize a Threat Early
It’s called situational awareness, and we’ve written about it here before. If you don’t recognize a potential threat before it becomes an actual one, then you run the risk of being caught unaware. Learn what the OODA loop is if you don’t already know, and develop that situational awareness. Learning how to fade into your surroundings can also buy you time and allow you to see the threat before it sees you.
4. Keep Your Emotions Under Control
We all know that emotions can cloud our judgment and keep us from making good decisions, but that can be easier said than done — especially in the heat of the moment. Mastering your emotions isn’t a short or even easy task, but it’s one worth practicing. There are several ways to get started with that; meditation, coping mechanisms and simple practice can all be effective. What works for someone else might not work for you, so take the time to try out a few different tactics and see what helps you.
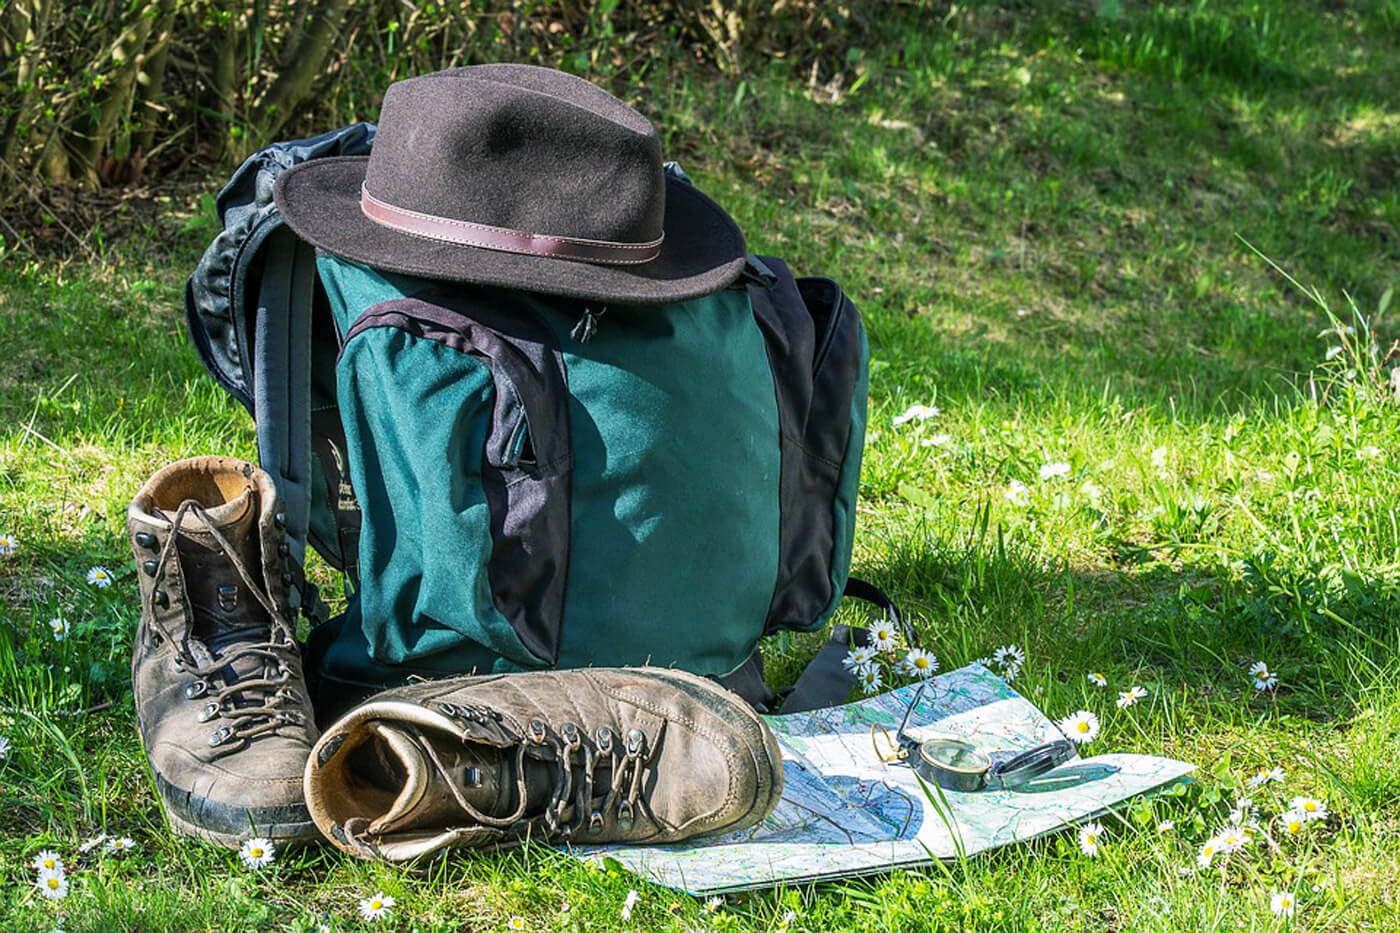
5. Find Your Way Around
If you’re someone who needs to put every destination into your smartphone’s GPS, you’re at a disadvantage. Find an orienteering class and learn how to get where you’re going — or out of a bad situation — without using fancy tools. You should be able to get from point A to point B even if you left your phone at home. That might mean taking some drives to familiarize yourself better with your local area, or sitting down with a road atlas and Google Earth.
6. Effectively Conceal a Firearm
Arguments about open carry vs. concealed carry aside, you need to know how to have a firearm on your body without advertising. There are all kinds of resources out there to help you carry concealed more effectively. Whether it means finding the right holster, changing up your wardrobe a bit, or even changing the firearm you’re carrying every day, you’ll need to find the right combination for yourself that allows you to carry, consistently, while remaining concealed.
7. Improvise
You don’t need to be MacGyver, but you need to know how to make do in a given situation with what you have. Things like zip ties, wire and duct tape are probably pretty familiar to you, but can you make a pair of shoes if you have to, or repair the boots you’re wearing? Improvise a repair on your vehicle? Being able to fix things isn’t just a skill, it’s a necessity.
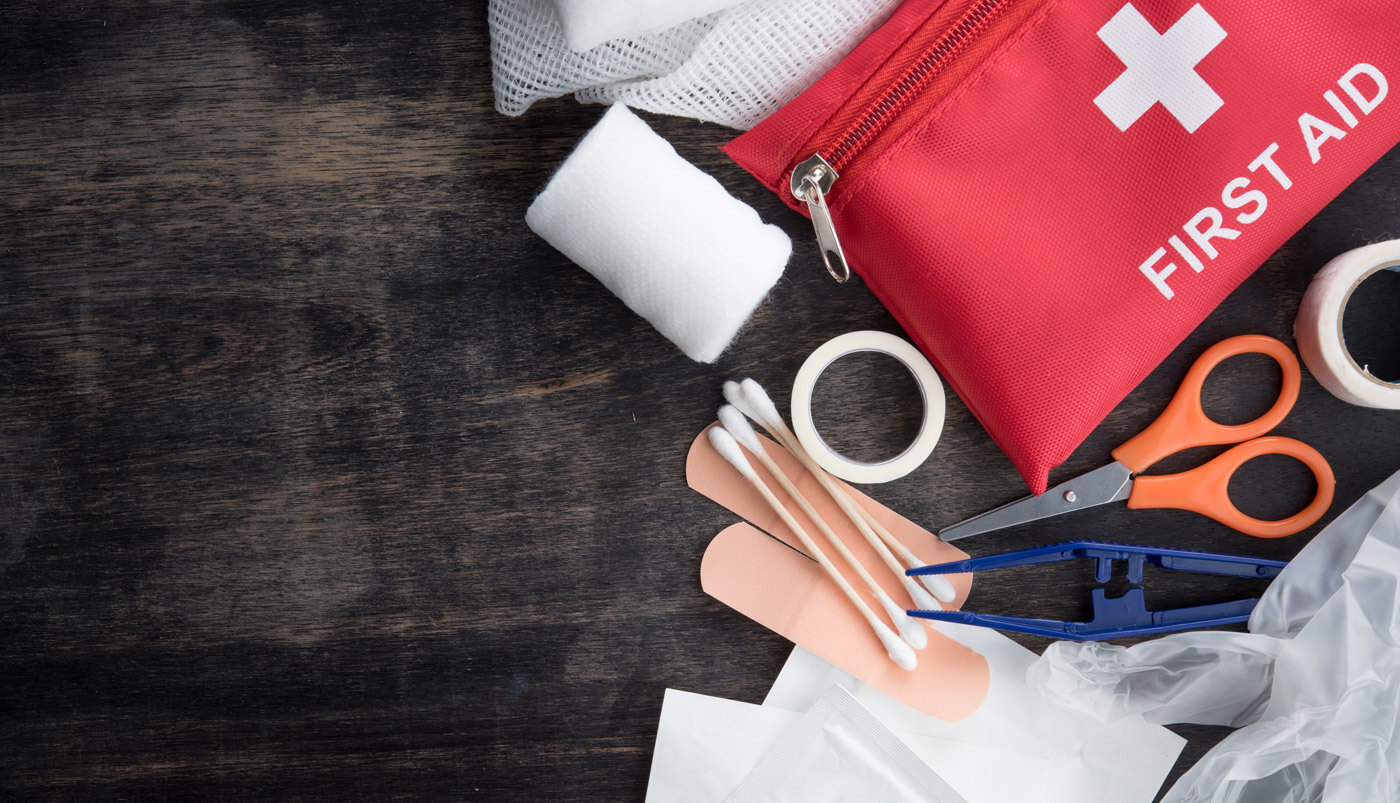
8. Ability to Deliver Lifesaving First Aid Under Stress
You don’t rise to the occasion. Instead, you fall to your training. So get training and stay current. Here are a few recommendation:
- Take CPR/AED and bleeding-control classes: CPR classes are available in almost every populated area of the United States and are worth every penny. Many are cheap and some are free.
Also consider Stop the Bleed classes. This training is highly recommended as it addresses the #1 cause of preventable death after injury. - Bleeding control: If trained, high-quality tourniquet high and tight, then pressure dressing; pack wounds with hemostatic gauze
- Airway/breathing: Follow the ABCs: Airway, Breathing and Circulation. Use recovery position for the unconscious breathing patient.
- Build a minimalist trauma kit you know how to use: tourniquet, pressure bandage, hemostatic gauze, chest seals, nitrile gloves, marker, trauma shears, CPR breathing shield.
Training Tip: Once trained with a toruniquet, run quarterly drills to stay proficient with applying a TQ on yourself and another.
9. Triage and Treat (or know when not to)
Triage is one of the most important medical skills you can have. Understanding how to prioritize multiple victims or injuries, what constitutes a life-threatening problem, and being able to assess whether you have the supplies and ability to treat it is critical.
There may come a day when you’re faced with something you can’t treat or help — and you’ll need to be able to recognize that before you spend what resources you have.
10. How to Make Potable Water
Water is everywhere but that doesn’t mean you can drink it wherever you find it. There are several ways you can make water safe to drink; you should know as many as possible. You do not need to carry every method of water purification possible, but the more skills related to making water safe, the greater chance you’ll be able to use water that you find when it’s scarce.
Three parts to water safety: assess, treat, and ration.
- Target: at least 1 gallon per person per day for 3–7 days; 2+ gallons/day is better in heat.
- Assessment: clear vs. cloudy; surface source vs. municipal. Pre-filter cloudy water (with a clean cloth, coffee filters or even paper towels) before any treatment.
- Boil: rolling boil for 1 minute (3 minutes at high elevation). Let cool covered.
- Bleach (only use unscented household): Check label and ensure that the bleach has sodium hypochlorite as the active ingredient. Currently, the CDC recommends the following for concentrations between 5-9%:
1 quart or liter of water: 2 drops of bleach (if you have a dropper). The amount is too small for a measuring spoon.
1 gallon of water: 8 drops of bleach or a little less than 1/8 teaspoon
5 gallons of water: 40 drops of bleach or 1/2 teaspoon
Stir, wait 30 minutes; a slight chlorine smell is normal. Double the dose for cloudy water. If in doubt, boil instead. - Commerically available filters: understand your filter’s flow rate, pore size, and how to backflush. Pair filters with chemical or UV when biologically risky sources are your only option.
- Storage: rotate sealed water every 6–12 months; label fill dates. Keep small bottles for grab-and-go and larger containers for shelter-in-place.
Survival Planning Tip: Create a simple reference card with boil times and bleach dosages and tape it inside a cabinet.
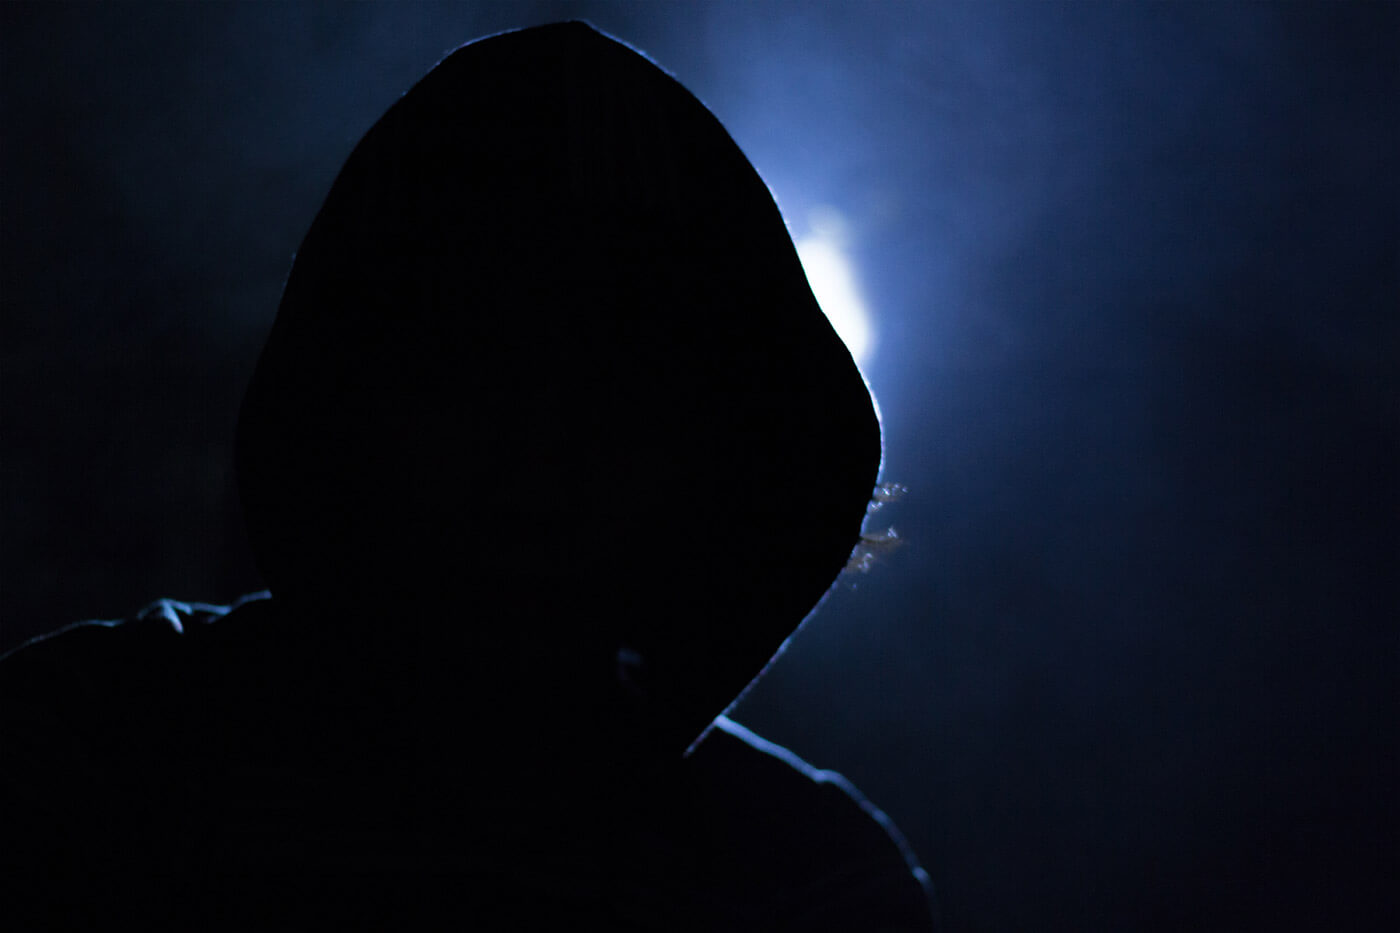
11. Fade into the Crowd
People often like to be noticed. If they didn’t, there wouldn’t be such a huge market for T-shirts with various sayings on them. Sometimes, however, not being noticed is the best possible action. Learn how to fade, to be the proverbial gray man. We mentioned this earlier, but you should understand the area you’re in and learn to blend. If you’re going to a part of town known for vegan cafes and yoga, you’re probably not going to fade into the background wearing your Molon Labe shirt and open carrying a 1911. Know your audience and know your surroundings.
Gear is great — but without the skills to use that gear, you can still fail. Take the time to learn skills across a wide variety of disciplines. You never know when you’ll need them.
Join the Discussion
Share


Continue Reading
Did you enjoy this article?

 213
213
Springfield Armory® recommends you seek qualified and competent training from a
certified instructor prior to handling any firearm and be sure to read your owner’s manual. These
articles and videos are considered to be suggestions and not recommendations from Springfield Armory. The views
and opinions expressed on this website are those of the authors and do not necessarily reflect the
views and opinions of Springfield Armory.
Product prices mentioned in articles and videos are current as of the date of publication.

Kit Perez
Kit Perez is a deception/intelligence analyst, author, and homesteader. Basics of Resistance: The Practical Freedomista, Book 1, her book co-written with Claire Wolfe, is available on Amazon. She lives in the mountains of western Montana where she raises dairy goats and Kune Kune pigs in a constant push toward total self-sufficiency. Kit also serves as an EMT on her local fire department.
