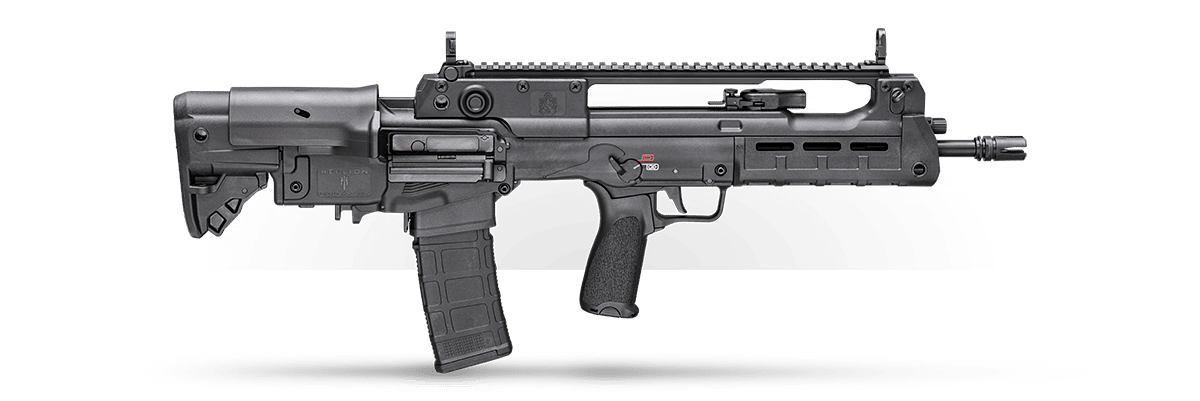
Are you a left-handed shooter? Do you enjoy the majesty of bullpup rifles? You’ve come to the right place. The Springfield Hellion is fully ambidextrous, including the ejection ports. The process of converting the bolt and port to left-side ejection is a fairly simple process but requires the disassembly of your rifle and bolt carrier. Fear not, I am here to help with step-by-step directions and imagery.
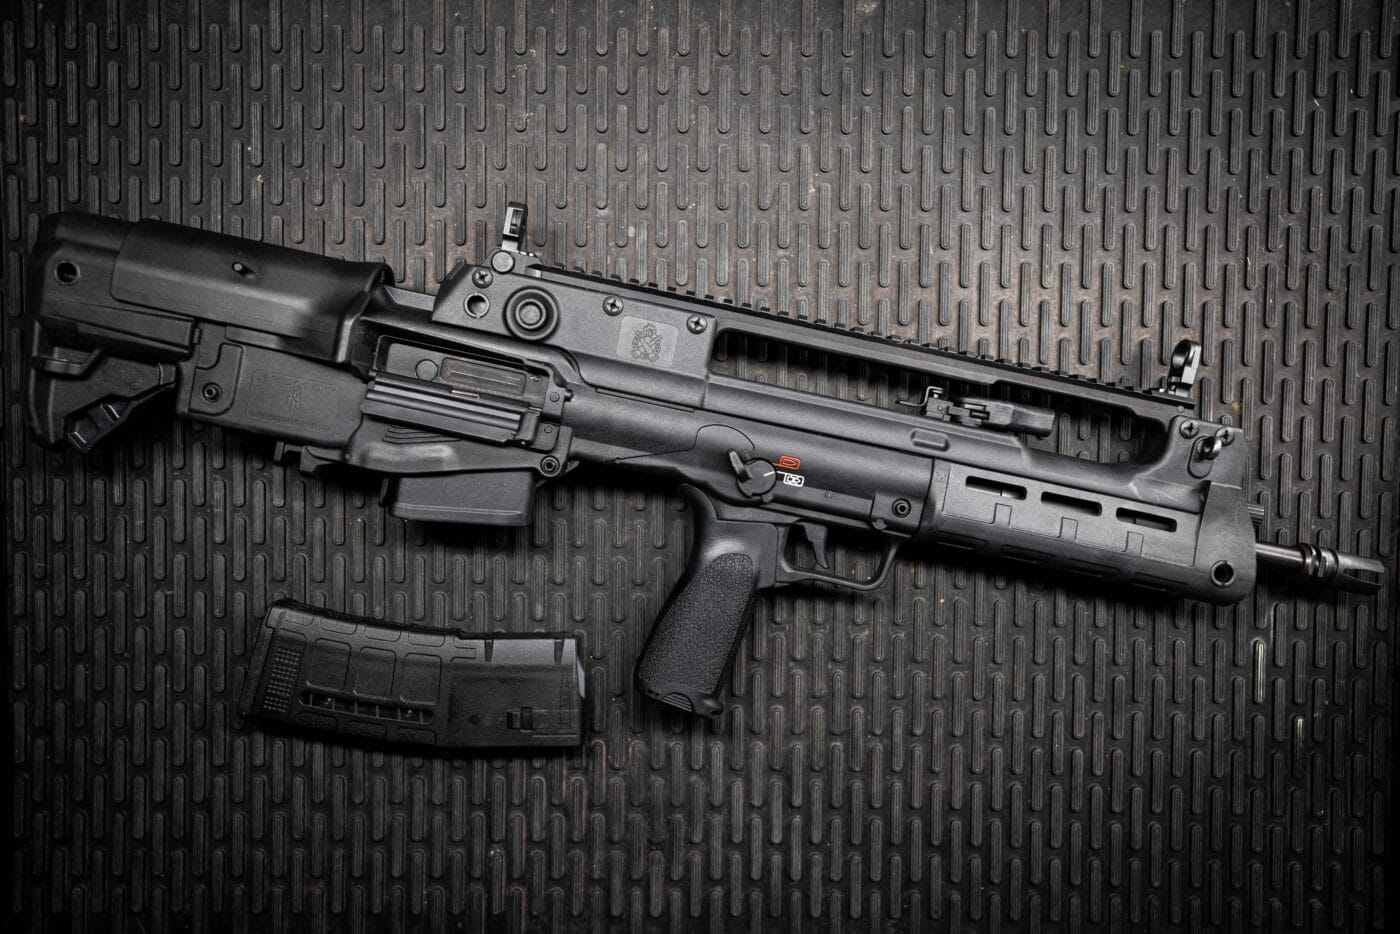
I am a right-handed individual, but I am also a dangerously curious individual. When I got my hands on the Hellion and I saw that you could reconfigure for a lefty, I just had to see how it was done. Thankfully, Springfield also has a rad video that walks you through the process in about two to three minutes. I’m going to be doing the same thing but in text and photo form.
Founding Steps
Let’s first start with safety. Point the firearm in a safe direction, while keeping your finger straight and off the trigger, remove the magazine and fully retract the charging handle. While the charging handle is to the rear, inspect the chamber to ensure it is clear from any debris or ammunition. Once clear, release the charging handle to put the bolt back into battery and set the selector lever to the safe position.
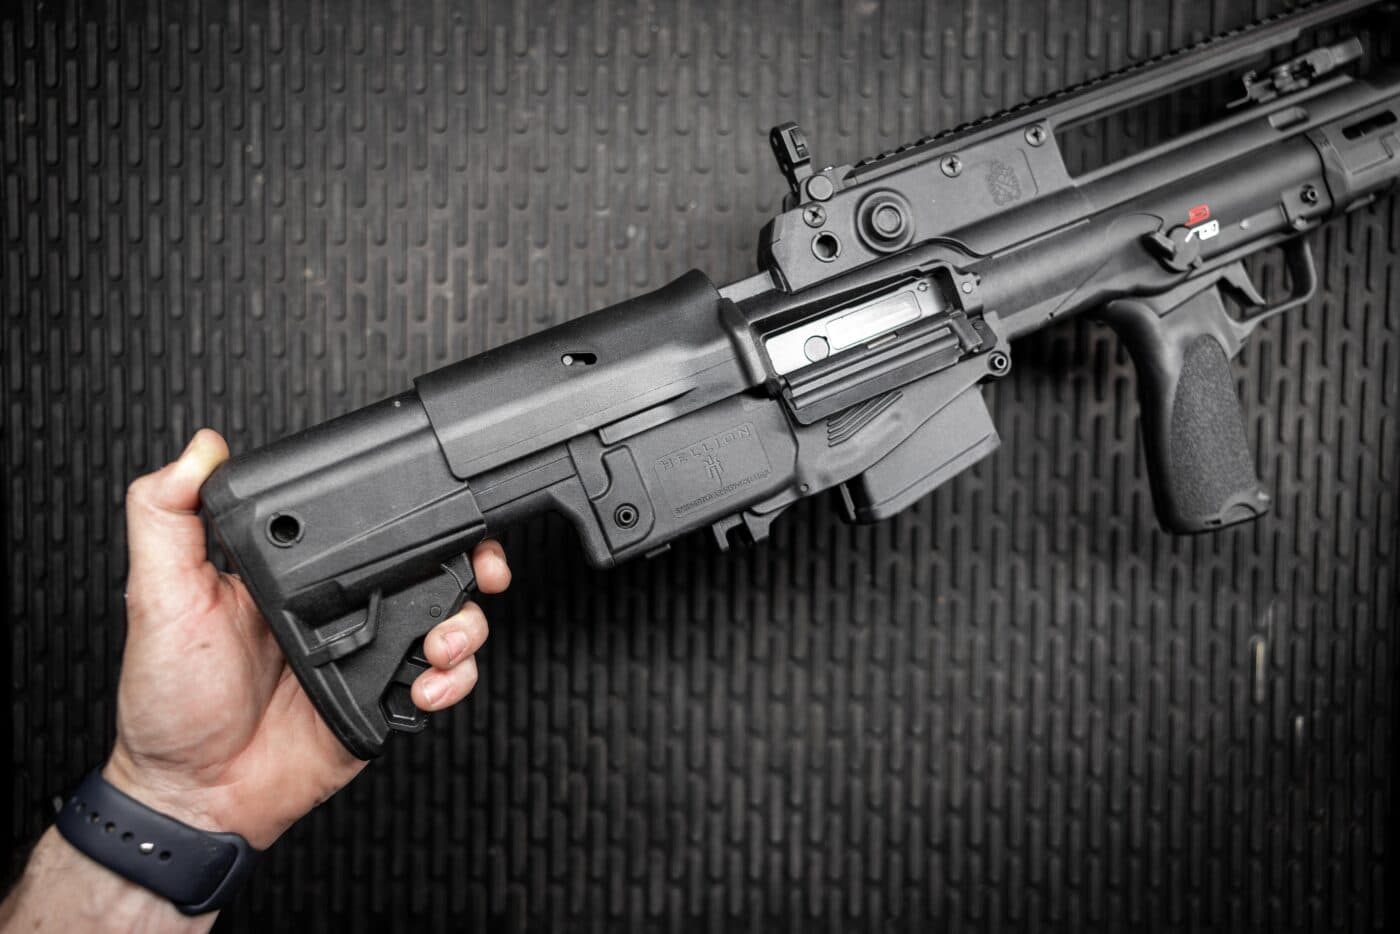
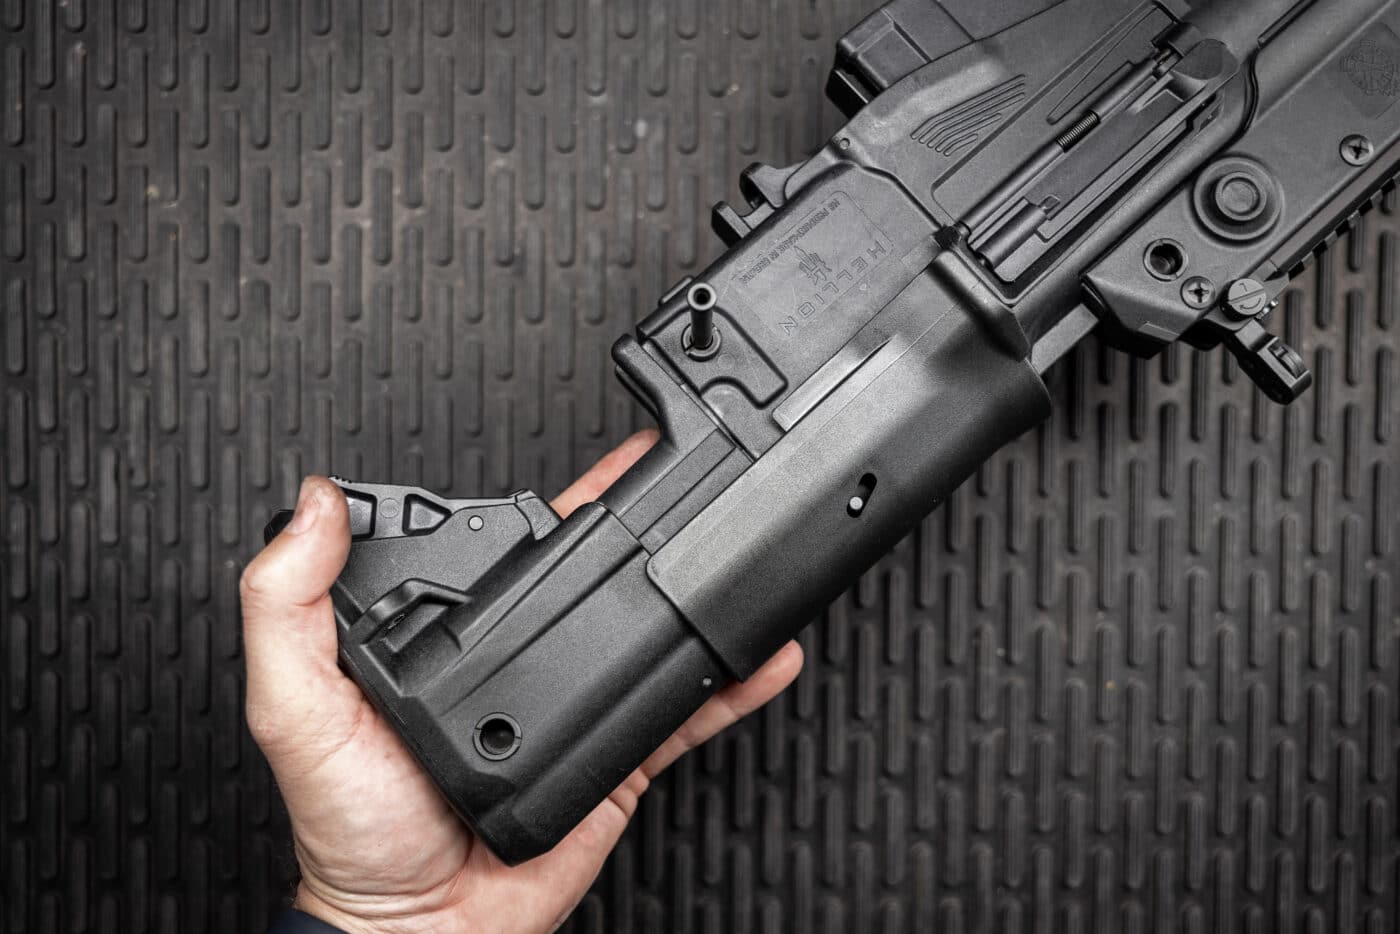
Next, extend the buttstock to its maximum length and push the buttstock retaining pin outward to its fully extended position.
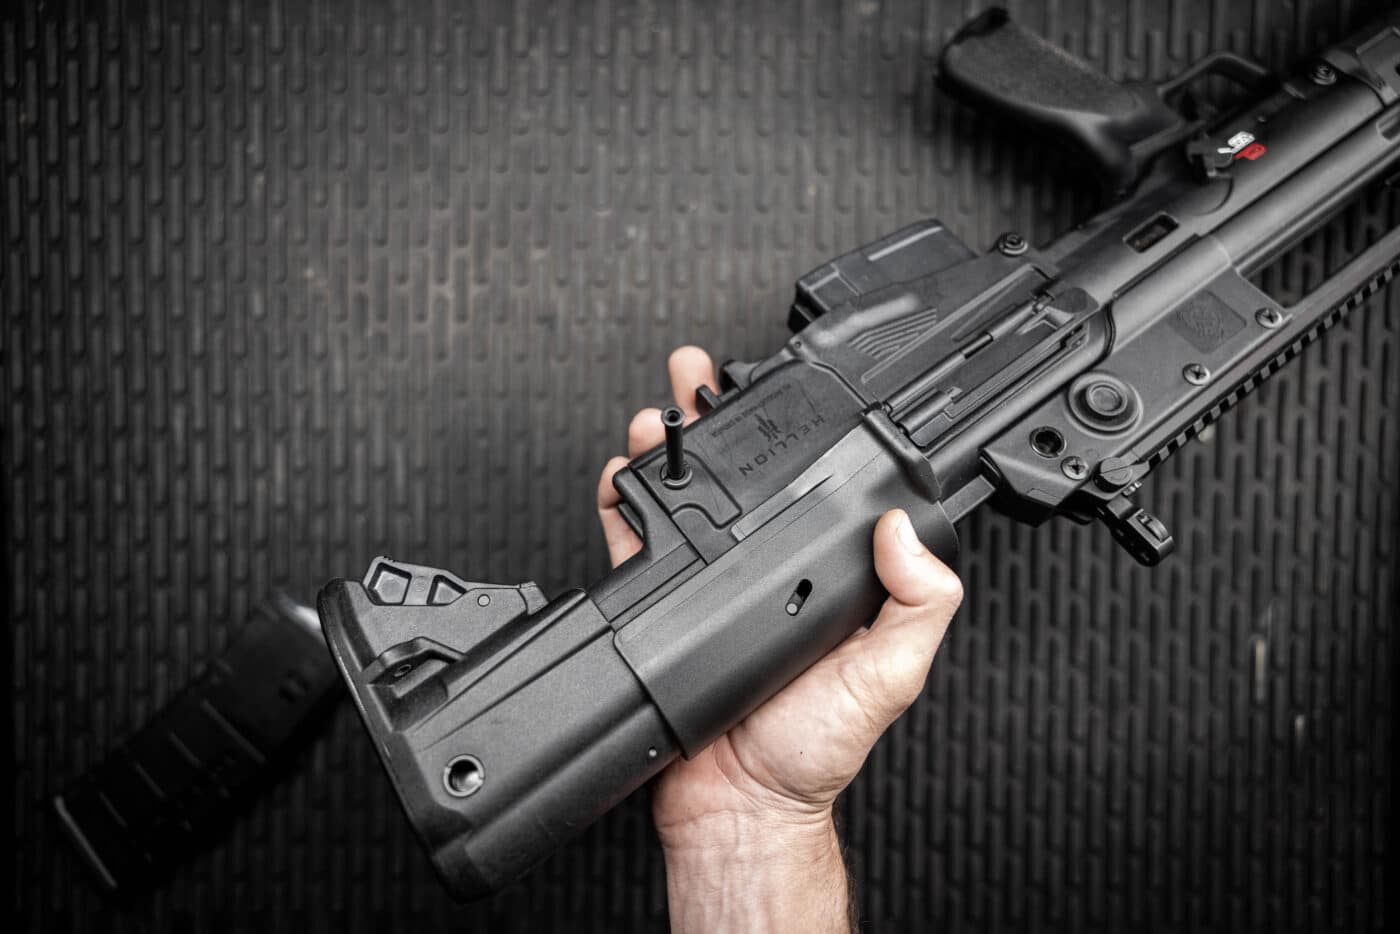
Then, rotate the buttpad upwards slightly and withdraw the buttstock assembly which contains the captured recoil spring and guide.
Retract the charging handle all the way to the rear, exposing the rearward portion of the bolt carrier.
Then, remove the carrier from the receiver.
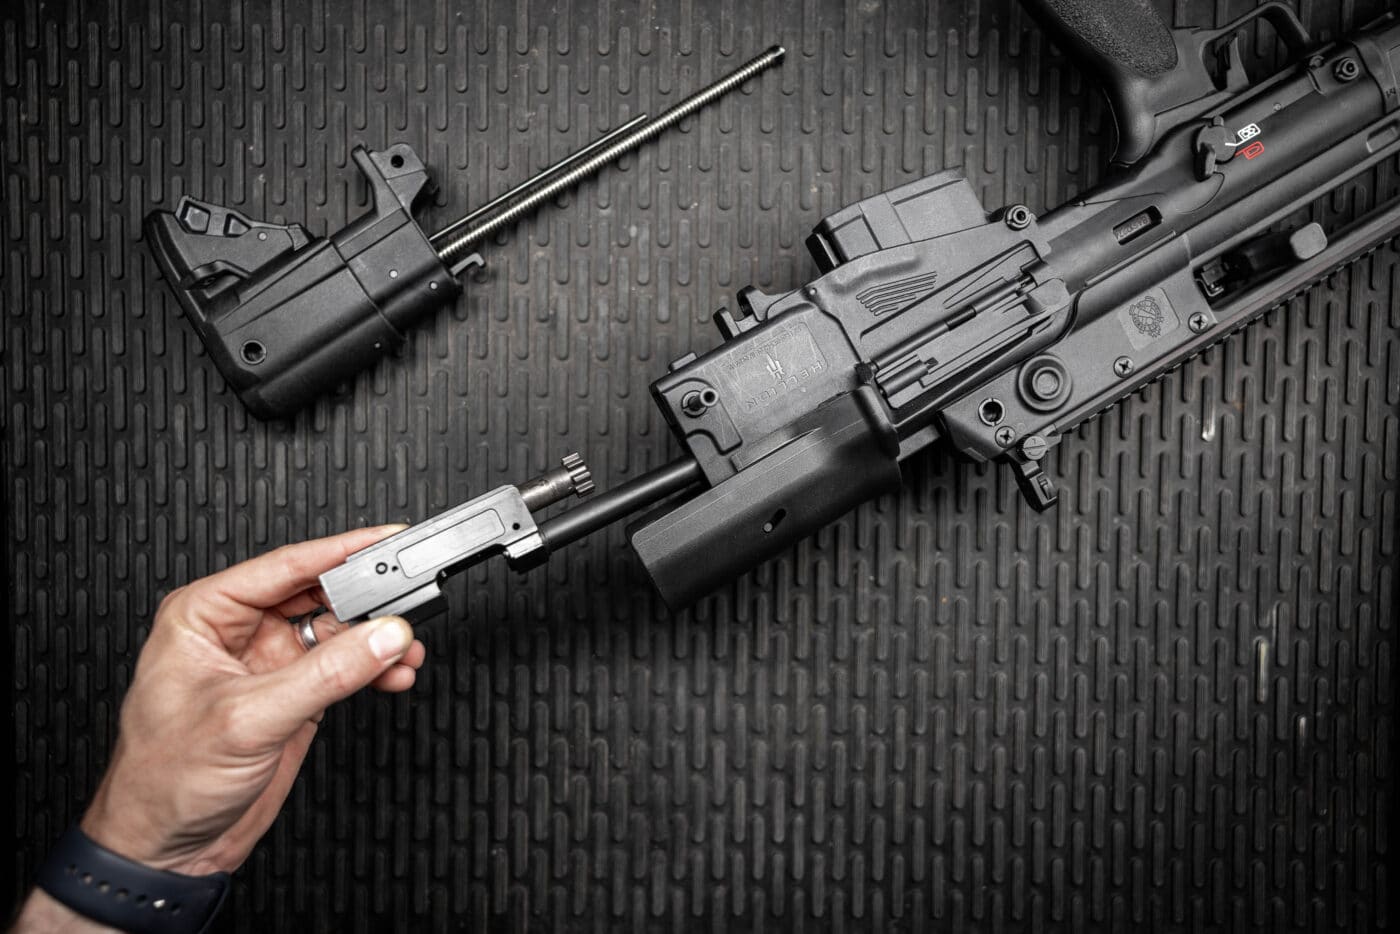
Next, retract the cheekpiece to the rear about ½” and rotate the rear of the cheekpiece downward. You can do this by applying upward pressure to the frontmost part of the cheekpiece.
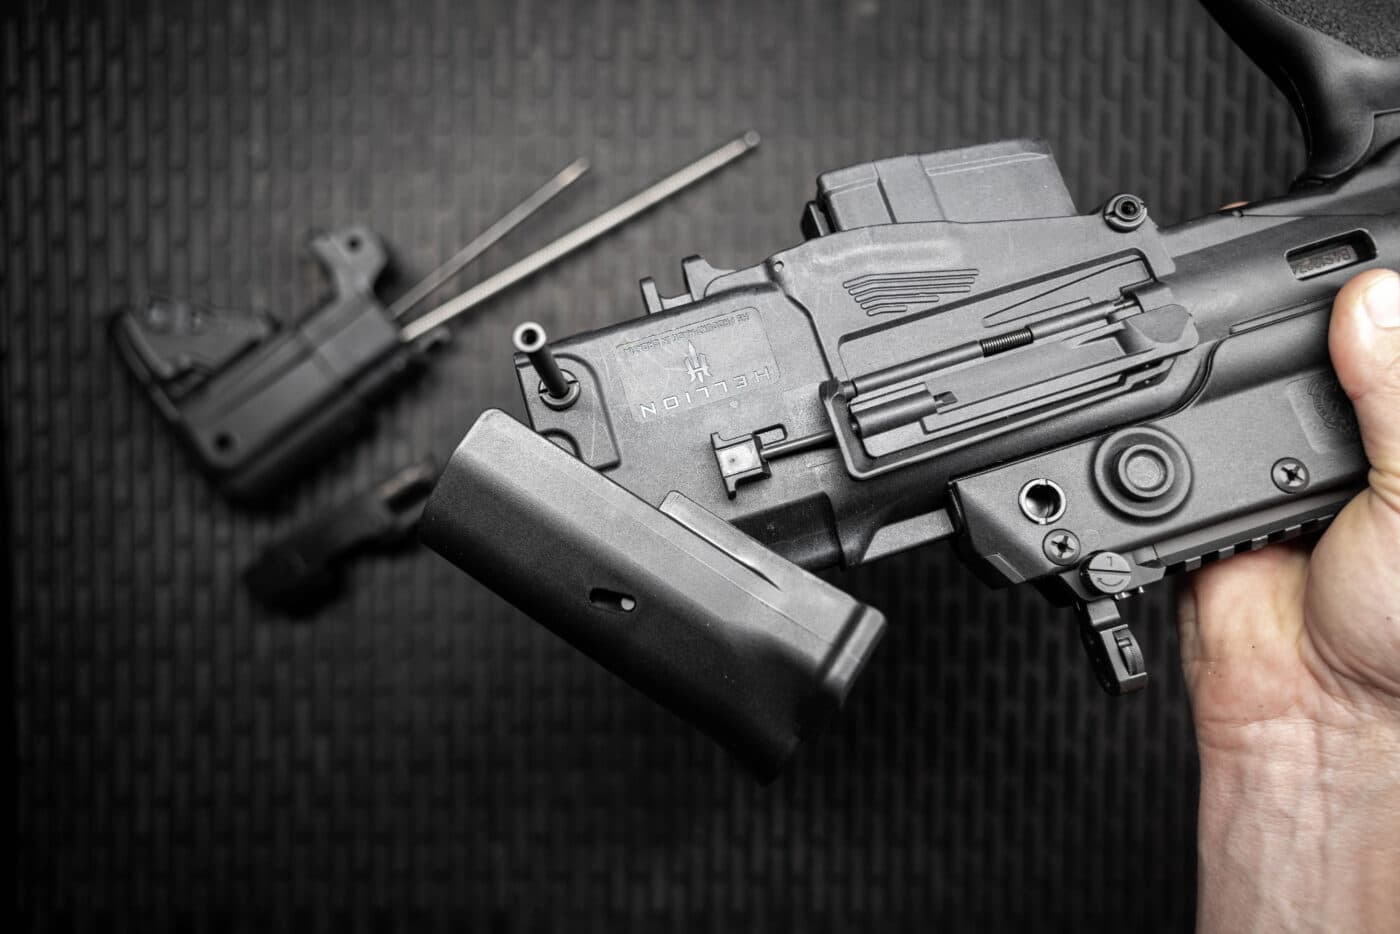
You will now have access to the port cover locking pin on the unused port. Slide the pin rearward to remove.
The Right Tools
A nice feature of this process is that it requires no additional tools.
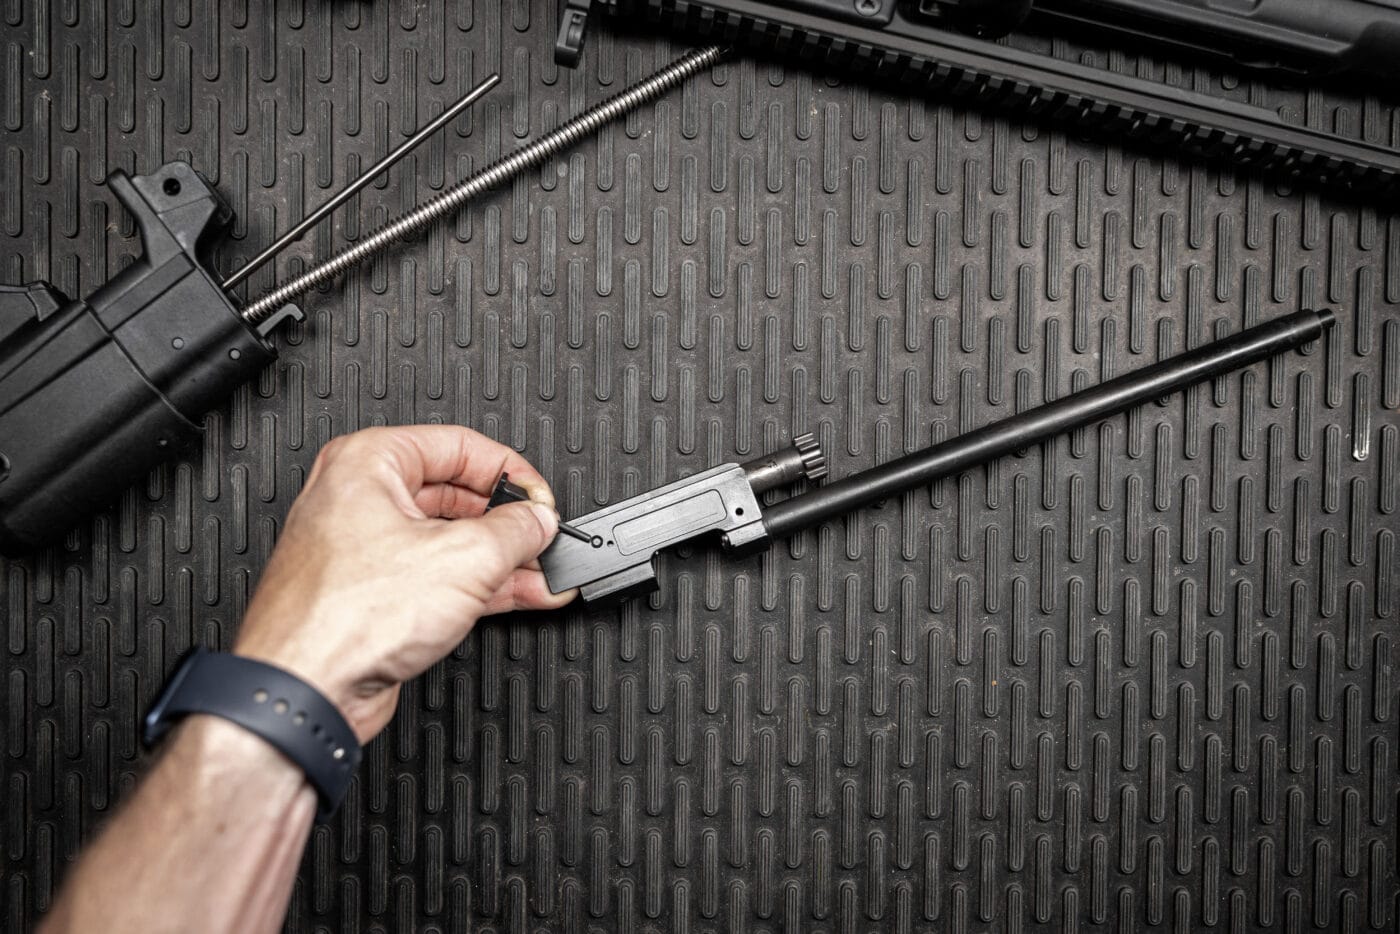
The next step uses the port cover locking pin as a tool to remove the firing pin retainer. Simply slide the locking pin into the bolt carrier to remove the firing pin retainer.
Next, lift the firing pin safety lever to remove the firing pin and spring and press the bolt back into the carrier.
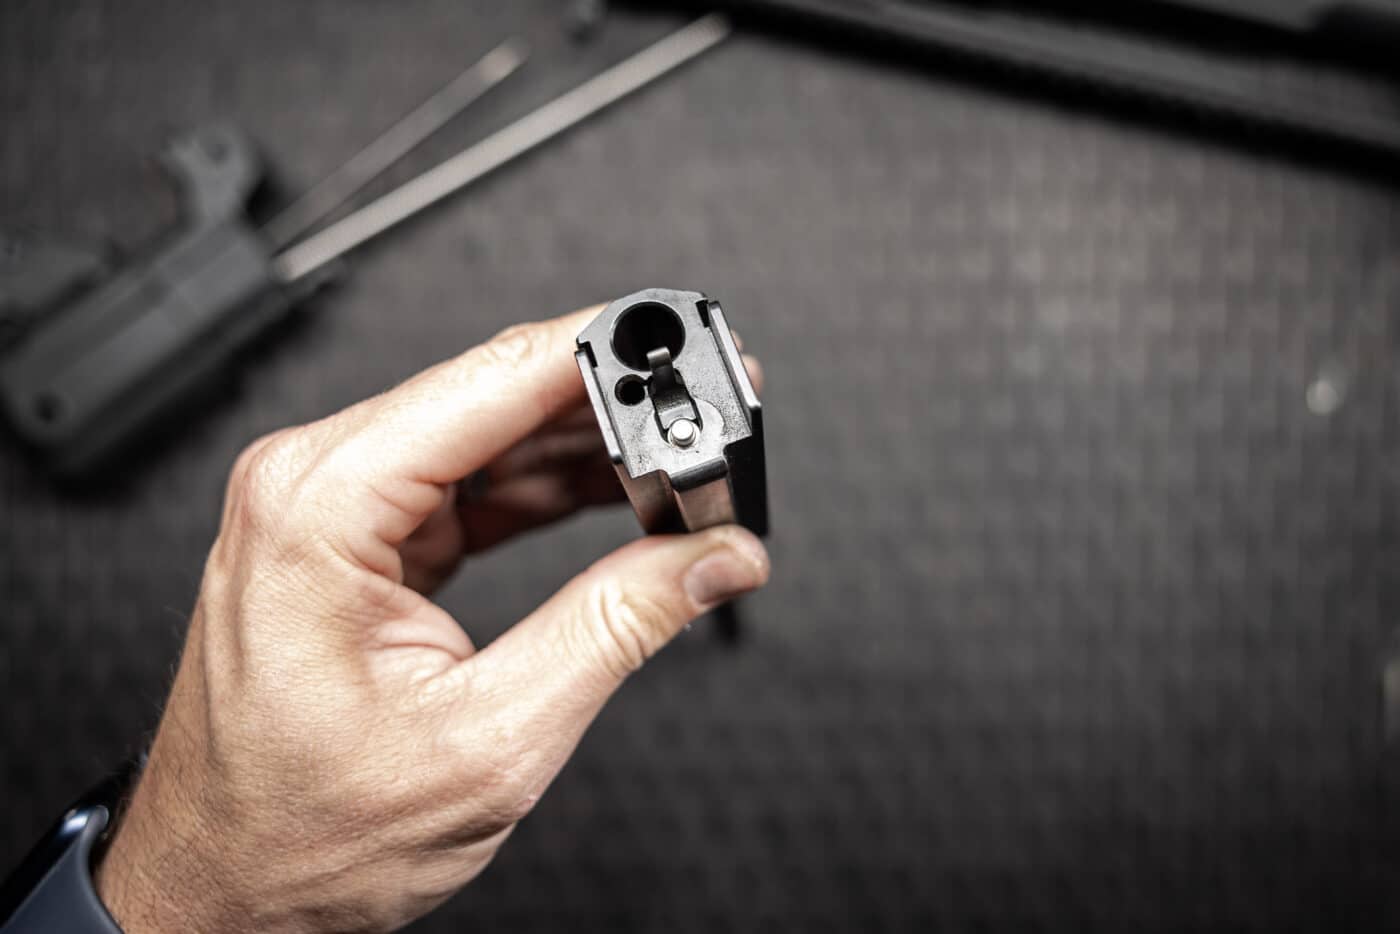
Now, use the firing pin and insert it into the hole in the bottom of the carrier and press out the bolt cam key.
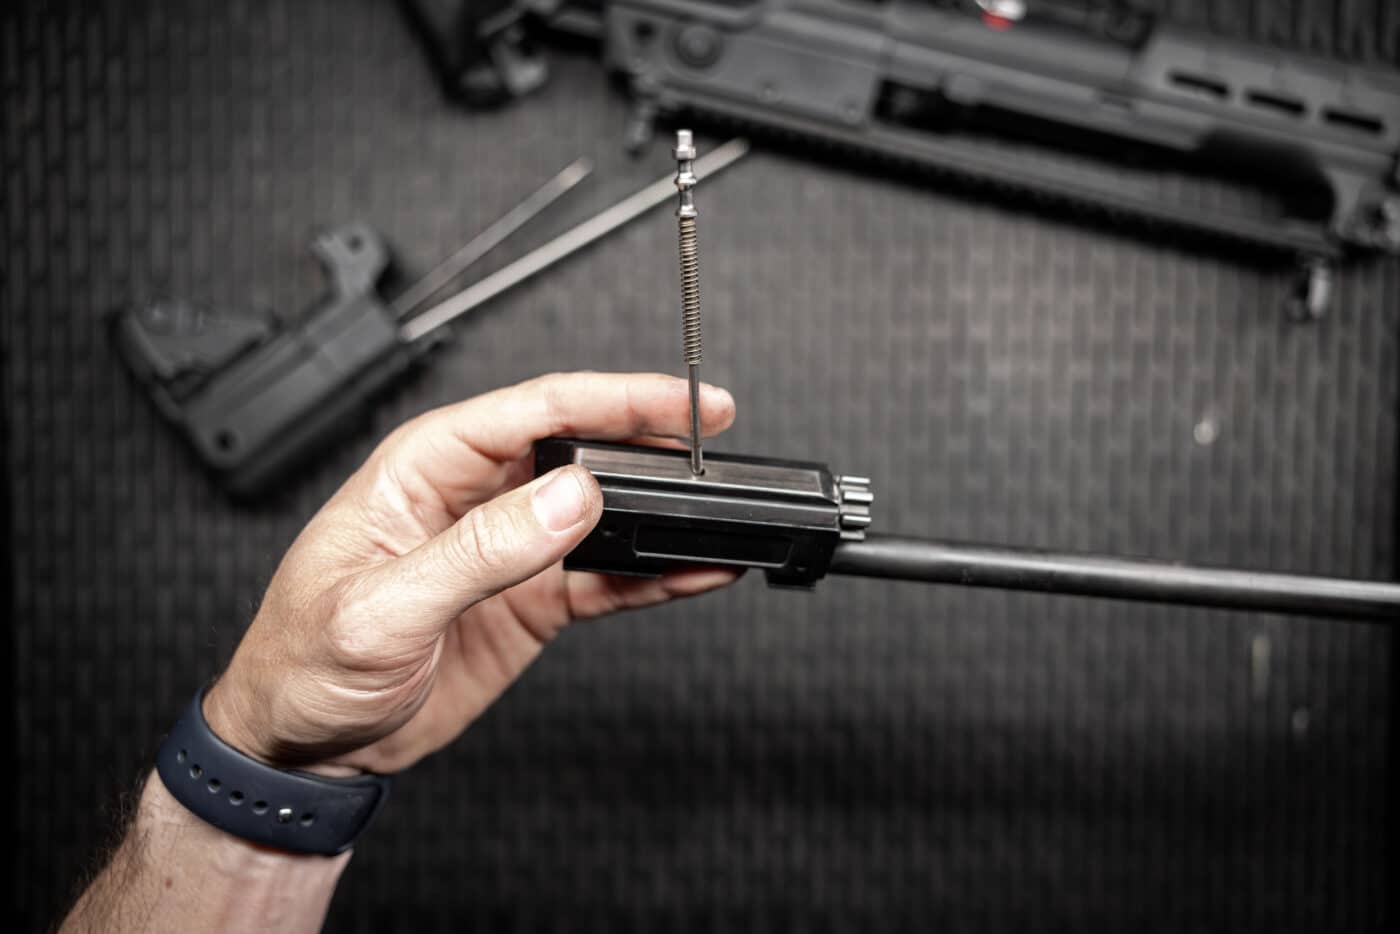
The bolt is now free to be removed from the carrier.
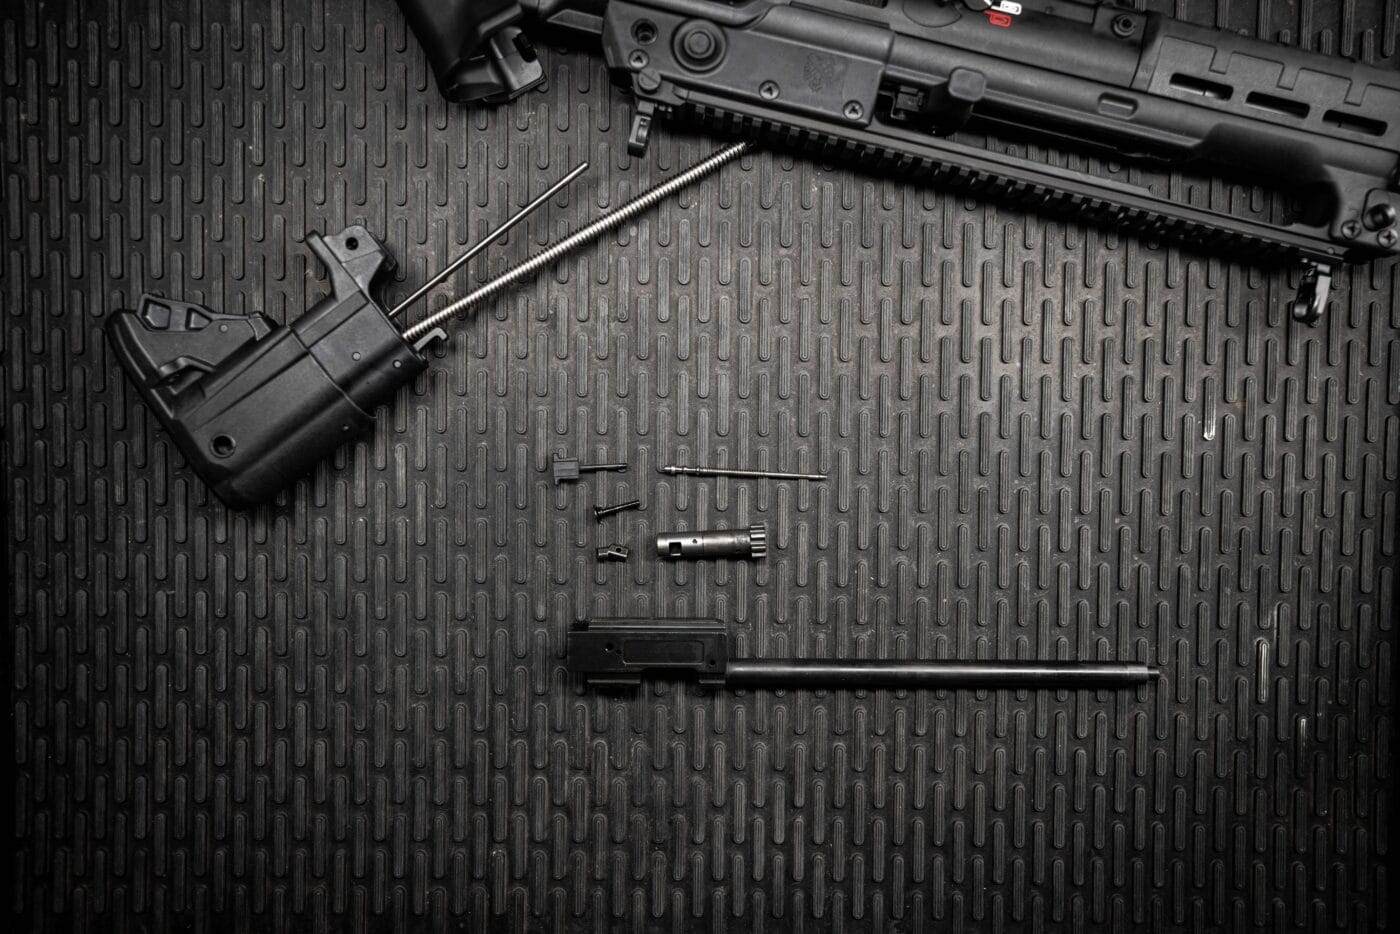
For right-side ejection, you will want to insert the bolt into the carrier with the extractor in the 10 o’clock position.
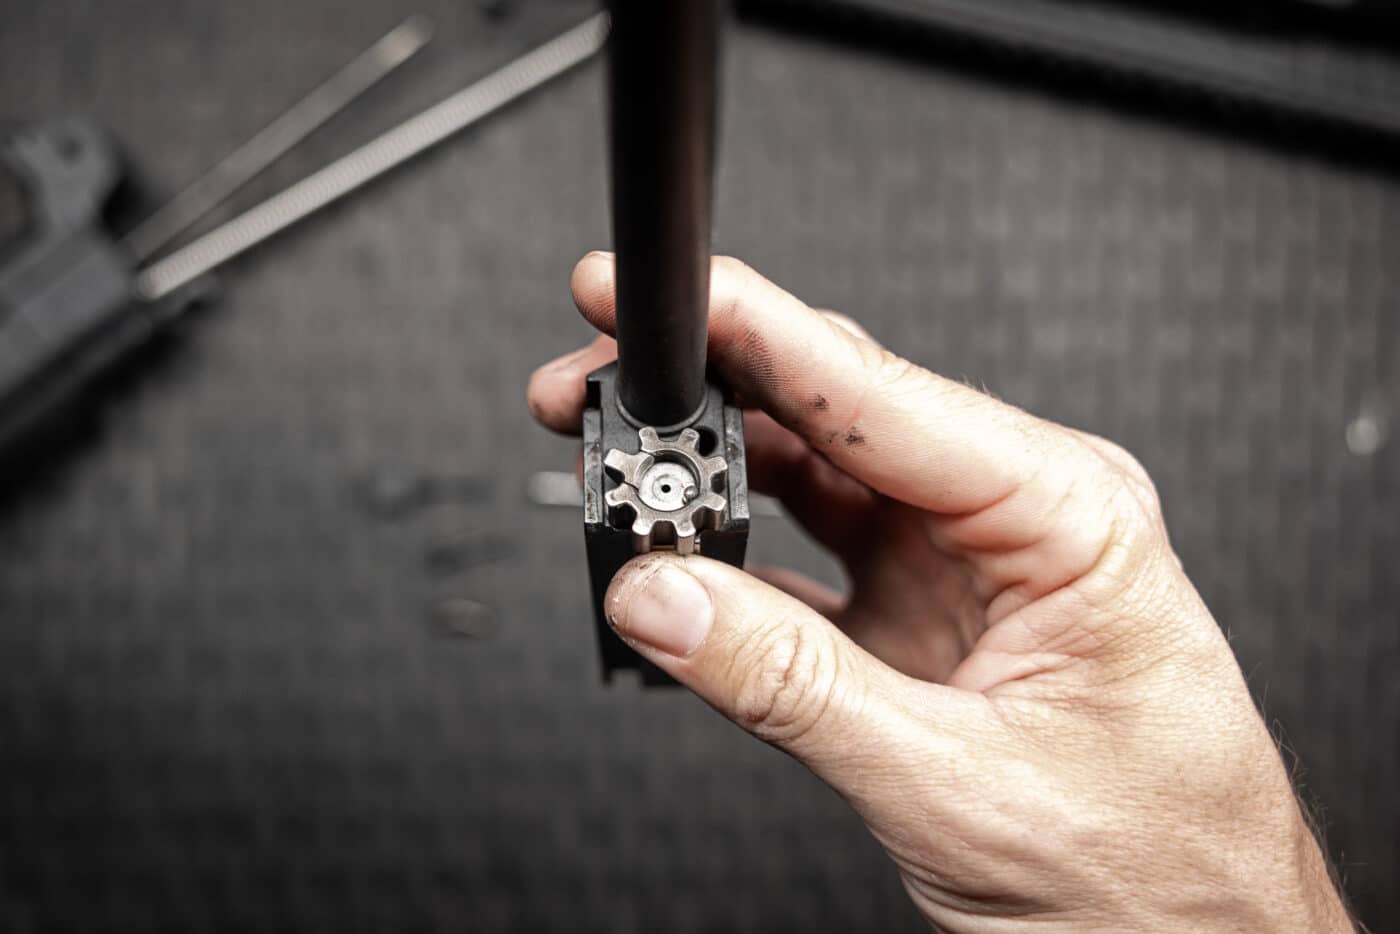
For left-side ejection, insert the bolt into the carrier with the extractor in the two o’clock position.
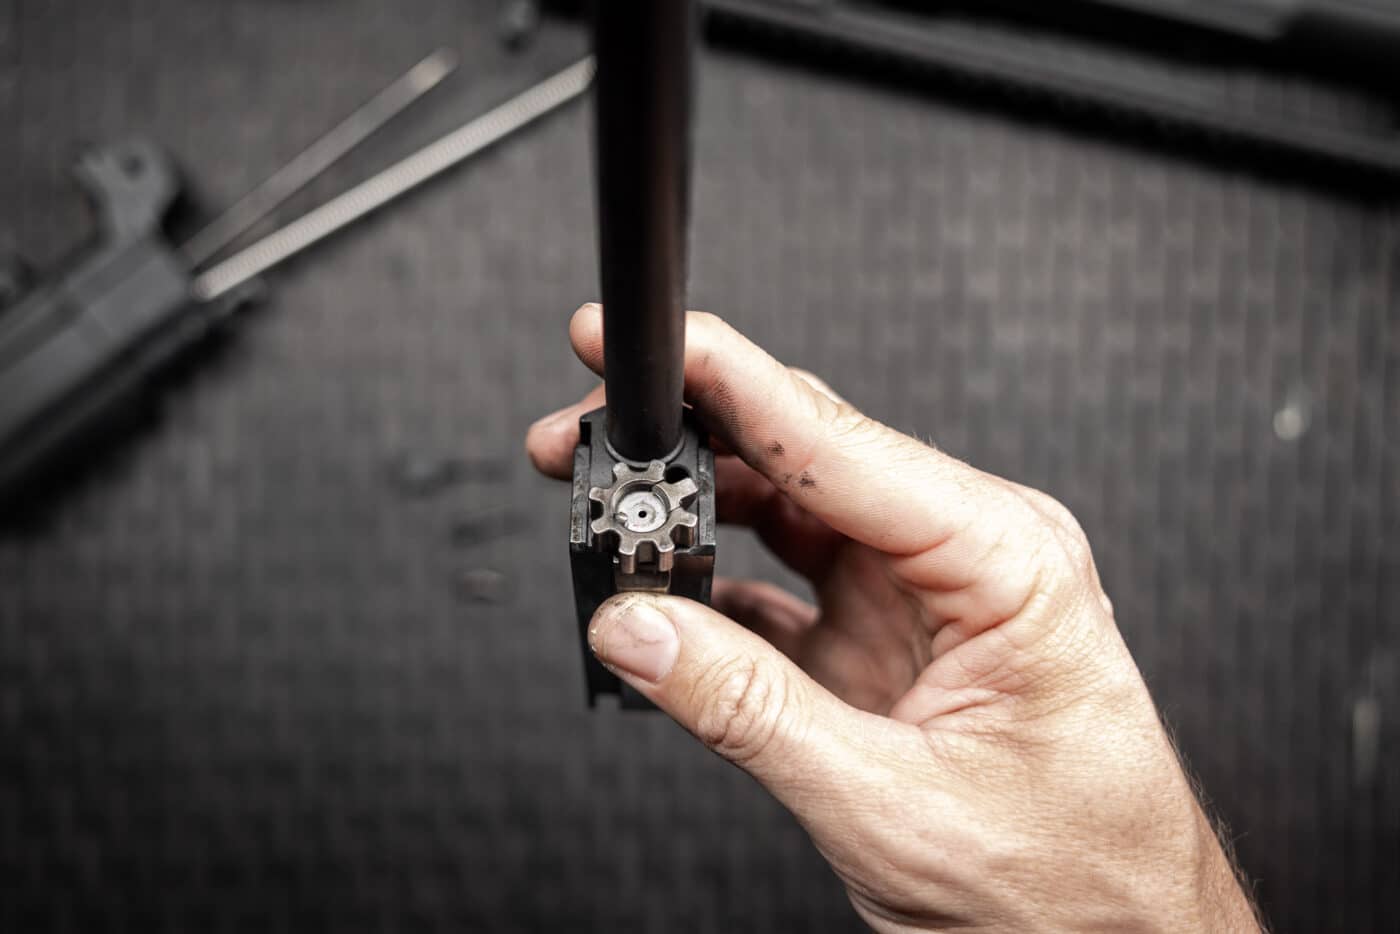
Next, insert the cam key back into the bolt at the top of the key, angled to the chosen ejection side.
Install the firing pin and spring into the bolt and insert the firing pin retainer.
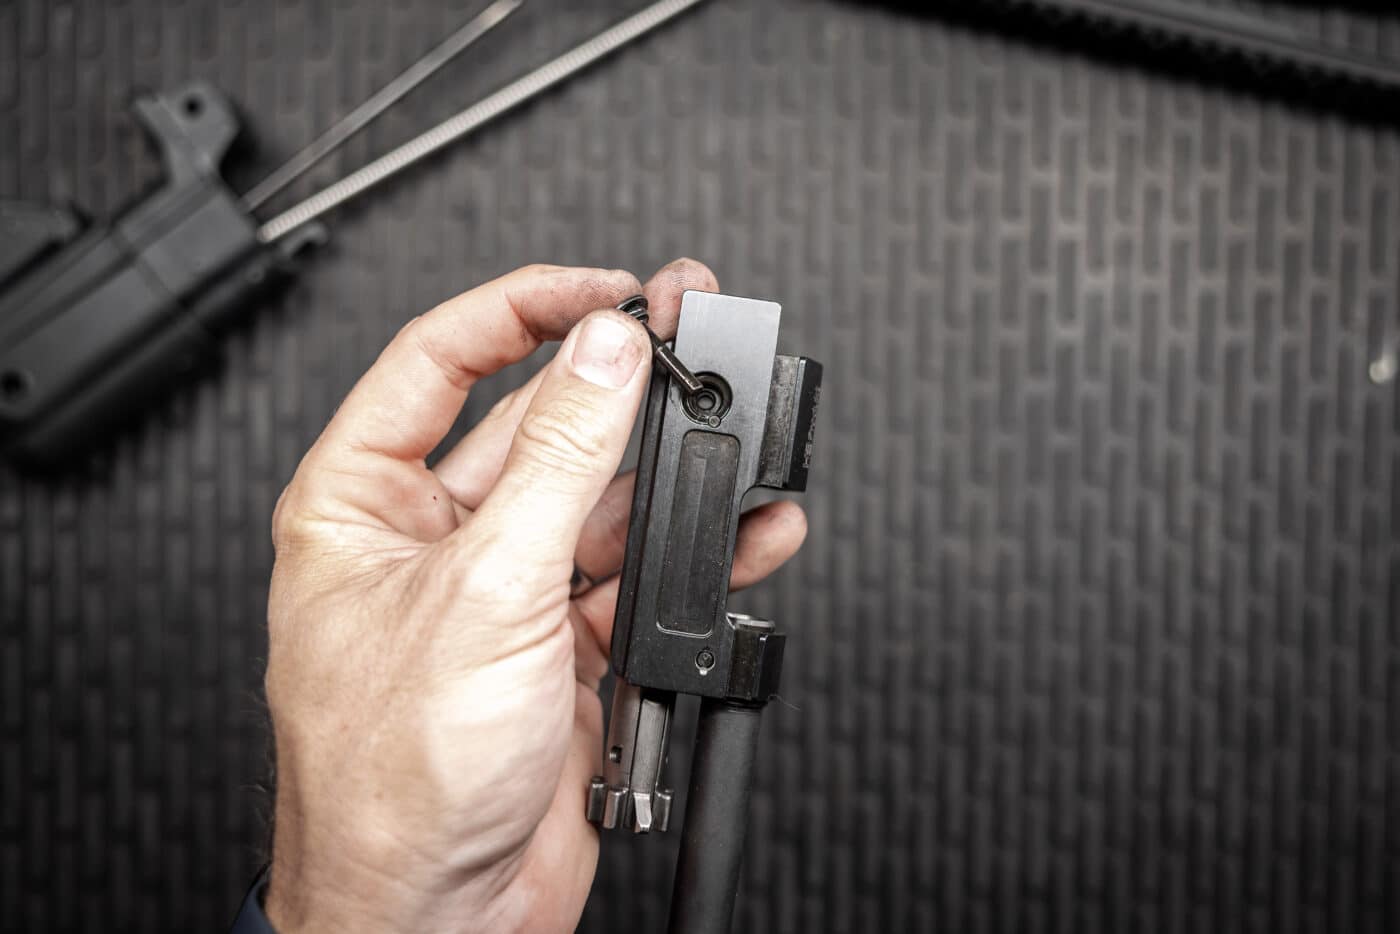
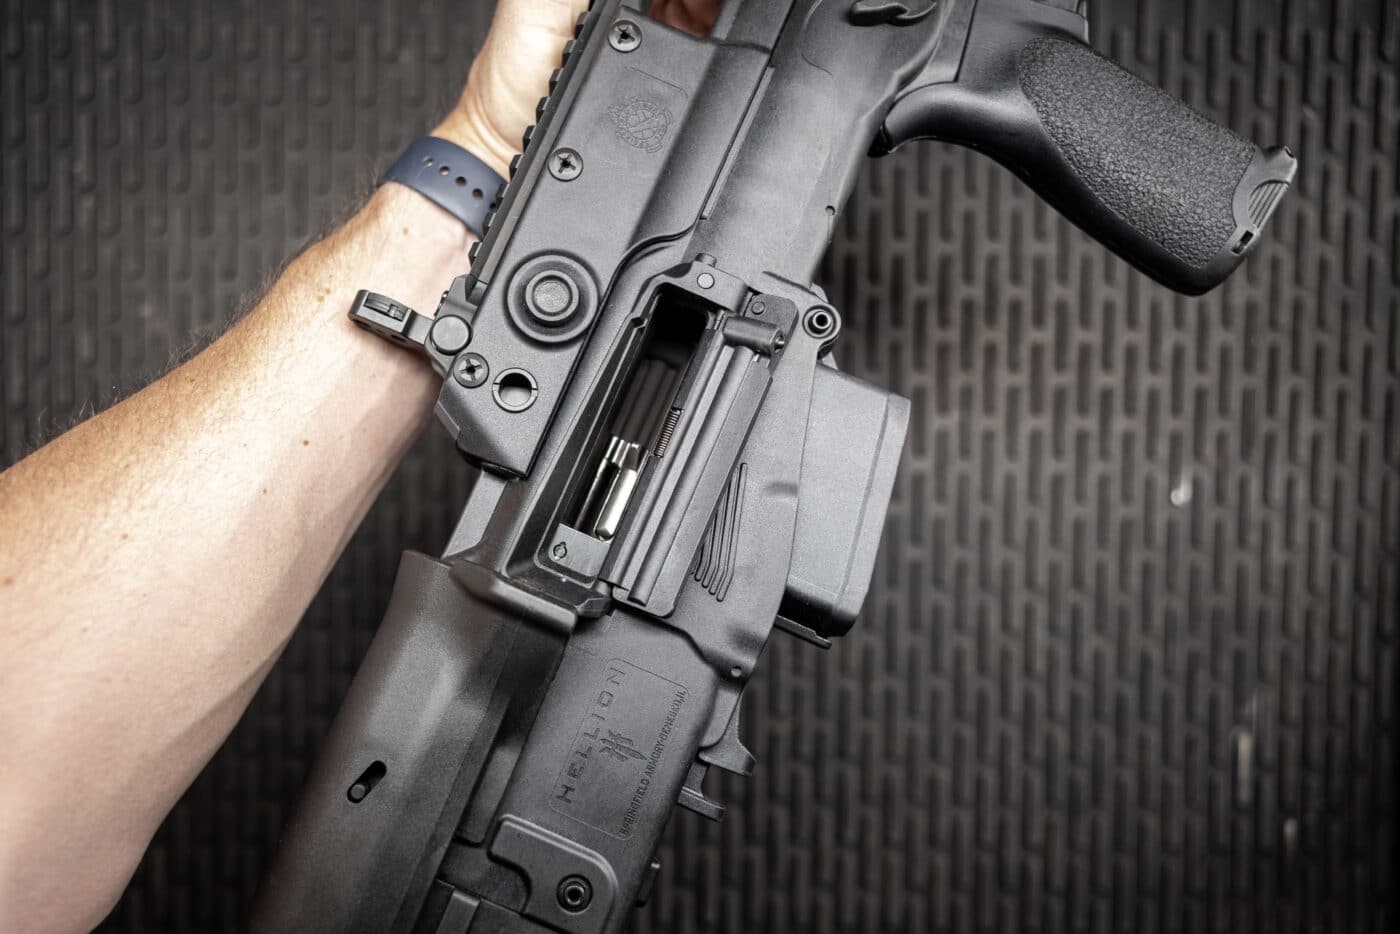
Before you install the bolt carrier group, you must configure your ejection port covers for the chosen ejection side. You do this by installing the port cover locking pin into the unused port cover on the side opposite of your chosen ejection port.
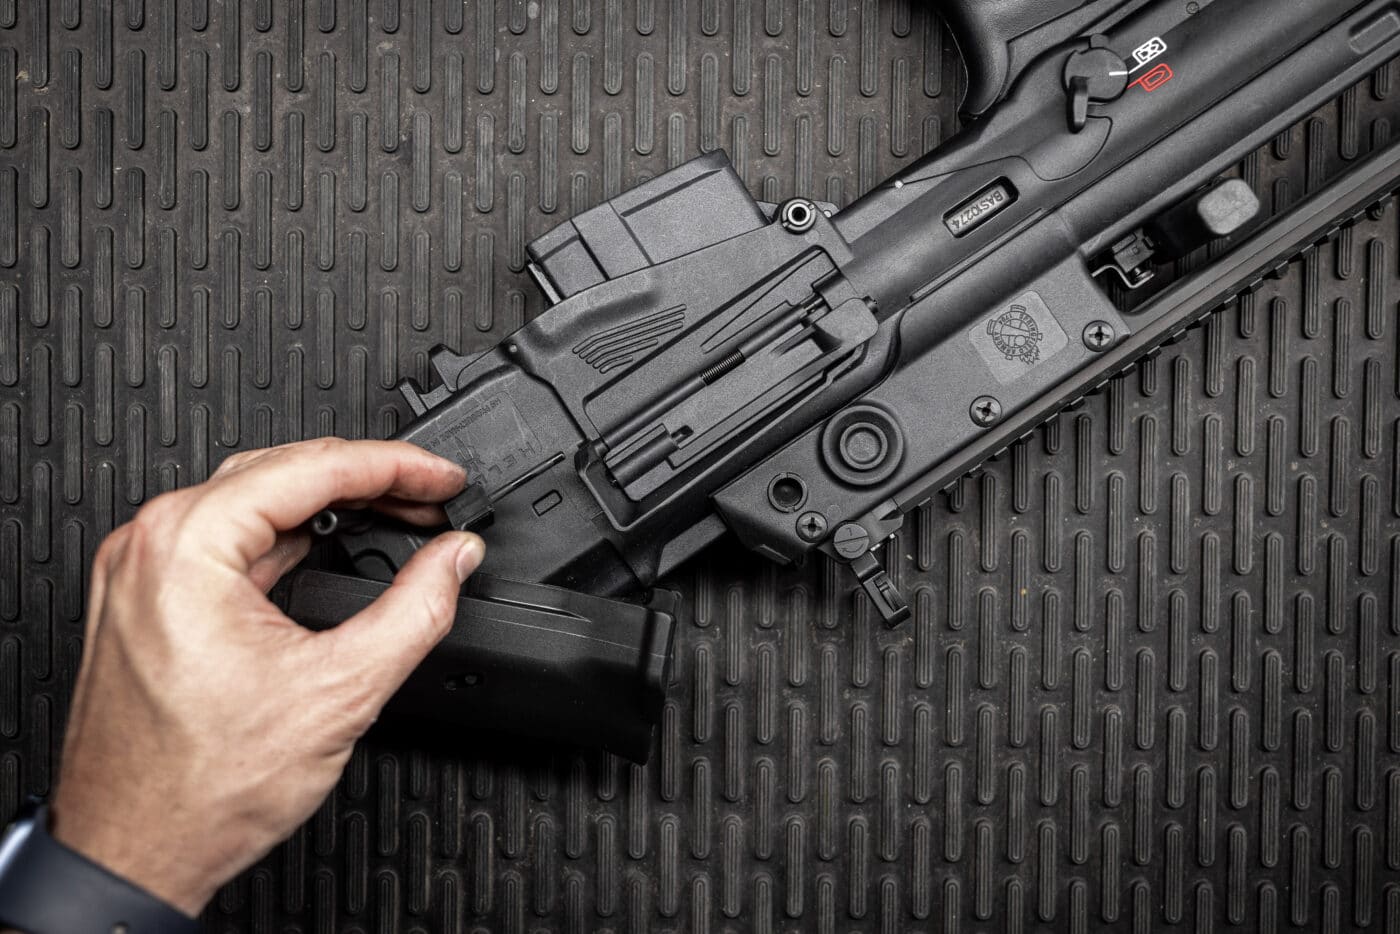
Rotate the front of the cheekpiece downward and then slide forward about ½” until it locks into place.
Then, insert the bolt carrier group into the rear of the receiver and press forward until the rear of the bolt carrier is flush with the cheek riser.
Finally, install the buttstock by inserting the recoil spring into the rear of the bolt carrier, pressing forward.
Then, push the stock into position. Press the retaining pin into its hole, and you are finished!
Make sure to function check your firearm once complete.
Conclusion
So there you have it — the simple and straightforward process of making the Hellion eject cases the side of your choice. Lefty or righty, the Hellion is ready to run from either shoulder depending on your needs.
Editor’s Note: Please be sure to check out The Armory Life Forum, where you can comment about our daily articles, as well as just talk guns and gear. Click the “Go To Forum Thread” link below to jump in!
Join the Discussion
Featured in this video
Continue Reading
Did you enjoy this video?

 78
78


