
Quick and Compact Drills For Your Carry Gun
![]() June 23rd, 2019
June 23rd, 2019
![]() 5 minute read
5 minute read
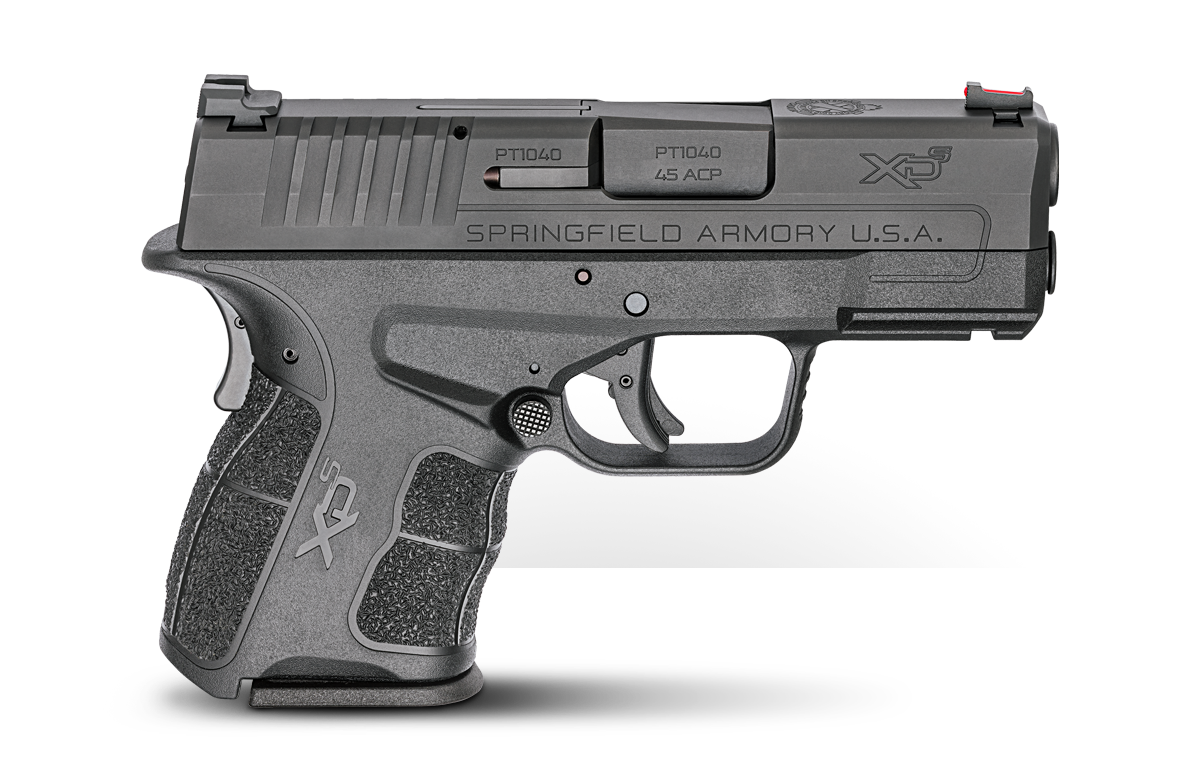
One of the old mantras many of us continue to see and hear is that the sub-compact firearm is “Carried often, but shot little.” Let me go on the record stating that I TOTALLY DISAGREE with this old adage. Like many of you, my every-day carry companion is a sub-compact handgun (the dark-earth 9mm Springfield Armory XD-S), and I shoot it on a regular basis.
It seems this adage is often repeated by instructors because, in their experience, many of the subcompacts of the past were difficult to manage and the recoil was harsh. These “cons” resulted in little practice time with the firearm.
With the smaller versions of the Springfield XD series though, I do not find this to be the case at all. I actually enjoy practice sessions with these small pistols.
Special Concealment Assignment
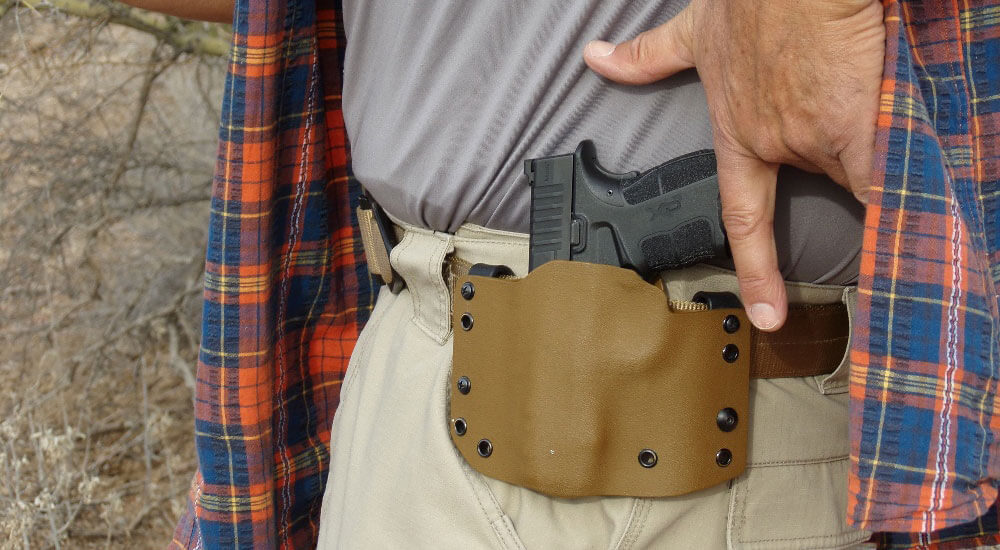
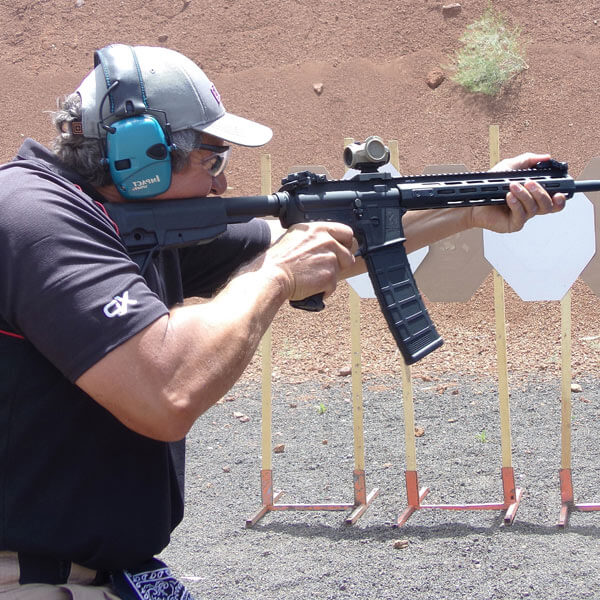
Quite often I get requests from friends in the security business requiring assistance with multi-day protection details. A few days prior to receiving the Springfield XD-S Mod.2 for evaluation, I answered one of these calls. After obtaining some of the specifics related to this executive detail, it was clear that a suit and tie were the “uniform” of the day. Knowing that 1) dress belts are not the best rig when carrying full-sized firearms and 2) blending in and concealment were the high priority, I opted to carry my sub-compact 9mm Springfield Armory XD-S as my primary firearm. My Springfield Armory SAINT was relegated to the trunk of my transport vehicle as the “back-up” weapon. Good choice, I know…
Range Time Required
With the protection detail a short week out, I focused my range training specifically to the XD-S 9mm and the .45 caliber XD-S Mod.2 that I had not yet shot.
I decided to drill / practice three techniques:
- Movement while drawing, with a concealment garment
- Multiple round engagements, more than the traditional 2 shots per target
- “Failure drills” – multiple rounds to the body, followed up by rounds fired to the head
1 — Drawing from Concealment with Movement
Practicing the draw, and specifically drawing from concealment if this is your EDC mode, is a MUST. Incorporating movement during a draw is an additional skill set that should be practiced and perfected. Movement makes you a more difficult-to-track target and is therefore worth the investment.
As with all new shooting skills, If you haven’t previously practiced concealment draws or concealment draws with movement, dry draws are HIGHLY recommended first.
When dry drawing / dry firing, the gun is UNLOADED and condition VERIFIED. NO ammo should be allowed in the practice area. And, find a SAFE backstop (that’s able to stop a potential negligent discharge). Dry practice can also be done at the range if your facility permits.
Back to my drill…
There are several methods of drawing from concealment. Some of the more popular are:
- Sweeping the cover garment with your strong hand
- Pulling back on the garment with your support hand
- Pulling up on the garment with your support hand
I personally prefer the “sweep” method. This approach allows my support hand greater freedom to perform any of the numerous defensive empty hand responses, such as a palm heel strike, shielding technique or deflection.
The Sweep Draw
Sweeping the concealment or cover garment involves only your holster-side (strong) hand:
- The hand starts with an open palm, similar to your normal draw, however, the fingers are spread apart more than normal and the pinky and ring fingers curve in slightly.
- Use these two fingers to hook the front of the garment and sweep it to the rear and behind / past the holster and firearm. Some instructors teach that during this process the cover garment is also “flung” back (which might clear the gun and draw better). Try both approaches and see which is best you, your carry rig, and the concealment garment you most often use.
- With the holster area clear of the garment, draw the firearm as you have trained.
Appendix note: If you prefer appendix carry, it is EXTREMELY IMPORTANT to first practice just the draw portion of this with an unloaded gun! Get that down before you live fire and/or add concealment and movement.
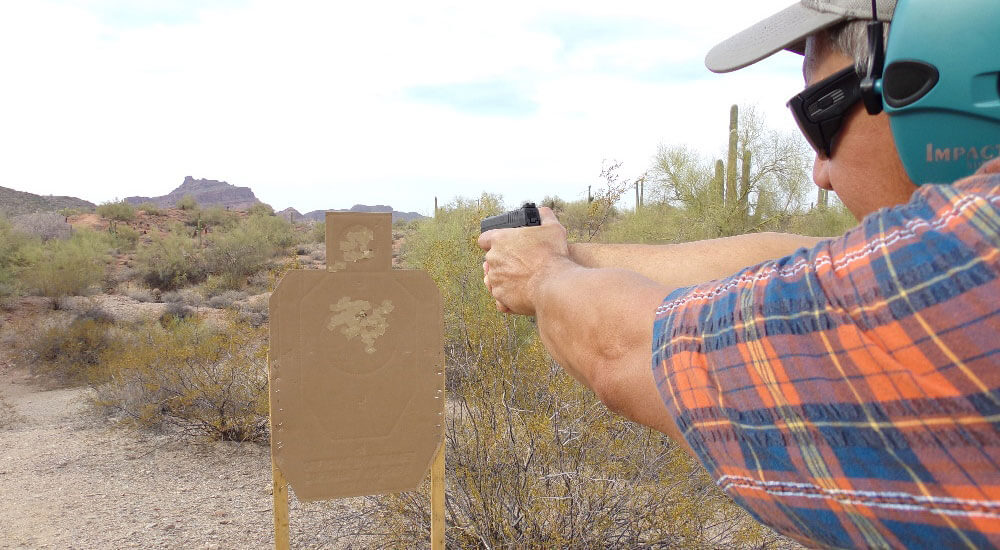
2 — Multiple Round Engagement
This drill does not have to be complex. One target is all that’s needed. I most often use cardboard USPSA or IDPA targets, as I like the zone markings.
Start close — three yards — just beyond contact distance. Move the targets out, three yards at a time as your training progresses, and master each distance.
The goal is to draw and fire four rounds in quick succession. Keeping all hits in the “0” zone or top half of the A zone is what I expect.
At this close range, even a shooter with a moderate skill level should be able to accomplish this with some practice.
Use a shot timer and start with 1 second splits (time between shots). Decrease your split times by .25 seconds when you can repeatedly put all shots in the “center zone” on demand.
Remember, at this close distance a perfect sight alignment is not required. The sight index, “flash sight picture” or whatever term you use, should deliver good hits on target as long as you do your job keeping the gun aligned with minimal grip pressure increase or hand / wrist movement.
When you make it to the .25 second split time speed, you will have to move the trigger FAST. To do this, you will most likely be “banging the trigger,” but that’s okay. Learn to work the gun at this speed in training, especially when the threat is CLOSE.
3 — “Failure Drill”
If you are justified in using deadly force on another human being and body shots are not stopping the lethal threat, then face or head shots could be one of the best ways to put an end to the problem.
Using the previous drills as a base, after firing 4 rounds in the body at 3 yards, move the shot placement to the face or head area and fire 2 more rounds.
Given the limited rounds in the magazines in your carry sub-compact gun, shot placement is even more critical. Work at speed, but have the discipline to hit the center of the head zone area. The A zone on a USPSA target and the “0” zone on the new IDPA target are a good go / no-go standard.
Again, once you have made improvements at three yards, move the target distance out three more yards.
Detail Drills Completed
In my several training sessions through the noted week, I fired over 300 rounds of .230 grain ball and 50 rounds of duty / self defense .230 grain jacketed hollow point .45 ACP ammunition. As I expected, the Springfield XD-S Mod.2 was enjoyable to shoot and had zero malfunctions!
So, “don’t be that guy” who carries regularly but practices irregularly, especially if your EDC is a sub-compact firearm. Practicing with a sub-compact firearm might even assist with your focus on the fundamentals of shooting.
Once practiced up and proficient with your sub-compact pistol, check your local ranges and their match schedules for International Defense Pistol Association (IDPA) matches. The events are set up with defense-minded scenarios and drawing from concealment is required on most stages. Additionally, there has been an increase in the popularity of back-up gun (BUG) matches, directly designed for your carry gun. Either event, IDPA or BUG, is great for confirming your ability to shoot your sub-compact carry gun under a little pressure.
And what could be more perfect? Take advantage of someone else setting up a match, so you can practice your pistol skills, all while enjoying a variety of challenges and courses of fire.
As a matter of fact, I’m one of those “someone elses” (match directors). If you ever visit the Phoenix area, I’d be honored to have you attend one of my events — 2nd Wednesday night of every month at Rio Salado Sportsman’s Club.
See you and your sub-compact carry gun there.
Join the Discussion
Featured in this article
Share


Continue Reading
Did you enjoy this article?

 55
55
Springfield Armory® recommends you seek qualified and competent training from a
certified instructor prior to handling any firearm and be sure to read your owner’s manual. These
articles and videos are considered to be suggestions and not recommendations from Springfield Armory. The views
and opinions expressed on this website are those of the authors and do not necessarily reflect the
views and opinions of Springfield Armory.
Product prices mentioned in articles and videos are current as of the date of publication.
Ivan Gelo
Ivan served as a full time police officer with an Arizona agency for 26 years. He spent the majority of his career as a SWAT officer fulfilling 20 years as an operator. He is a Law Enforcement state certified Firearms, Rifle, Defensive Tactics, Active Shooter, and High Risk Stops Instructor. Additional duties with his agency included his work as a detective, Field Training Officer, police academy Recruit Training Officer and Lead Firearms Instructor, Rifle Instructor and Ballistic Shield Instructor.
