Her Concealed Carry Journey, Part 3
![]() May 9th, 2020
May 9th, 2020
![]() 4 minute read
4 minute read
If you’ve been following this series on obtaining a concealed carry license (CCL), you’ve already read about Elizabeth Buerling’s background in part one and about her lessons on grip, trigger press and sight picture in part two. In this third part of the series, Elizabeth learns the importance of proper gear for training and how to draw a pistol from a holster.
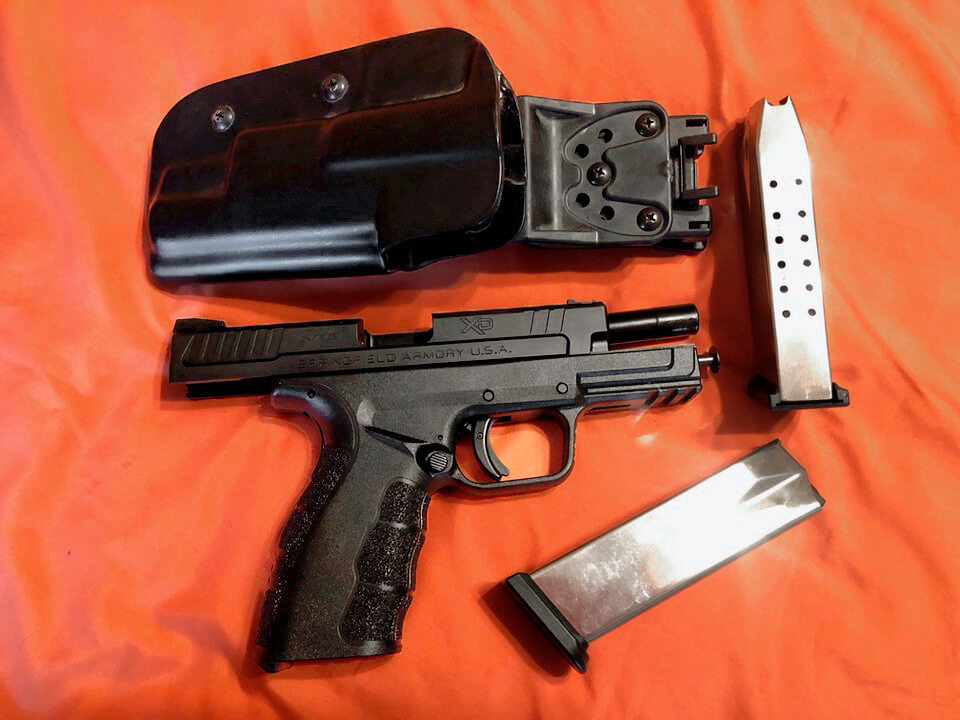
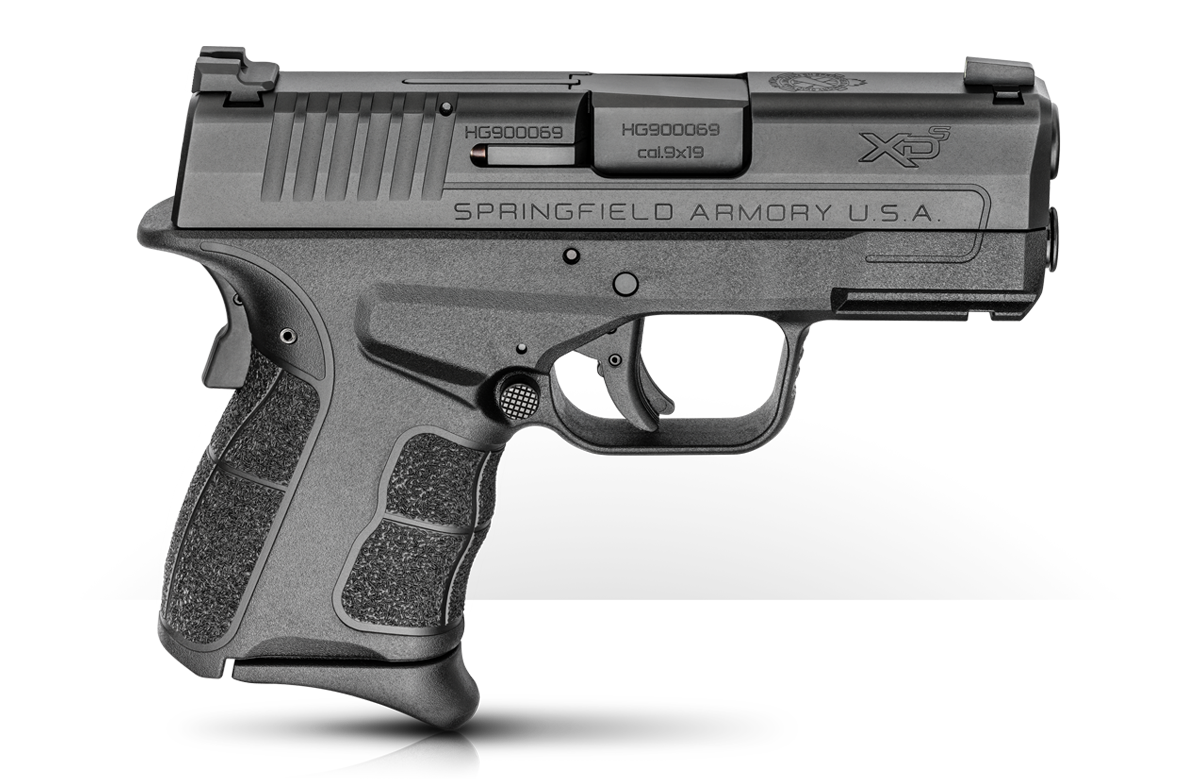
Before even considering what type of holster to use for carrying concealed, a new shooter needs to have practice on the range. In the first part of this series, I mentioned that although Elizabeth plans on using the Springfield Armory XD-S Mod.2 in 9mm for carrying concealed, she will be shooting the XD Mod.2 4″ in 9mm while she is learning on the range. A full-size, high-capacity gun is much easier to train with for long days at the range.
Training Holsters and Belts
When first learning to draw from a holster and for high repetition training classes, I strongly recommend using an outside-the-waistband (OWB) Kydex holster. It enables you to return the gun to its holster easily and securely.
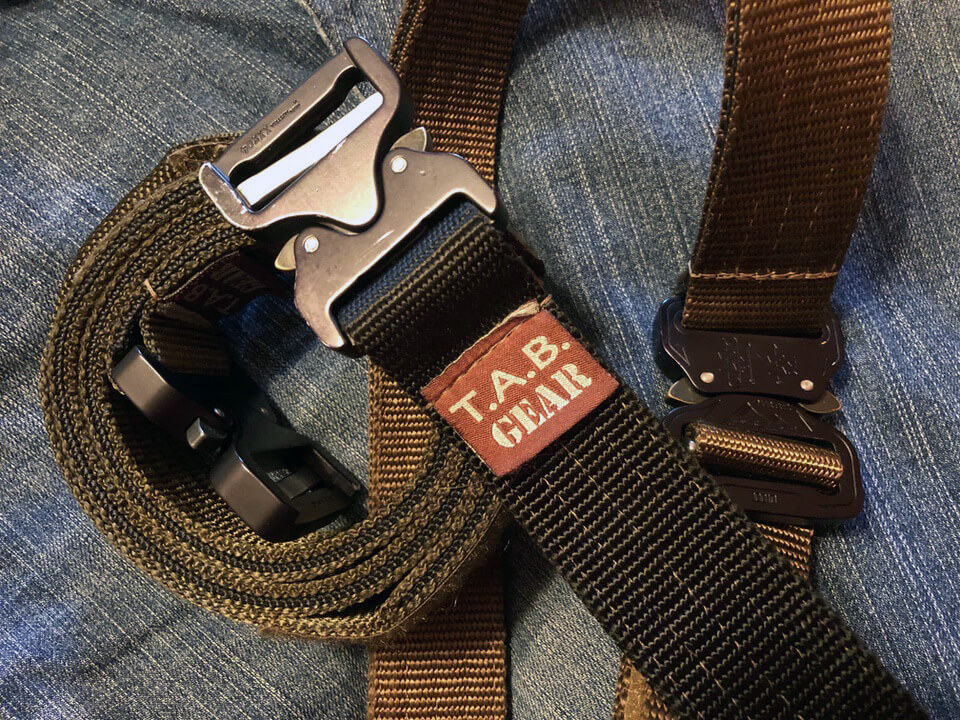
A belt used with a holster must be sturdy. It should fit tightly against your body and keep your holster from sagging or coming up along with the gun as you draw. Be cautious of standard leather and dress belts, as they tend to wear, stretch and crack. You may find yourself fumbling on the draw and while re-holstering if the belt isn’t sturdy. Pairing a sturdy belt with an OWB holster allows you to keep your mind on the lesson and not stress about drawing or returning the gun to the holster.
Also for training purposes, Elizabeth is using a magazine carrier to store her extra magazine. I recommend open-top carriers, since they are faster to manipulate. Using a magazine carrier not only makes reloading easier on the range (she always knows where her extra magazine is), but also it helps her get repetitions in, should she decide to compete in a new shooting discipline.
Live The Armory Life. The latest content straight to your inbox plus an automatic entry to each of our monthly gun giveaways!
Four Firearm Safety Rules
- Treat all guns as if they are loaded.
- Never point a gun at anything you don’t want to destroy.
- Keep your finger off the trigger until you’ve made the conscious decision to shoot.
- Be sure of your target and beyond.
Drawing from a Holster
Drawing a pistol from a holster and drawing from concealment are two very different skills. Since Elizabeth is just learning how to use her holster, we are only going to concentrate on that type of draw. Our main goal when we teach holster draw at Cerino Consulting and Training Group is to get the gun into your plane of vision as quickly as possible while obtaining the sights.
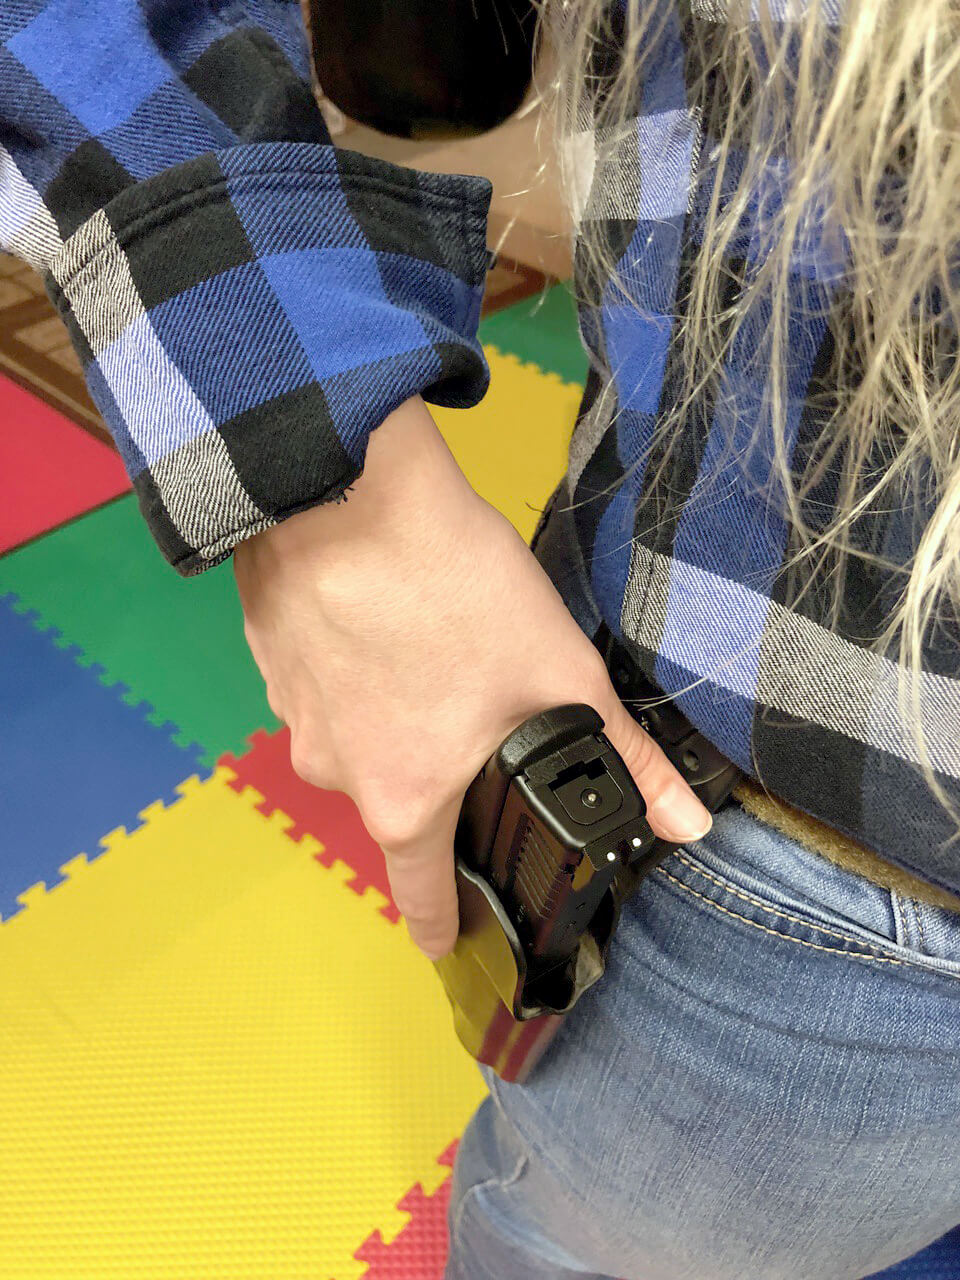
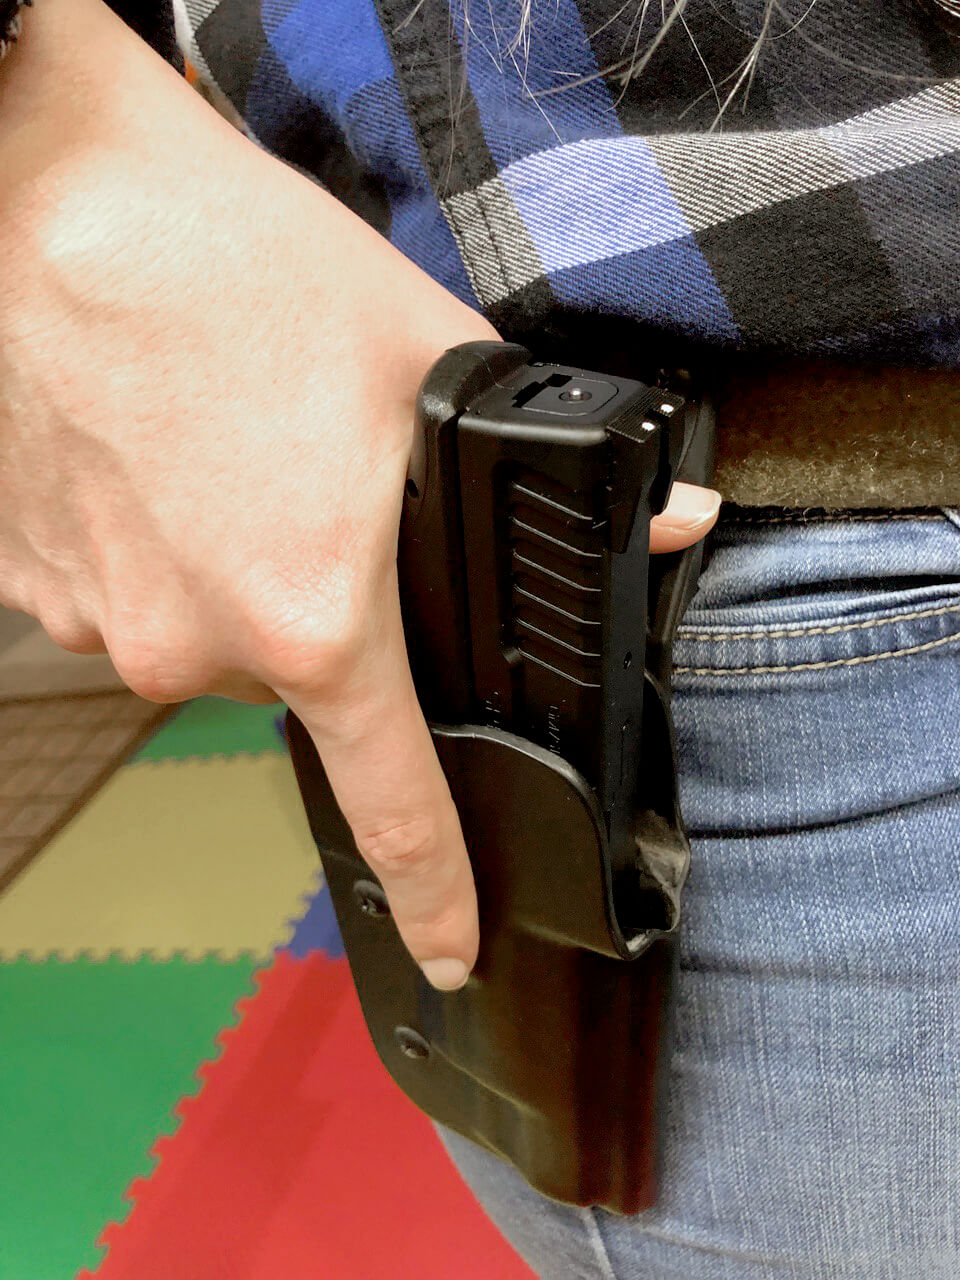
Shoot your elbow back and obtain a master grip, high in the backstrap with your trigger finger straight and alongside the frame. Pluck the gun straight up, out of the holster, while rotating the muzzle downrange.
With the muzzle oriented downrange, bring the gun up to meet your support hand, somewhere near chest level.
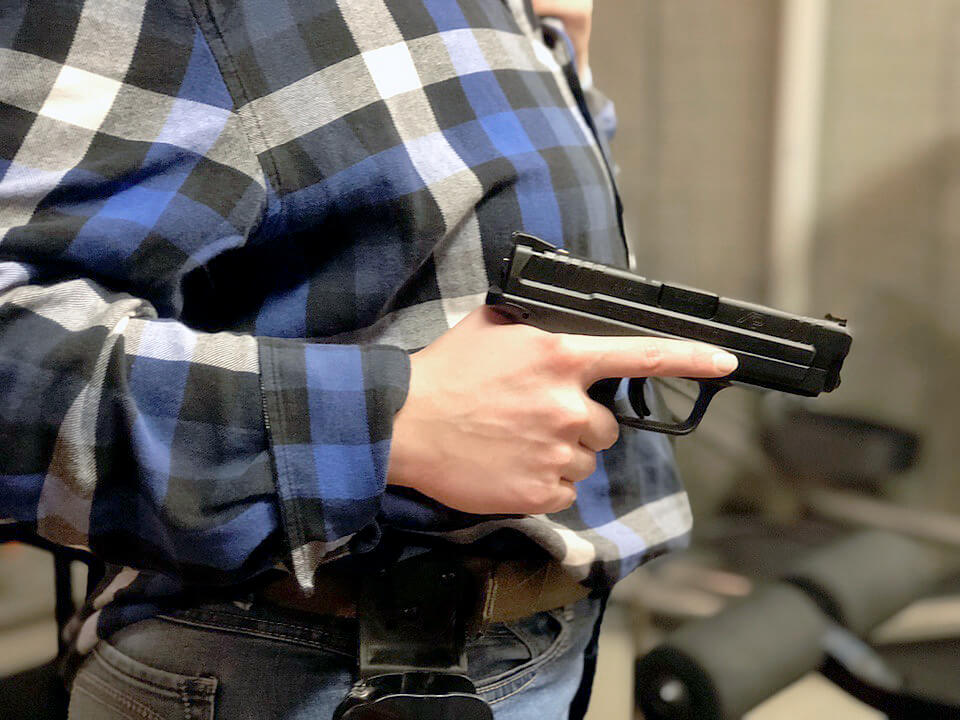
Press the gun out toward the target while bringing the sights into your line of vision and completing a two-handed grip.
Repeat the process to return the gun to the holster, almost like the gun is on a rail. If necessary, look your gun unto the holster.
With a confirmed empty gun and no ammunition in the room, Elizabeth practiced manipulating her gear and drawing the gun numerous times. She started working very slow and practiced getting smooth with the draw. Lining up the sights and pressing the trigger were added once she felt comfortable with the movement and didn’t fumble.
Conclusion
Learning to manipulate your gear is an extremely important part of firearms training. Dry practicing at home is the perfect way to learn the movements in a safe environment without recoil or the loud noise of the range.
Read part one of the series here, part two of the series here, part four of the series here, and part five of the series here.
Editor’s Note: This article was written by Michelle Cerino and shared with us by Women’s Outdoor News. Also, be sure to check out The Armory Life Forum, where you can comment about our daily articles, as well as just talk guns and gear. Click the “Go To Forum Thread” link below to jump in!
Join the Discussion
Featured in this article
Share


Continue Reading
Did you enjoy this article?

 57
57
Springfield Armory® recommends you seek qualified and competent training from a
certified instructor prior to handling any firearm and be sure to read your owner’s manual. These
articles and videos are considered to be suggestions and not recommendations from Springfield Armory. The views
and opinions expressed on this website are those of the authors and do not necessarily reflect the
views and opinions of Springfield Armory.
Product prices mentioned in articles and videos are current as of the date of publication.

Michelle Cerino
Michelle Cerino is the managing editor at Women’s Outdoor News and author of Gear Up, sponsored by Springfield Armory and Princess Gunslinger. She also freelances for other industry magazines including Combat Handguns, Person Defense World and New Pioneer Magazine. Michelle is the president of Cerino Consulting and Training Group LLC, a firearms training company she built with her husband Chris in 2011. They instruct both civilians and law enforcement. Her path in the firearms and outdoors industries is ever progressing. She is writing, hunting, competing and doing contract work for major manufacturers. Michelle is a proud Life Member of the NRA, and also belongs to NSSF, AG&AG and ILEETA.
