
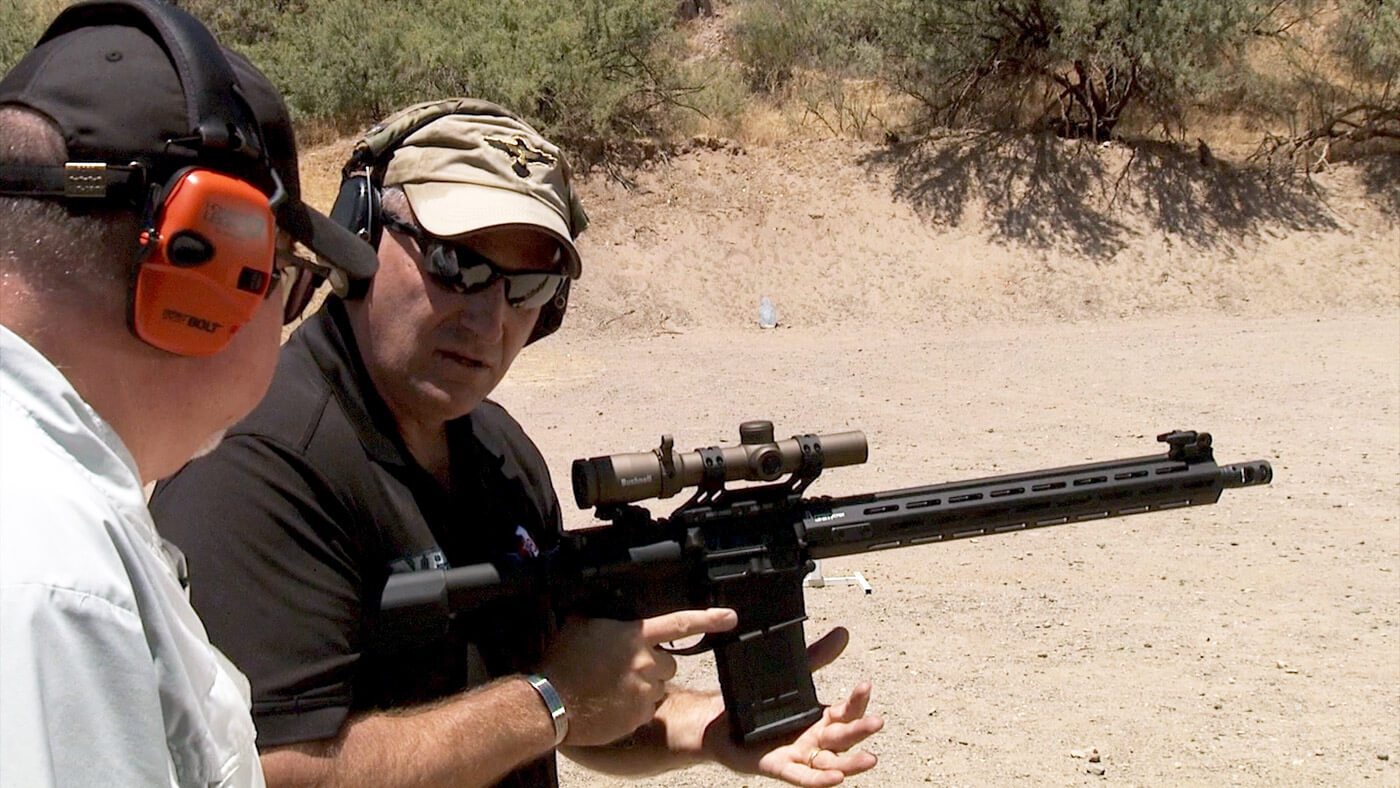
When a rifle goes down at the range or in a defensive situation, the difference between panic and performance is training. In a recent session at the Cowtown USA range in Peoria, Arizona, I sat down with Freddy Blish, an instructor from Gunsight Academy, to walk through the realities of carbine malfunctions and how to clear them efficiently.
This article distills that conversation into a practical guide to identifying and clearing the most common carbine malfunctions.
“Jam” Is Not a Diagnosis
One of the first points Freddy makes is about language.
People often say, “My gun jammed.”
But “jam” does not tell you what actually went wrong.
In military terminology:
- A stoppage is something you can fix immediately in the field.
- A malfunction usually requires tools or an armorer.
In civilian training, these terms are often mixed together. For simplicity, most shooters categorize malfunctions into Type 1, Type 2, Type 3, and the less common Type 8.
Understanding the type tells you exactly what to do next.
Type 1 Malfunction: Failure to Feed or Failure to Fire
What it looks like: You press the trigger, and instead of a bang, you get a click.
This can be caused by one of several things:
- Magazine not fully seated
- Bad primer
- Bolt failing to strip a round
Immediate action: Push, Pull, Roll, Rack
- Push Pull the magazine to ensure it is fully seated.
- Roll the rifle so the ejection port faces downward and let gravity help.
- Rack the charging handle.
- Get back in the fight.
This simple sequence fixes the vast majority of simple stoppages.
Type 2 Malfunction: Failure to Eject
What it feels like: a mushy trigger and likely a casing partially stuck in the ejection port. The good news is that the fix is the same as Type 1: seat the magazine, roll the rifle, rack the charging handle, and continue shooting.

Consistency matters. Using the same immediate action for both Type 1 and Type 2 simplifies your training under stress.
Type 3 Malfunction: Double Feed or Failure to Extract
This is where things get more serious.
What it looks like:
- An empty case still in the chamber
- A live round is trying to feed behind it
- The bolt will not go forward or back normally
Immediate action does not fix this. You must perform a remedial action.

How to clear a Type 3 malfunction in your rifle:
- Lock the bolt to the rear. This relieves pressure on the magazine.
- Strip the magazine out. Rip it out forcefully.
- Sweep the magazine well with your fingers. Clear any loose rounds or brass.
- Rack the charging handle three times:
– First time about a 50 percent chance of clearing it
– Second time about a 90 percent chance
– Third time clears the stubborn last 10 percent - Insert a fresh magazine.
- Rack and get back in the fight.
A key training point is not break your master firing grip unnecessarily while running the charging handle. Maintain control and muzzle discipline at all times.
Type 8 Malfunction: Brass Over Bolt
This is rare, but ugly. What it looks like:
- A piece of brass is stuck between the bolt and the charging handle.
- The charging handle moves, but the brass moves with it.
This often happens when someone improperly clears a Type 3 malfunction.

The simple fix:
- Press the bolt catch and lock the bolt to the rear.
- The trapped brass will fall free.
Just lock the bolt back and let gravity do the work.
Key Training Takeaways
- Stop saying “jam.” Identify the type of malfunction.
- Most problems are solved with the Push, Pull, Roll, Rack method.
- Type 3 malfunctions require a deliberate, multi-step clearance.
- Always maintain muzzle discipline, master firing grip, and controlled, repeatable motions.
As Freddy points out, malfunctions do not happen when it is convenient. They happen when stress is high. The only way to perform smoothly is to train these sequences until they are automatic.
Final Thoughts
Carbine reliability is excellent, but no mechanical system is perfect. Knowing how to diagnose and clear malfunctions quickly is a core skill for any serious shooter.
Whether you are a student, instructor, or enthusiast, mastering these four malfunction types can mean the difference between standing there confused and getting decisively back in the fight.
Train smart. Train deliberately. And do not let a simple stoppage end your day.
Join the Discussion
Featured in this video

Share


Continue Reading
Did you enjoy this video?

 34
34
Springfield Armory® recommends you seek qualified and competent training from a
certified instructor prior to handling any firearm and be sure to read your owner’s manual. These
articles and videos are considered to be suggestions and not recommendations from Springfield Armory. The views
and opinions expressed on this website are those of the authors and do not necessarily reflect the
views and opinions of Springfield Armory.
Product prices mentioned in articles and videos are current as of the date of publication.

Yamil Sued
Yamil is a graduate of the prestigious Brooks Institute of Photographic Arts and Sciences in Santa Barbara, CA with a Major in Illustration Photography and Color Technology with over 34 years of professional experience. Yamil started his professional relationship with the Shooting Industry in 1995 and has since worked with companies like Springfield Armory, S&W, Glock, FNH USA, Remington, Bushmaster, Bushnell, Leupold, Aimpoint, PWS, Vortex Optics, Cor-Bon Ammunition, ERGO Grips, AmeriGlo Sights, Krause Publications, Comp Tac Victory Gear, The Beta Company, IDPA, MGM Targets, Rainier Ballistics, Rock Castle Shooting Center, SIG Sauer and was a Staff Photographer for Cabela’s in Sidney, NE. Yamil is also a Writer and Photographer for Guns & Ammo, Guns & Ammo SIP's and Gun Digest.
