
When you are faced with a deadly threat, you may only have fractions of a second to respond. Are you prepared? Do you have the right gear and training to respond when you must? Let’s say that you do. What if that response does not work?
The most basic of self-defense training is the center-mass shot. Making sure that you can effectively hit in the upper, central portion of a silhouette target is one of the most basic skills you should master. But what if those hits prove ineffective?
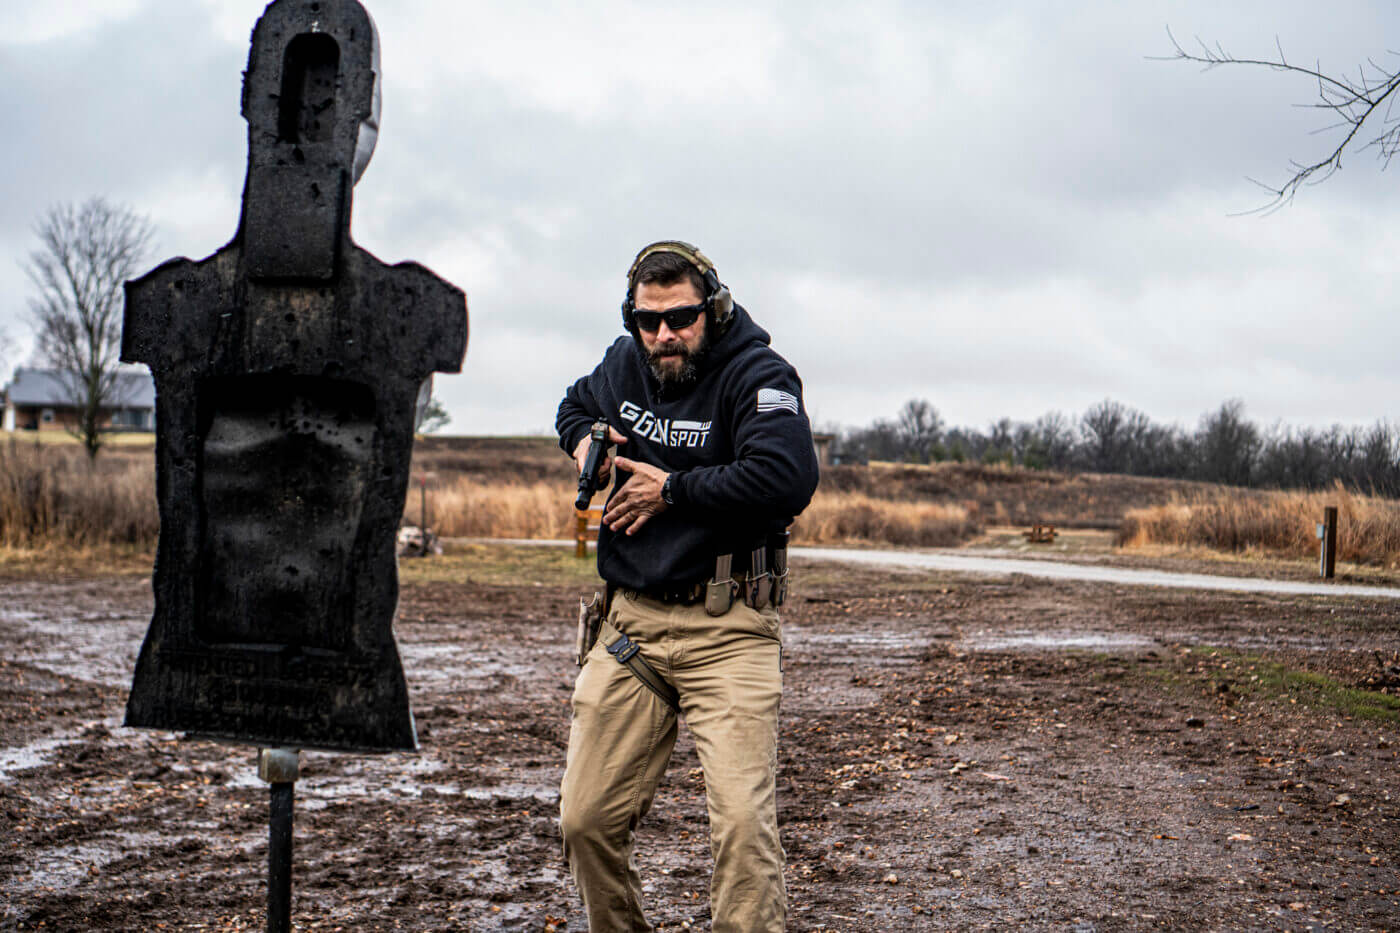
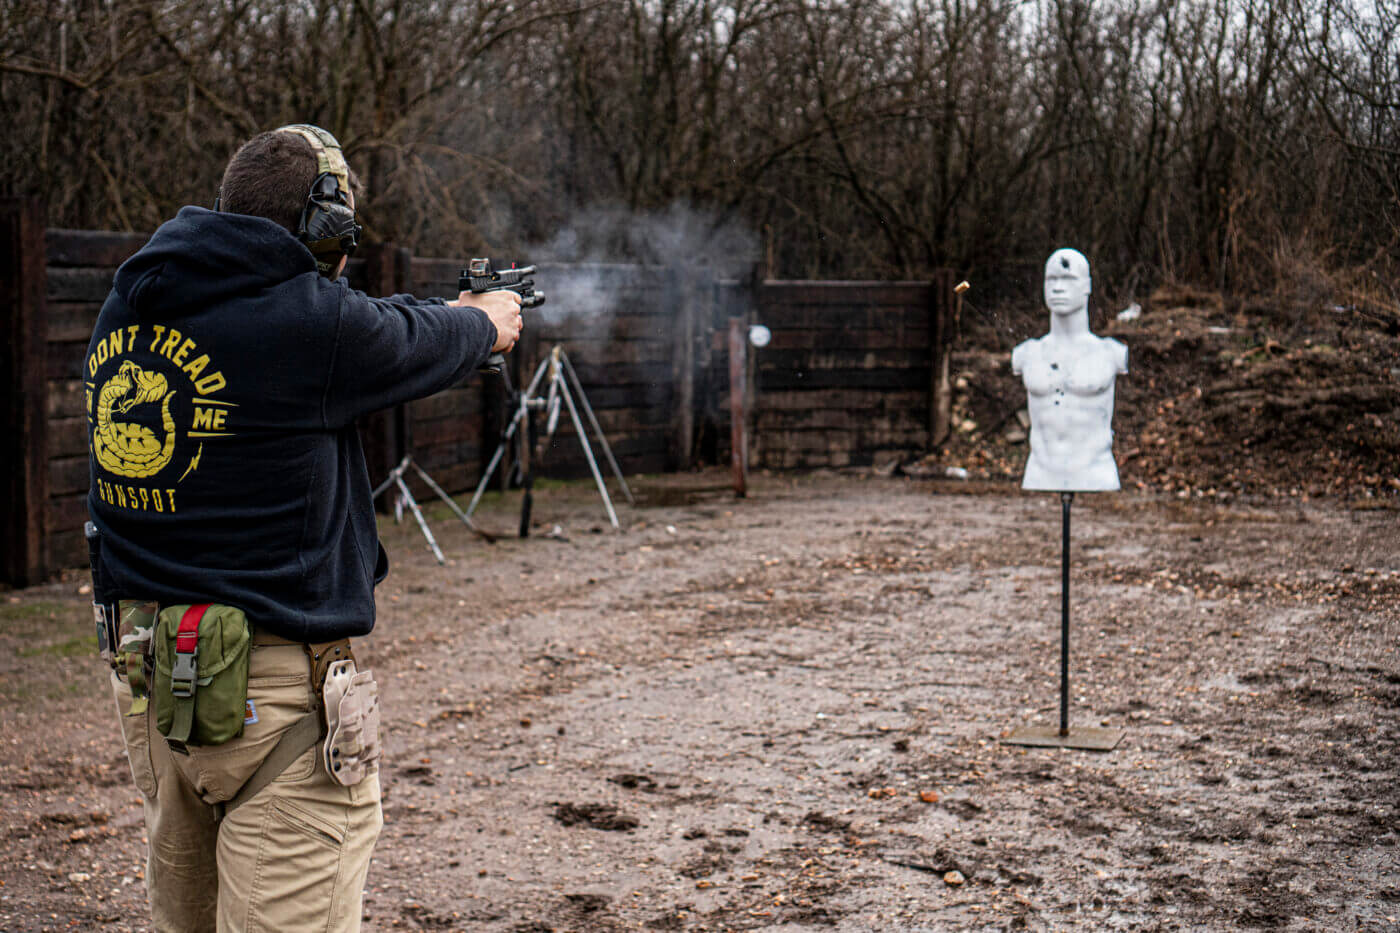
Grant, our Chief Instructor here at GunSpot, served as a Marine and as a SWAT officer. During his time in law enforcement, a drill he would run for practice is one commonly known as the “Failure To Stop Drill.”
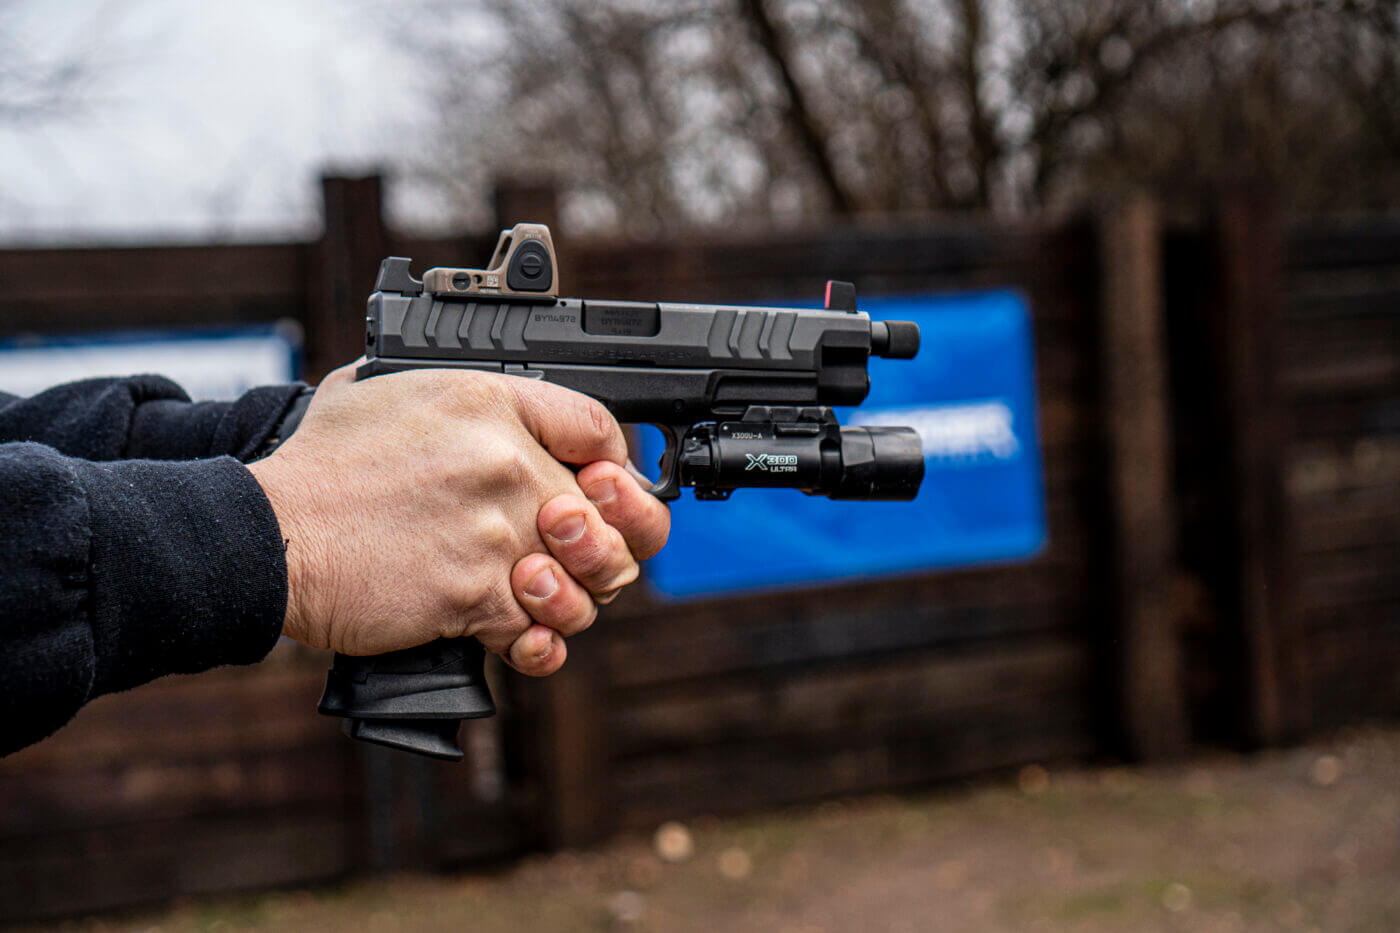
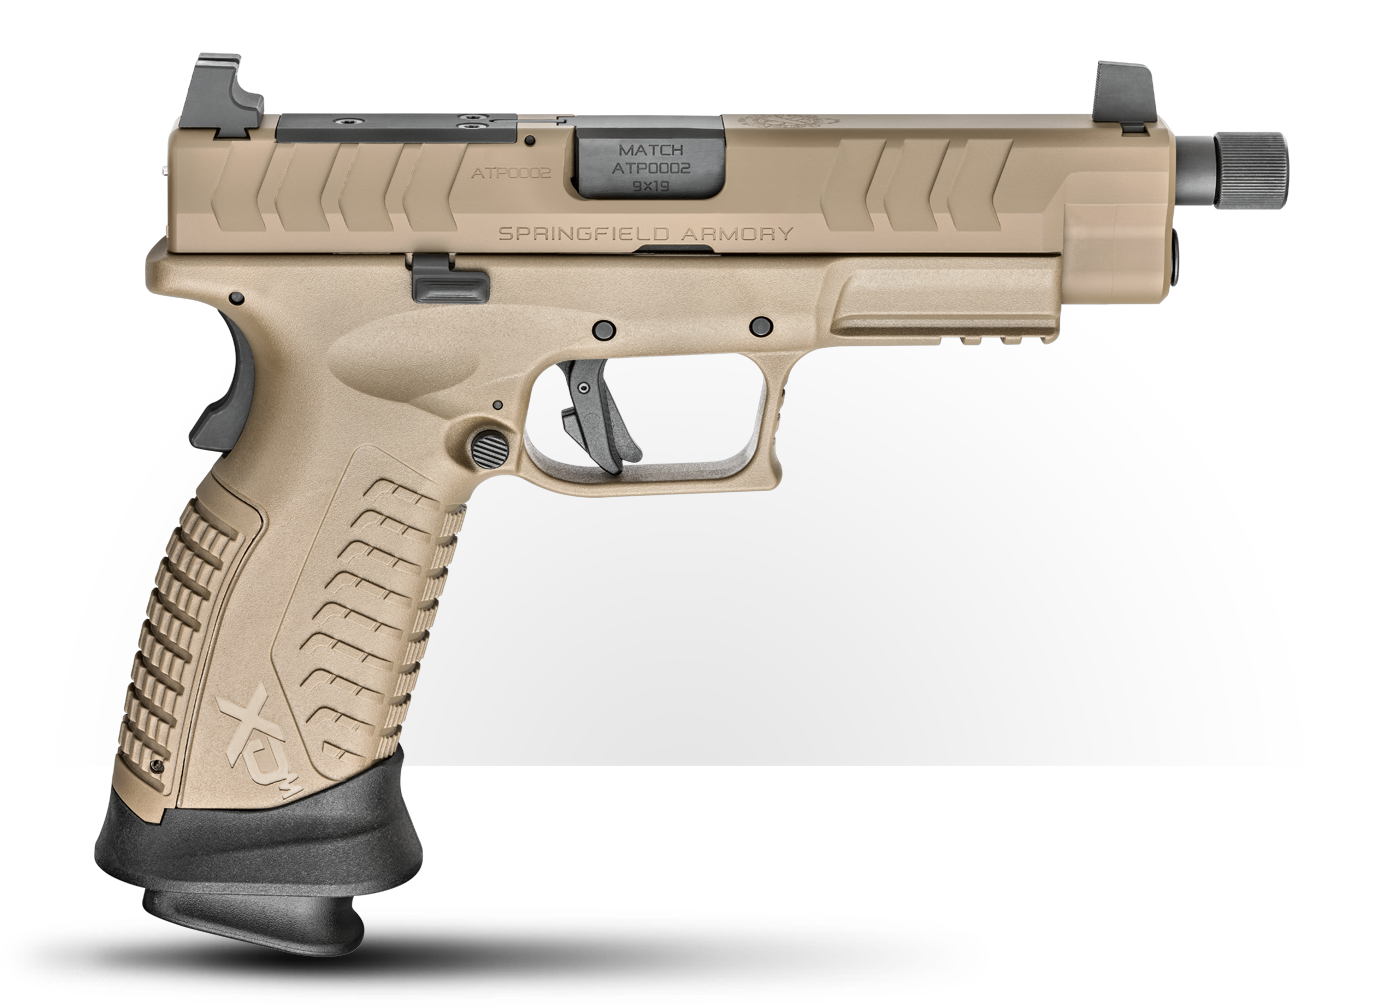
In the drill, which you can see at the top of this page, Grant runs us through the steps and details of this very important skillset. He is running a Springfield Armory XD-M Elite Tactical OSP 9mm and using a Rubber Dummie 3D Silhouette Target.
Last-Ditch Response?
The Failure To Stop Drill is pretty much what it sounds like. If you have a threat who is actively moving toward you to assault you and you need to put them down as quickly as possible, this is the drill that prepares for that. In this threatening situation where there is a sense of urgency to neutralize the threat quickly, it’s possible they could have a weapon themselves like a blade, a blunt object or even a gun.
The Failure To Stop Drill has multiple variations but, in the basic sense, it consists of three total shots — two shots in the chest, and then one to the head. Why would you need to do this? Your shots to the chest might not incapacitate them in time before they can reach you, or they might be wearing body armor that has protected them from the initial shots.
Mastering the Steps
The Failure To Stop Drill can have a lot of moving parts and, if you practice it correctly, it can be a challenge. So, we encourage you to start with some small steps. First off, Grant suggests starting by drawing your gun and placing a single shot on the target in the chest.
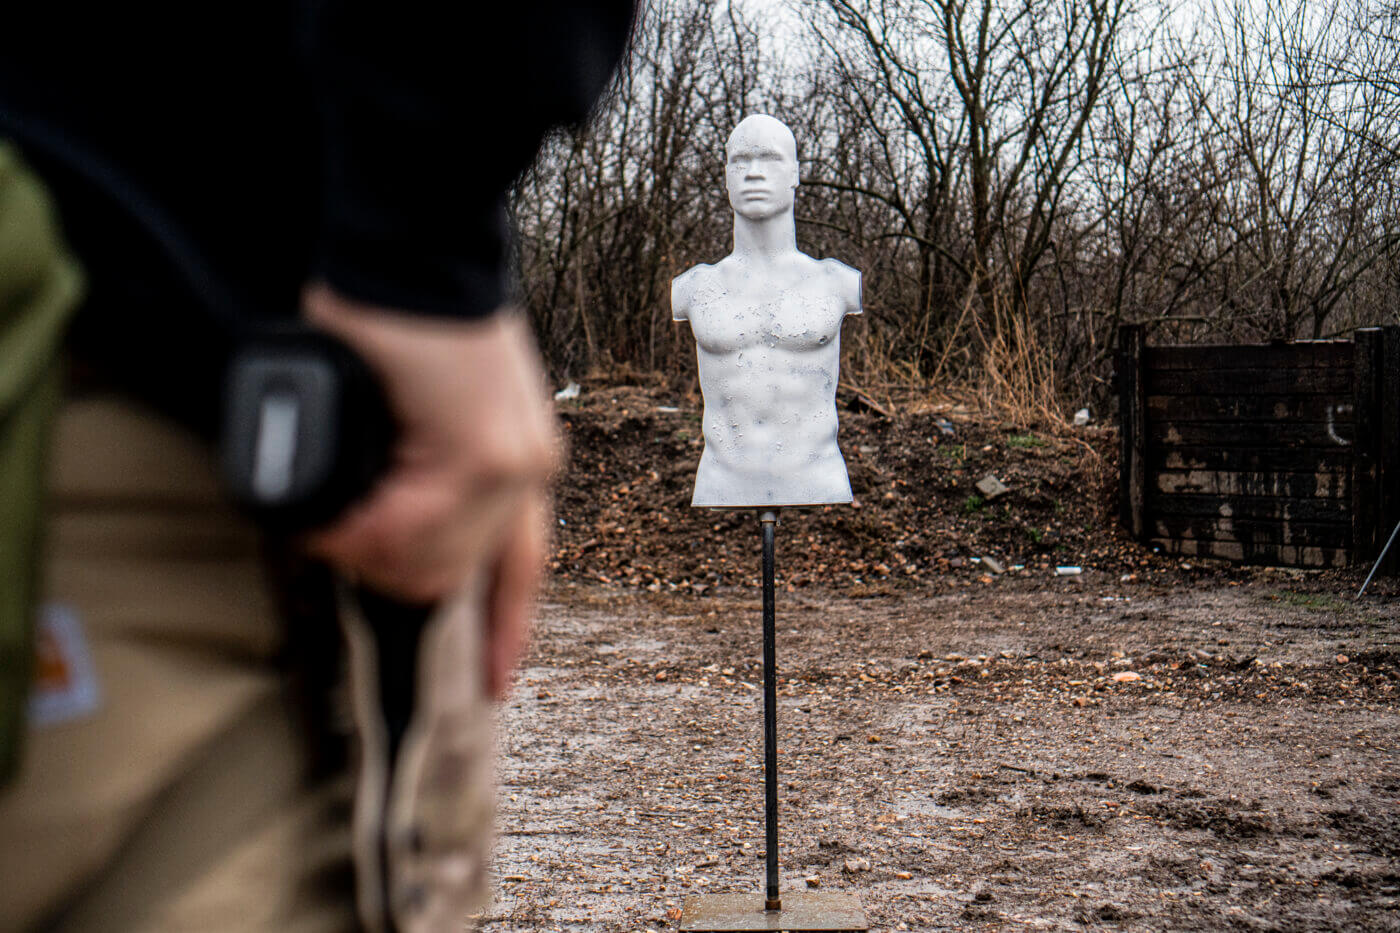
It’s up to you whether you practice with a duty holster or your everyday concealed carry set-up. I would say it’s best to practice however you carry mostly. If you can draw and consistently hit the center of the chest in the first shot, you are most likely fine to move on.
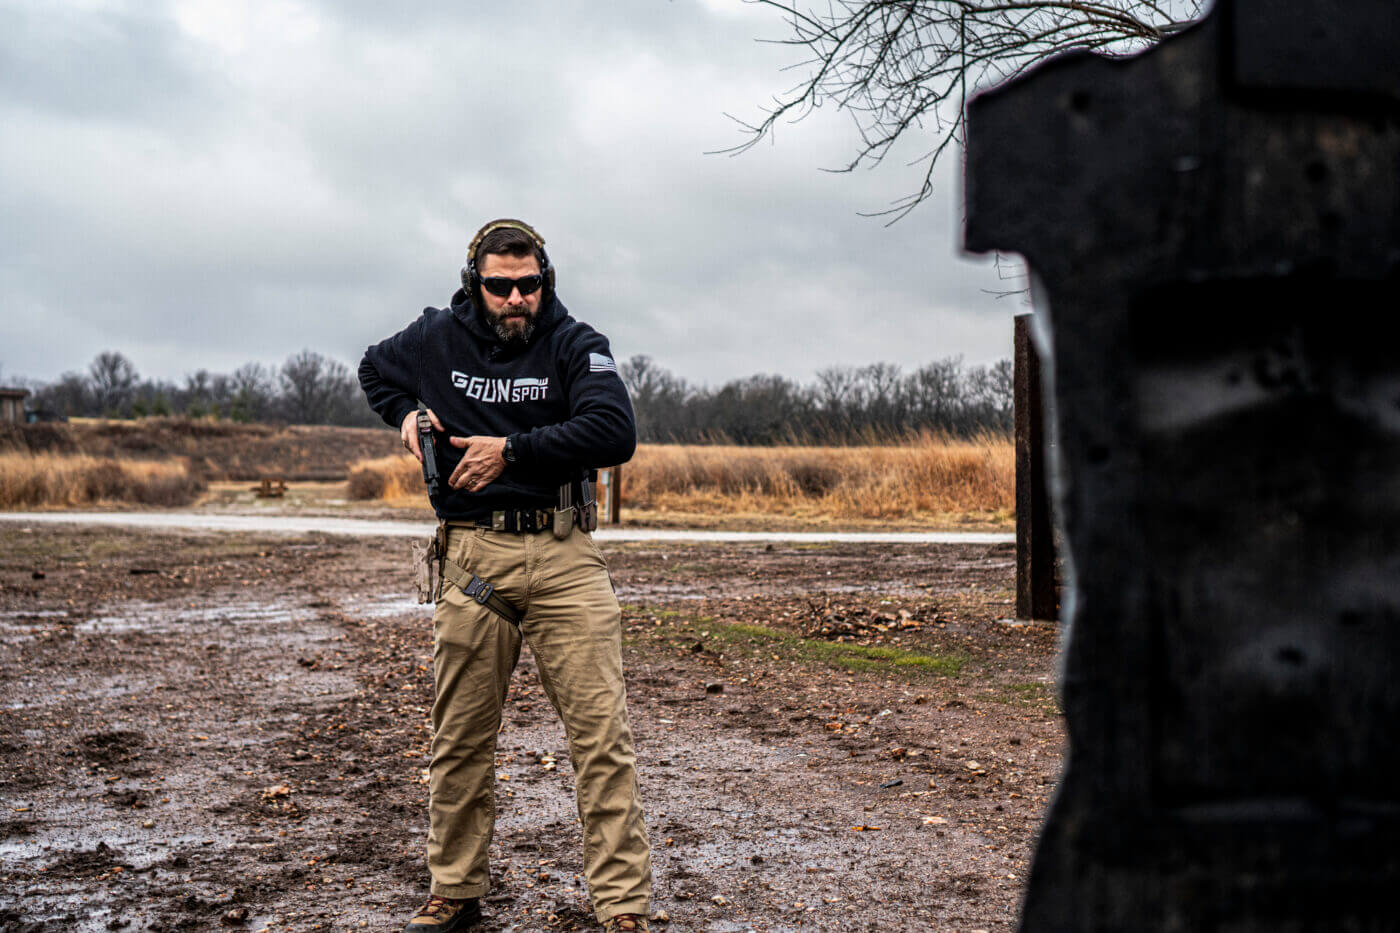
The next steps would be adding in the second shot to the chest and the final one to the head. The biggest step, literally, would be adding in movement. If we practice with the context in mind, remember the threat is probably running toward you with a knife or other weapon. So, as you get comfortable, it’s best to add in movement like a backpedal. In this case, you will draw your gun, fire two shots in the chest and then one in the head, all while you backpedal to create distance.
Live The Armory Life. The latest content straight to your inbox plus an automatic entry to each of our monthly gun giveaways!
The final step if you want to practice it fully is incorporating a voice command. Keep in mind that the threat is advancing toward you, so do all of the motions we mentioned while yelling commands like “STOP!” before you shoot.
Adding this final step to all the motions will challenge you, physically and mentally. Admittedly, this is a lot of stuff to think about in one drill. And believe us, it will be sure to challenge you. But self-defense is serious business, and you must practice and prepare if you carry a gun for self-defense.
Editor’s Note: Please be sure to check out The Armory Life Forum, where you can comment about our daily articles, as well as just talk guns and gear. Click the “Go To Forum Thread” link below to jump in!
Join the Discussion
Featured in this video

Share


Continue Reading
Did you enjoy this video?

 209
209
Springfield Armory® recommends you seek qualified and competent training from a
certified instructor prior to handling any firearm and be sure to read your owner’s manual. These
articles and videos are considered to be suggestions and not recommendations from Springfield Armory. The views
and opinions expressed on this website are those of the authors and do not necessarily reflect the
views and opinions of Springfield Armory.
Product prices mentioned in articles and videos are current as of the date of publication.

GunSpot
GunSpot was created to be the one spot for everything gun-related. With us, you can buy or sell guns. We have everything from small-caliber pistols to belt-fed machine guns. And on the GunSpot Academy, you can find high-quality original content. In our content, you will see two faces regularly. Dylan Casey is a gun enthusiast with a digital media degree who is GunSpot's Creative Director. Then there is Chief Instructor Grant LaVelle, who has decades of experience training Marines, police officers and citizens alike. Grant served with and taught marksmanship for the United States Marine Corps. After his time with the Marines, Grant served as a SWAT sniper.
