
Grant LaVelle has been training military, law enforcement, and civilians since 1992, when he completed Marksmanship Instructor School at Camp Lejeune, North Carolina, while serving in the United States Marine Corps. For his carbine classes today, Grant devised a drill called The Crusher Drill.

Why, might you wonder? Truth be told, I didn’t really know when we started this assignment. But after having seen it, I gather it’s because it totally crushes the user by pushing his skillsets to the limit. So, if you’re up for a challenge and want a drill that is not for the masses and will crush you and push your training for every skill, then let’s get started.
Crusher Drill Details
The Crusher Drill comprises five stages at five distances and five positions. The drill uses 15 rifle rounds and four pistol rounds for a total of 19 shots to complete the exercise. The drill is shot using the B8 scoring target, and the fire sequence starts at 100 yards and will advance up to point-blank. The Crusher in Grant’s classes is run with time and scoring elements. A perfect score at the end would be 190 points. The faster you can run it, the better.

The drill is made up of shooting, sprinting to the next distance shooting, and then sprinting until the end. As a result, this drill will build marksmanship skills under pressure and with an elevated heart rate. It will also help build up some cardiovascular endurance, no doubt. You will also test gear thoroughly and practice engaging your safety on and off as you move and shoot. This drill will also force you to practice firing from unconventional positions. Another essential skill you will have to learn is where your holdovers are for the target at different distances. This drill will show you how well you do or don’t know your zero. Remember, it really tests a broad range of skills.
Prepping the Field
When preparing to run this drill, here are some things to consider. Wear what you would wear if you were forced to face a real gunfight. Now, if you are military, law enforcement or a civilian, each set-up may look very different.

If you are in some facet of armed service, you might want to wear your body armor, chest rig, full uniform, or gear you usually wear. You would like to run it with your own equipment if you are a civilian, such as your plate carrier, or maybe while wearing your “get home bag” loaded with gear. This drill is a great way to test your equipment out, to see if it’s conducive for fighting, and to see if you can move in it. This will help you know if your gear choices are the right choice.
Live The Armory Life. The latest content straight to your inbox plus an automatic entry to each of our monthly gun giveaways!
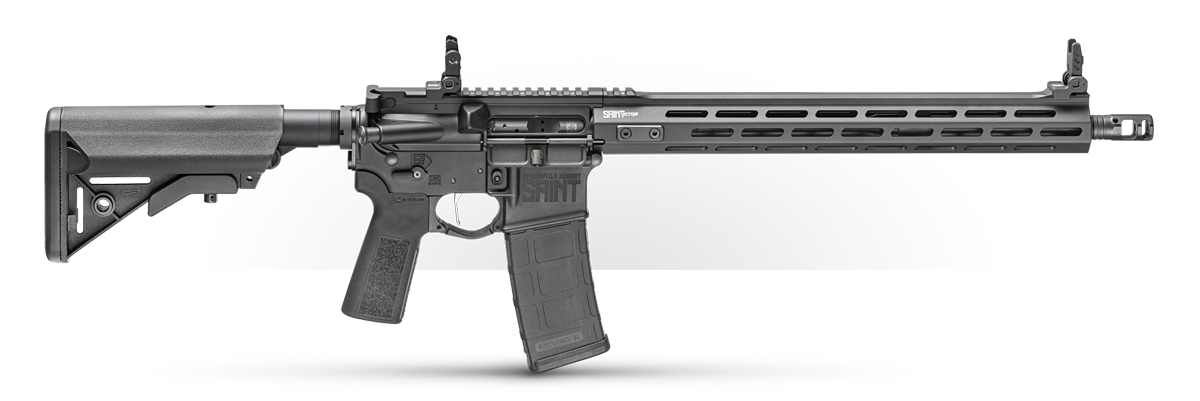
If you want to drive yourself harder regarding physical fitness, adding weight can challenge you significantly. Practice makes perfect, so be sure to outfit yourself with appropriate gear. As far as firearms needed, you will need a reliable pistol and rifle/carbine. Again, it’s best to choose what you would actually have and use it in an actual defensive-style situation; for some of us, that may mean choosing our concealed carry pistol over a range belt and full-size pistol.
Stage 1: 100 Yards
Stage 1 of The Crusher Drill starts at 100 yards, standing and ready to move. At the sound of the shot timer, a friend’s cue, or just whenever you feel like starting if you are on your own, you will drop into the prone position immediately at the 100-yard mark. From there, you will fire three rounds from your rifle onto the target. After firing and placing the gun on “safe”, get up and run to the next stage at 75 yards. Remember, the goal is to be both fast and accurate, so at every stage, you must find the balance between speed and accuracy.
Stage 2: 75 Yards
Run to the 75-yard mark, and from here, fire three rounds out of your rifle from the patty squat position.

All these positions could be swapped for different ones, but the important thing is that you are selecting positions that require you to move and shoot in ways you usually might not. Controlling your breathing after running while being in a squat, kneeling or another position can be a challenge.
Stage 3: 50 Yards
At this stage, you will run to the 50-yard mark and get into a kneeling position. From there, fire three rifle rounds again at the target.

By now, for sure, you should be breathing pretty heavily. Control your heart rate and fire. Adding in a high heart rate is one of the best ways to practice shooting under adrenaline. There is no substitute for genuinely having an adrenaline rush like in life and death situations, but this is about as good as it gets when trying to emulate that scenario.
Stage 4: 25 yards

This stage consists of running again, this time to the 25-yard mark, and dropping back into a patty squat. Patty squat is a position Grant prefers to practice since he has used it in real-world situations where he wanted to remain concealed in the brush but still be able to peer over the top. From here, you fire three more rifle rounds onto the B8 target before proceeding.
Stage 5: 10 Yards
Finally, at stage 5, you must run up to the 10-yard line. From here, stand and present your rifle out onto the target. While standing, fire three more rifle rounds onto the target, then transition to your pistol as you advance on the target. While moving toward the target, fire four pistol rounds into the target.

After that, you have completed all the stages of The Crusher Drill, and it’s time to check your score and time. Grant treats any hits outside the 8 ring as a miss.
Safety Precautions
Grant has some safety measures that he suggests you use, especially if you are not all that confident using your weapons yet. First, it is important to always engage your safety after you finish firing and start to move again. The same goes, of course, for when you transition to the pistol. Grant also suggests perhaps loading your rifle to the exact round count of 15 rounds in your rifle and four rounds in your firearm. This will leave your rifle empty when you transition to the pistol, and the pistol empty at the end.
Conclusion
The Crusher Drill is a drill that will crush you, but in doing so, it will build you back up even better. You will be a better shot that is in better physical shape, and you will weed out gear that is uncomfortable or doesn’t work.
As you get better, add in other factors like practicing deploying your bipod in prone or using a secondary offset sight at some stages. Work out not only your body but your brain by challenging your thinking as you perform the drill. We hope you will give this drill a shot, and hopefully, you will crush it.
Editor’s Note: Be sure to check out The Armory Life Forum, where you can comment about our daily articles, as well as just talk guns and gear. Click the “Go To Forum Thread” link below to jump in!
Join the Discussion
Featured in this video


Share


Continue Reading
Did you enjoy this video?

 95
95
Springfield Armory® recommends you seek qualified and competent training from a
certified instructor prior to handling any firearm and be sure to read your owner’s manual. These
articles and videos are considered to be suggestions and not recommendations from Springfield Armory. The views
and opinions expressed on this website are those of the authors and do not necessarily reflect the
views and opinions of Springfield Armory.
Product prices mentioned in articles and videos are current as of the date of publication.

GunSpot
GunSpot was created to be the one spot for everything gun-related. With us, you can buy or sell guns. We have everything from small-caliber pistols to belt-fed machine guns. And on the GunSpot Academy, you can find high-quality original content. In our content, you will see two faces regularly. Dylan Casey is a gun enthusiast with a digital media degree who is GunSpot's Creative Director. Then there is Chief Instructor Grant LaVelle, who has decades of experience training Marines, police officers and citizens alike. Grant served with and taught marksmanship for the United States Marine Corps. After his time with the Marines, Grant served as a SWAT sniper.
