
Editor’s Note: This video series is a special presentation from Panteao Productions, providing The Armory Life with an excerpted series of videos from its “Make Ready with Hilton Yam: 1911 Duty Tune”. Stay tuned over the next several Sundays to see each new installment, and there is a link at the bottom of the page to a special subscription promo for you. So, be sure to check it out!
This video is the second of the series. You can view the other parts using the following links:
- Part 1: Introduction
- Part 3: Polishing & Prepping
- Part 4: Fitting & Tuning
- Part 5: More Fitting & Tuning
- Part 6: Final Tuning & Test Firing
In this second excerpt from “Make Ready with Hilton Yam: 1911 Duty Tune”, we dive into the next three excerpted chapters of the video above. In this segment, Yam gives us the details on not only a basic fieldstrip, but also a full teardown of the pistol.
The Details
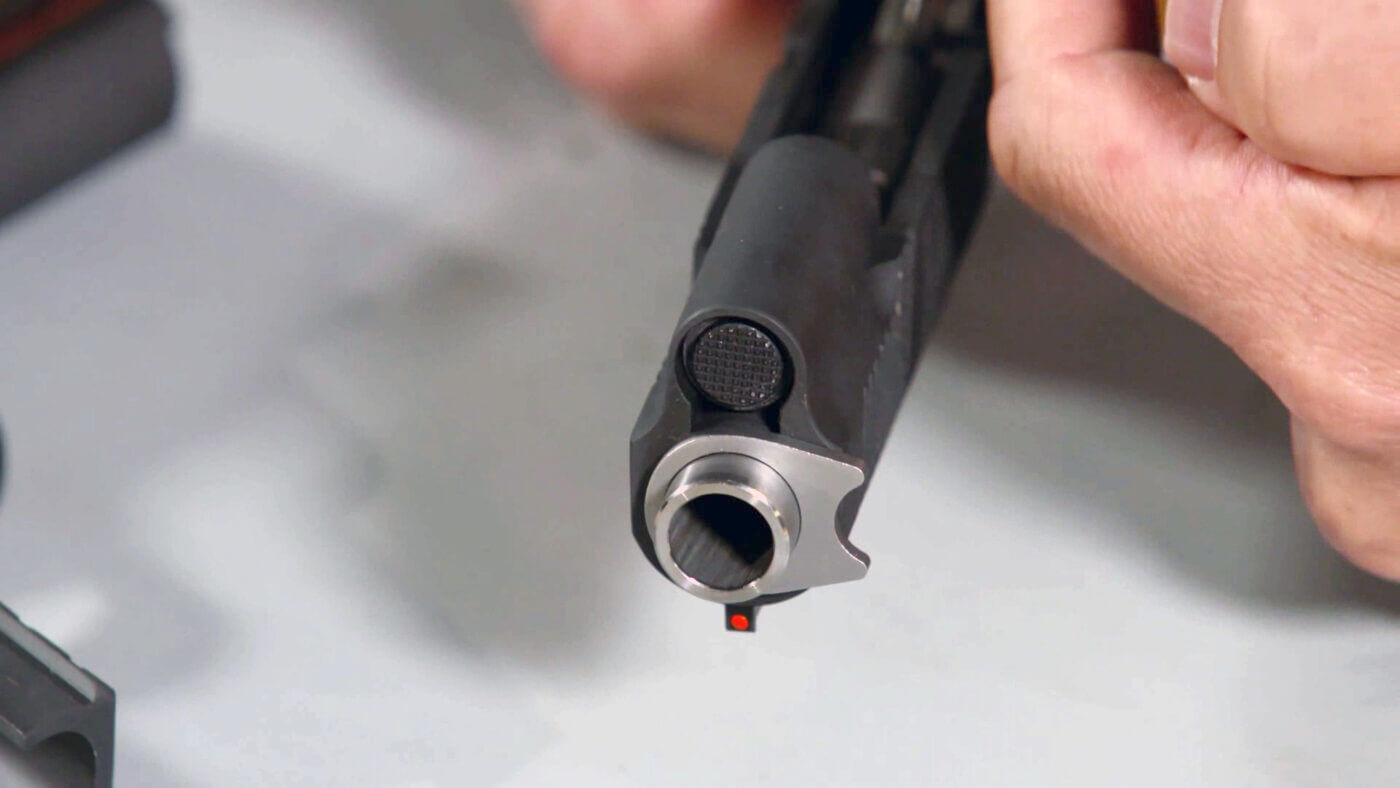
In the first portion of the segment, Yam shows us a fieldstrip method that is a bit different than what you probably have seen before. Taught to him by Army Marksmanship Unit legend John Miller, this method is designed to prevent unnecessary wear of the bushing and its interface point on the barrel. This preserves the barrel to bushing fit.
Next, we get into the inner parts of the slide. Yam employs a slightly different method than is commonly seen for taking down the slide parts to help prevent losing springs and risking injury — specifically regarding the firing pin.

Next, we take a look at taking down the final and most difficult frame-mounted parts. Yam points out that is section is not for the faint of heart, so if you have had trouble with the earlier slide teardown — know your limitations. From factory grip screw bushings that may have been staked to difficult plunger tube removals, this makes up the final steps for tearing down your pistol.
Live The Armory Life. The latest content straight to your inbox plus an automatic entry to each of our monthly gun giveaways!
Conclusion
So, check out the video above, and be sure to stay tuned over the coming Sundays to see each new installment!
Editor’s Note: Please be sure to check out The Armory Life Forum, where you can comment about our daily articles, as well as just talk guns and gear. Click the “Go To Forum Thread” link below to jump in and discuss this article and much more!
Join the Discussion
Featured in this video


Share


Continue Reading
Did you enjoy this video?

 33
33
Springfield Armory® recommends you seek qualified and competent training from a
certified instructor prior to handling any firearm and be sure to read your owner’s manual. These
articles and videos are considered to be suggestions and not recommendations from Springfield Armory. The views
and opinions expressed on this website are those of the authors and do not necessarily reflect the
views and opinions of Springfield Armory.
Product prices mentioned in articles and videos are current as of the date of publication.

Panteao Productions
Panteao is your one-stop source where you can learn from the best teachers available. Subscribers have unlimited access to the entire Panteao video library, allowing you to watch what you want – when you want – as often as you want. You can stream hundreds of videos seamlessly across all your devices. You can also purchase many of Panteao’s videos on DVD or Digital Downloads. No one else delivers this much content from so many instructors all in one place.
