Basic Two-Handed Shooting Stances
![]() June 9th, 2024
June 9th, 2024
![]() 8 minute read
8 minute read
It took a long time in the history of the handgun, but most folks finally figured out that for accuracy and speed, two hands were better than one.
Just as one style of karate might tend toward linear blocks while another leaned more in the direction of circular blocks, handgunners found that there were different ways to execute pistol shooting stances using two hands.
Let’s look at some of the most common.
Classic Weaver Shooting Stance
In the first half of the 20th Century some experts — J.H. Fitzgerald, Ed McGivern, the Sykes-Fairbairn team, and Elmer Keith to name a few — gave nodding recognition to the two-hand stance, but suggested it primarily for precision shots at unusually long range. The man who really popularized what might be called the “hands-gun stance” was Jeff Cooper circa 1960.
Col. Cooper had begun his Leatherslap combat-oriented pistol matches in California, and had observed the striking performance of Los Angeles County Deputy Sheriff Jack Weaver, who was using both hands.
Weaver was followed in that by other greats of the time, Ray Chapman and Elden Carl in going two-handed, and when Cooper himself adopted it he gave the credit to Weaver. It was Cooper, writing in Guns & Ammo and other publications of the time who promulgated and popularized what is now known as the “Weaver Stance.”
Soon it seemed that everyone and his brother had come up with their own variation of a pistol shooting drill with a “modified Weaver stance,” and there were also some who mistakenly assumed that any two-handed position was a Weaver pistol stance.
In fact, what Cooper popularized and Weaver himself used was a very specific and distinct set of physical coordinates, which appear to have been first quantified by one of Col. Cooper’s associates, the late John Plahn.
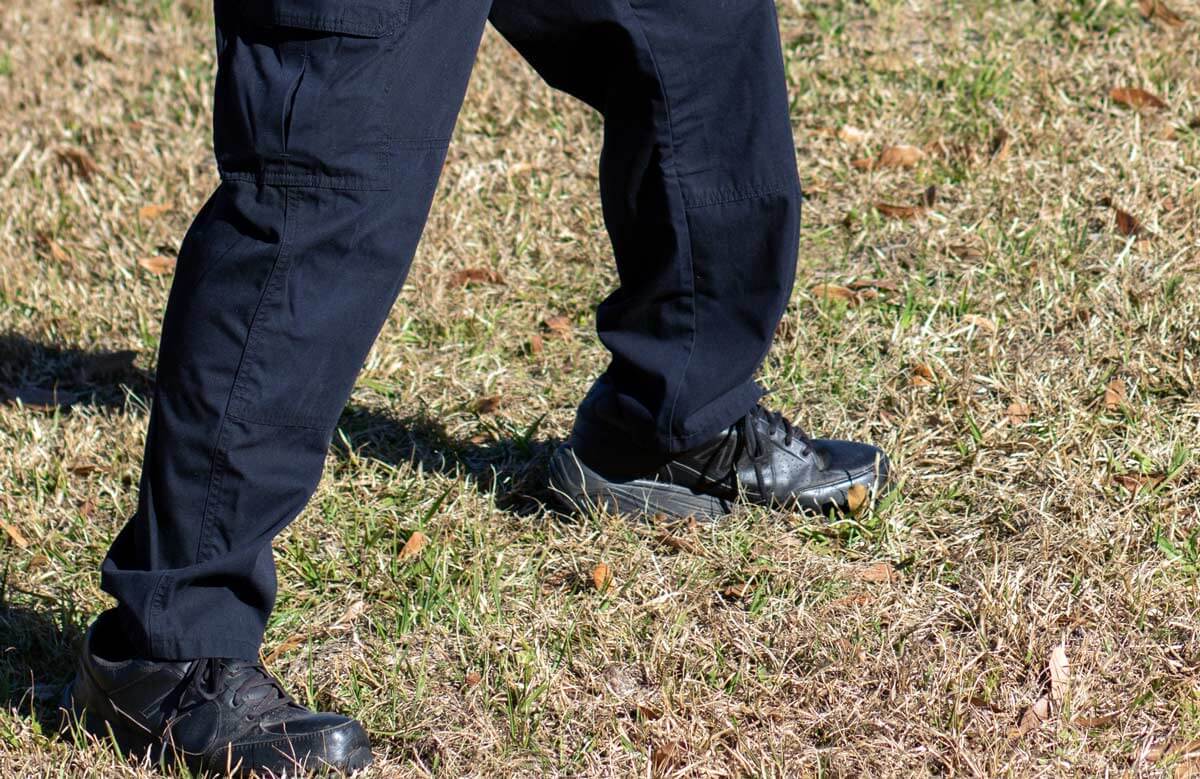
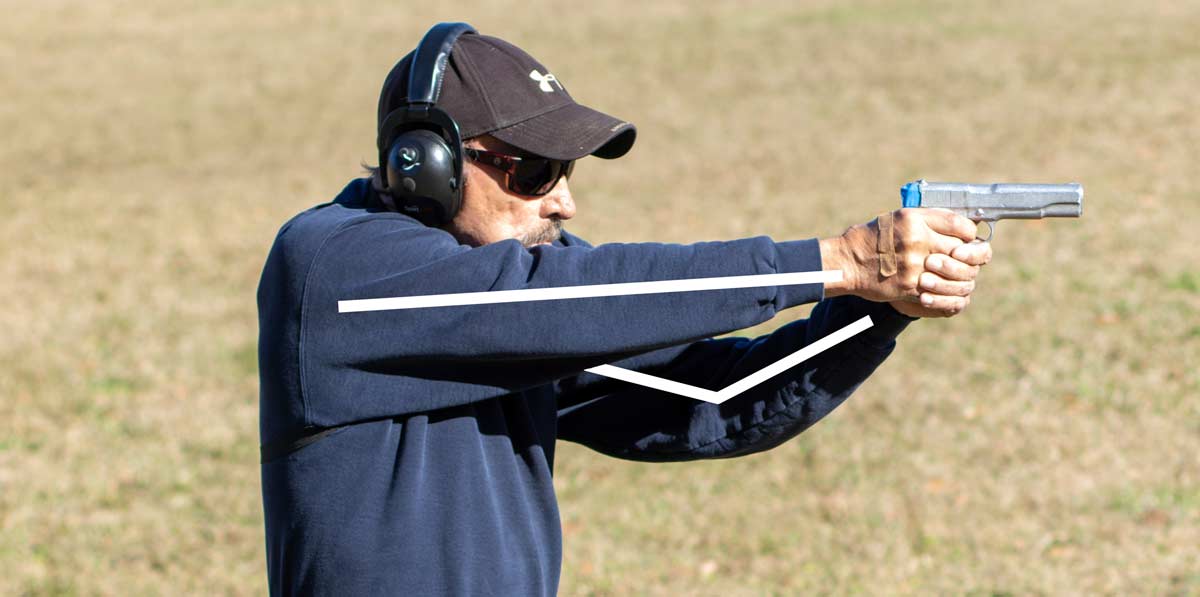
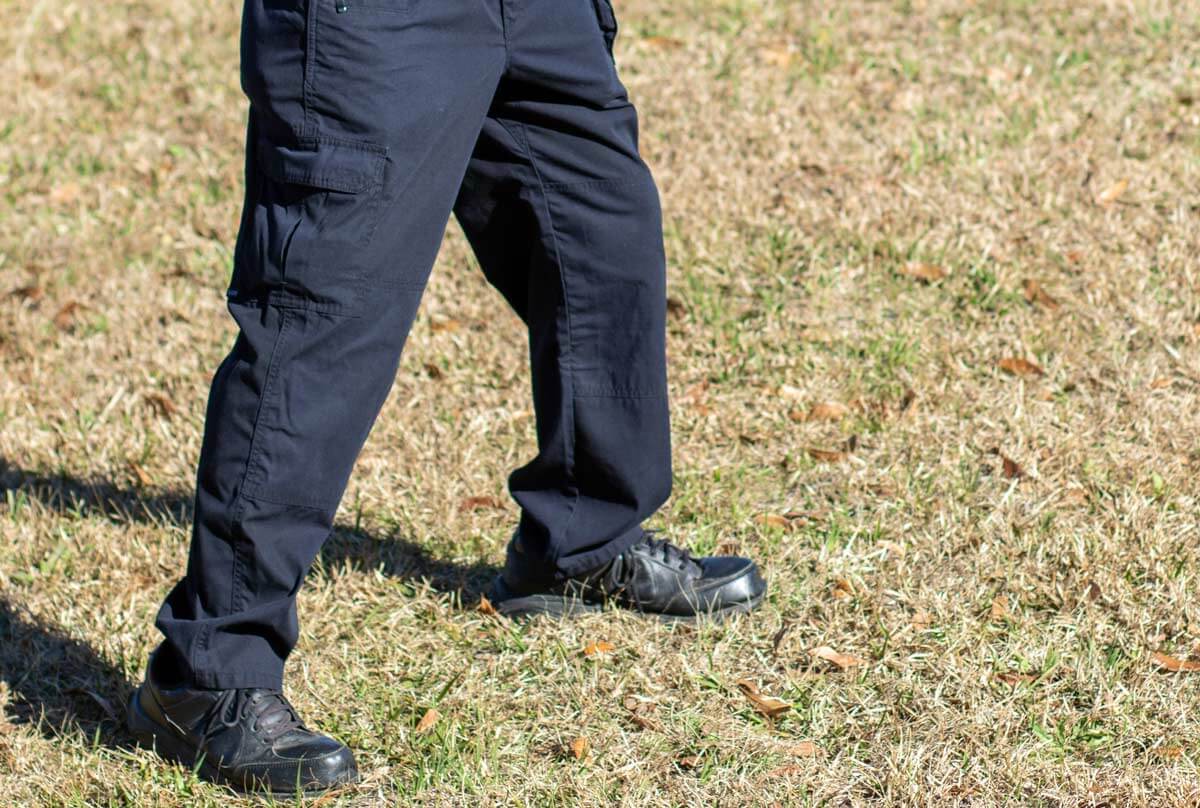
In what is best defined as the Classic Weaver stance, the gun hand side leg is slightly to the rear. How far to the rear is interpretive. When I saw Cooper himself demonstrate it, his gun-side foot was about one big toe’s length behind the forward foot.
One Federal agency formerly taught it with the heel of the gun-side foot directly behind that of the forward foot, a posture better suited for skate-boarding or surfing than for fighting or shooting. Many practitioners find the “sweet spot” is with their pelvis about 45 degrees to the target.
The torso is erect, and critically, both elbows are bent.
The gun hand pushes forward and the support hand pulls back, with equal and opposite pressure. Cooper said this isometric pressure was the key to the Weaver shooting stance. If a limb is locked, it can neither push nor pull.
How much each arm should be bent is interpretive. Ross Seyfried, the second American to win the world championship of IPSC, the International Practical Shooting Confederation conceived by Cooper, shot with a very “tight” Weaver gun stance: elbows sharply bent and the handgun pulled in close. So did the great Canadian champion Murray Gardner.
Decades ago, John Shaw won the US Nationals with a Weaver shooting stance in which his arms were almost locked out, but his elbows bent just enough to achieve the push-pull.
You want the forward elbow to be bent downward; it allows the support arm to pull tighter against the firing arm, which isn’t known colloquially as “the strong arm” for nothing. Cooper recommended about 40 to 45 pounds of push-pull pressure, or as he once described it to me, “like wringing out a wet washcloth.”
Classic Weaver Advantages
Because the tense, bent arms act like shock absorbers, the Classic Weaver stance is the one two-handed stance that controls recoil well when firing with shoulders back from lateral centerline. The shock absorber effect of the tense bent arms does not require upper body weight to be forward to bring the gun back down from recoil.
Classic Weaver works well for those who have bad elbows, for whom hard-kicking pistols plus locked arms equal physical pain. Because the gun does not extend so far forward, it can be faster for draw-to-the-shot: less distance to travel from holster to aiming position.
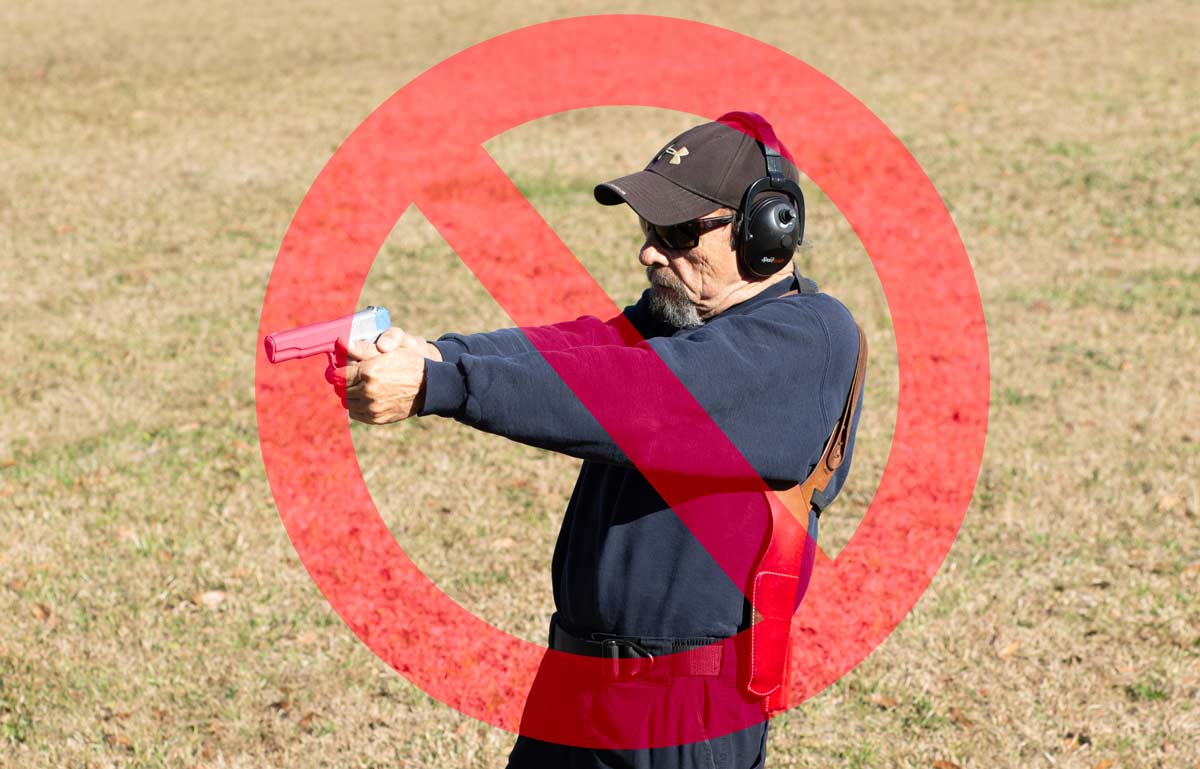
Classic Weaver Disadvantages
Disadvantages do exist. The Classic Weaver stance came from Jack and Jeff: big, strong, muscular men. Those who don’t have good upper body muscle mass or muscle tone may not find it ideal.
The cross-dominant shooter (right handed, say, with left master eye) will find it the most difficult stance to adapt to because the gun comes far over toward the eye on the gun hand side.
Finally, for those in occupations that require body armor, the blading of the torso that accompanies the Weaver shooting stance opens the unprotected armpit area to the trajectory of a facing opponent’s gun.
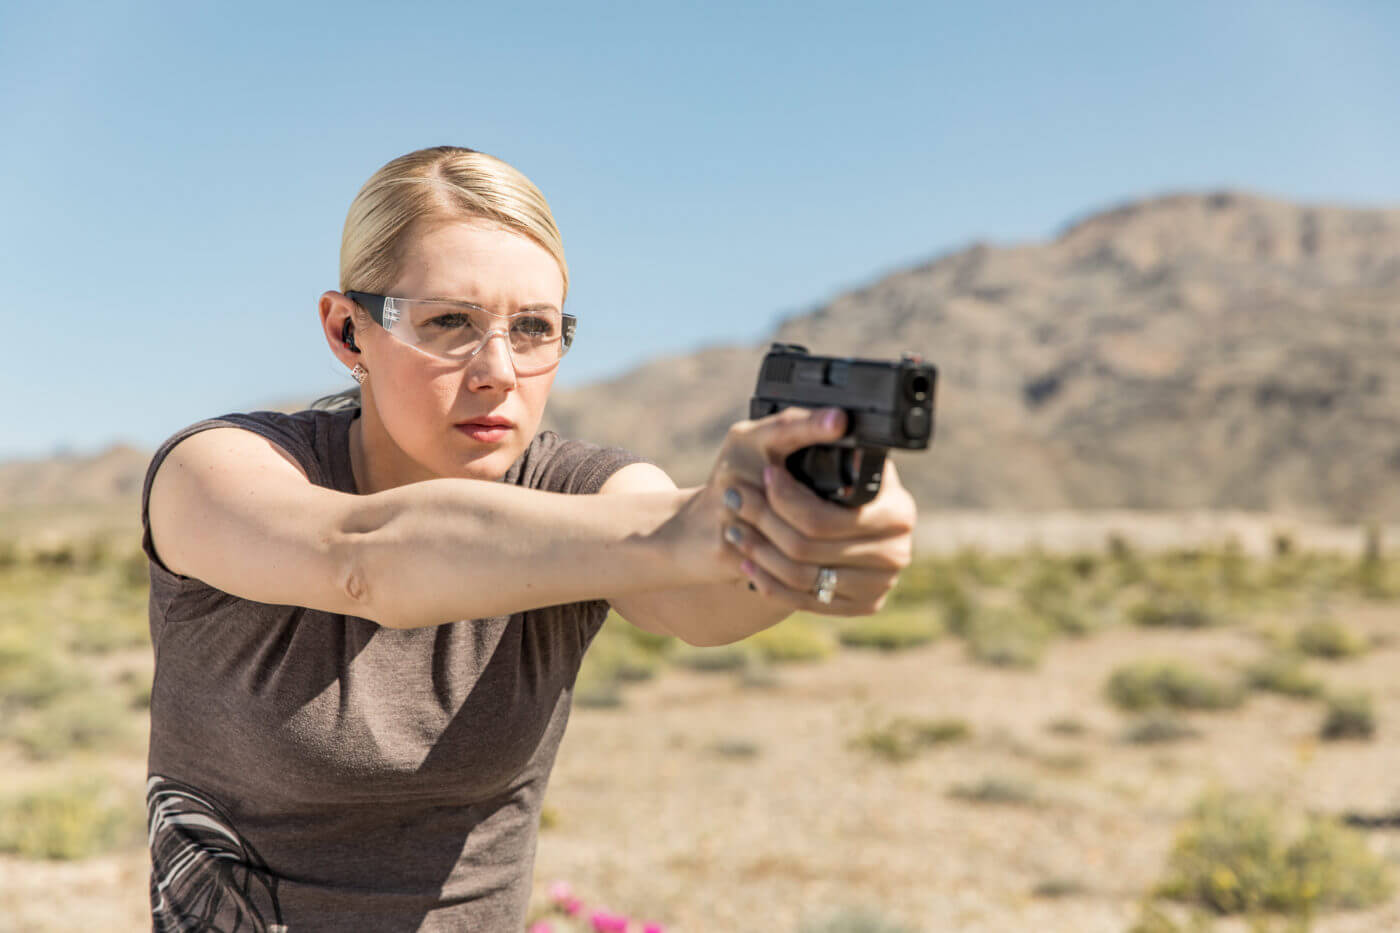
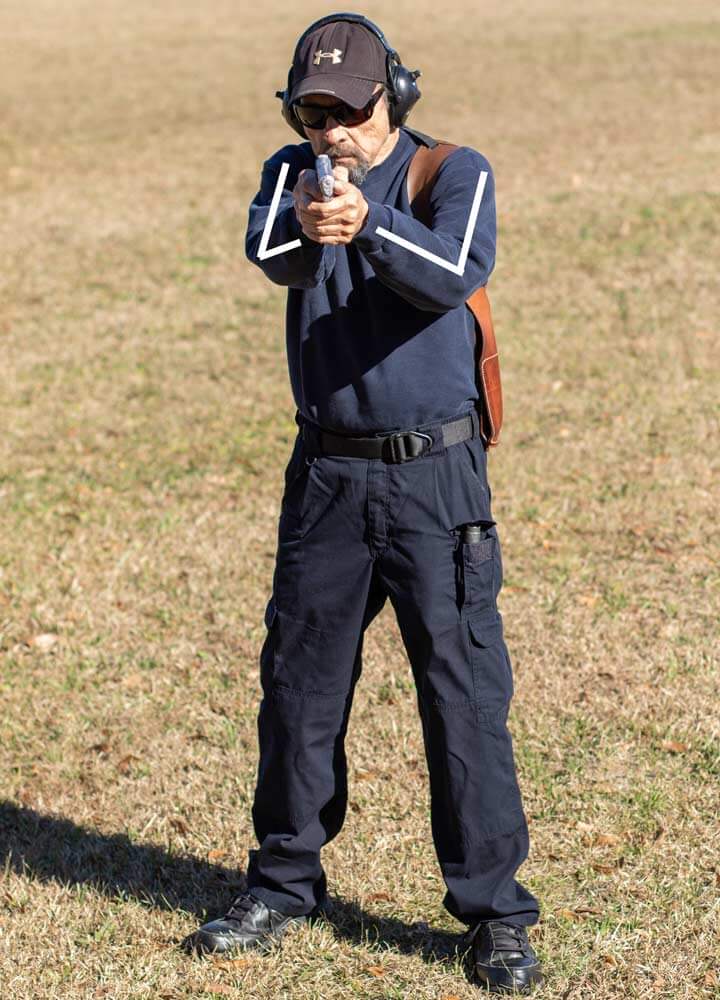
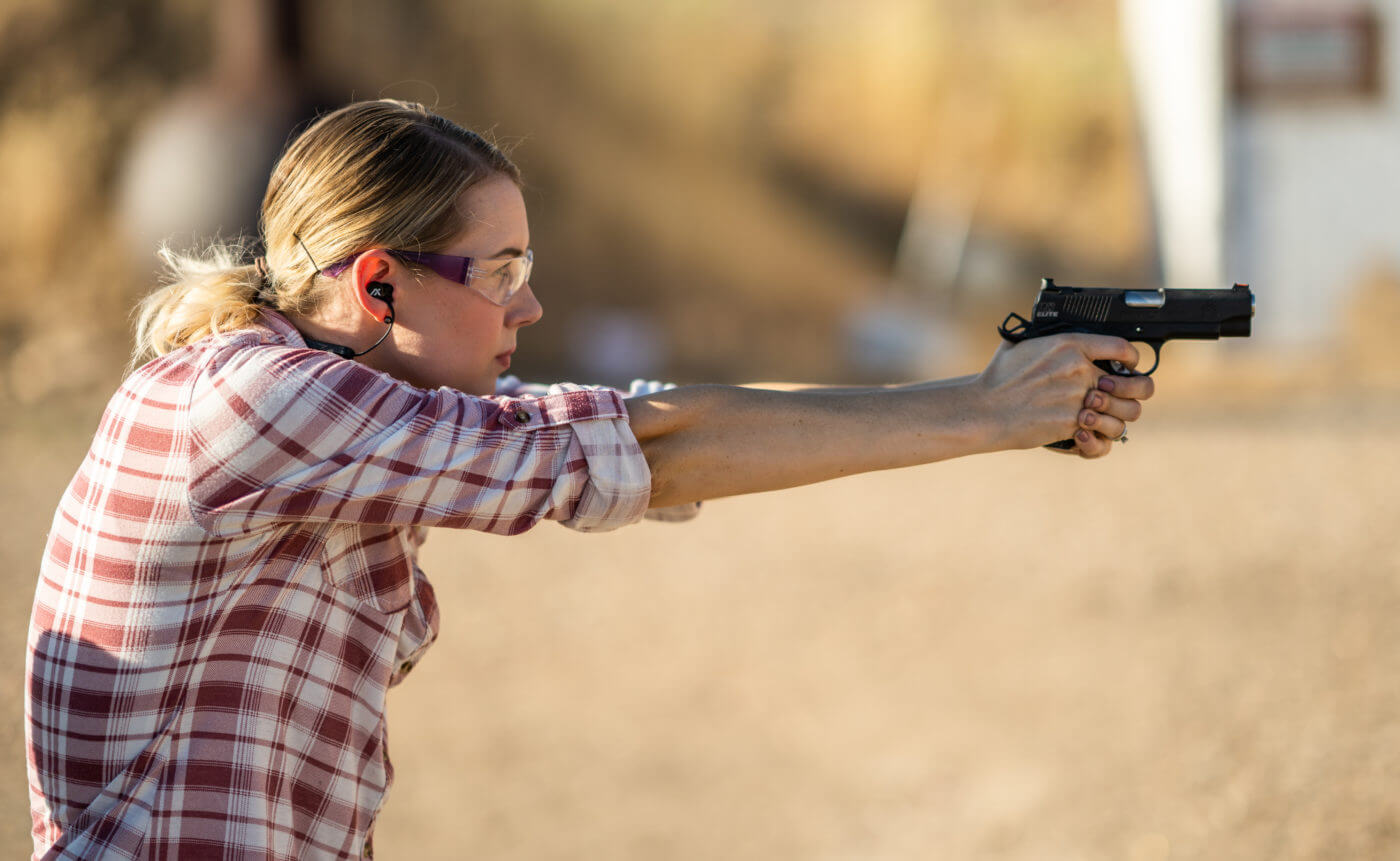
The Isosceles Stance
So-called because the shooter stands with chest squared to target and both arms extended straight toward it, forming an Isosceles triangle with the thorax, the Isosceles was taught poorly for decades.
Some manuals show it with the shoulders cantilevered back to balance the weight of the extended handgun. This could work in a PPC match shot with mild .38 wadcutters at a speed no greater than 12 shots in 25 seconds but launched the muzzle upward (and sometimes, the shooter backward!) with powerful handguns fired more rapidly.
Properly executed, however, the Isosceles shooting stance is among the simplest and strongest of two-handed stances.
When a gun arm locks it becomes a lever, pivoting upward off the fulcrum of the shoulder in recoil. To control that, the weight of the upper body and head need to be forward.
In the old days, the Isosceles stance was taught with the feet parallel. While this can work if the knees are sharply bent and the butt dropped back, the Isosceles shooting position (“Iso” for short) works better if one leg is forward and sharply bent to take a majority of the body weight and “get the weight into the gun.”
Isosceles Advantages
Because of the body’s natural tendency to face a threat and crouch forward in a fight or flight response anyway, and because simply thrusting the arms out until they come to a stop is simple, the Isosceles stance is “natural,” a gross motor skill that is easy to teach and quick to learn.
It squares the chest to the identified threat and thus maximizes body armor protection.
Since Isosceles brings the gun to the centerline area of head and torso, it doesn’t much matter which leg is forward, and that centerline effect also makes it the easiest stance for a cross-dominant shooter to aim with. The Isosceles shooting stance is the stance favored by the great majority of today’s practical shooting champions.
Isosceles Disadvantages
For someone with bad elbows, a locked arms Isosceles stance can be painful, and rapid-fire with a high-recoil handgun can be excruciating.
Many shooters find that this can be ameliorated by slightly unlocking the elbows. If performed without the shoulders being forward of the hips, recoil leverage can result in exaggerated muzzle rise.
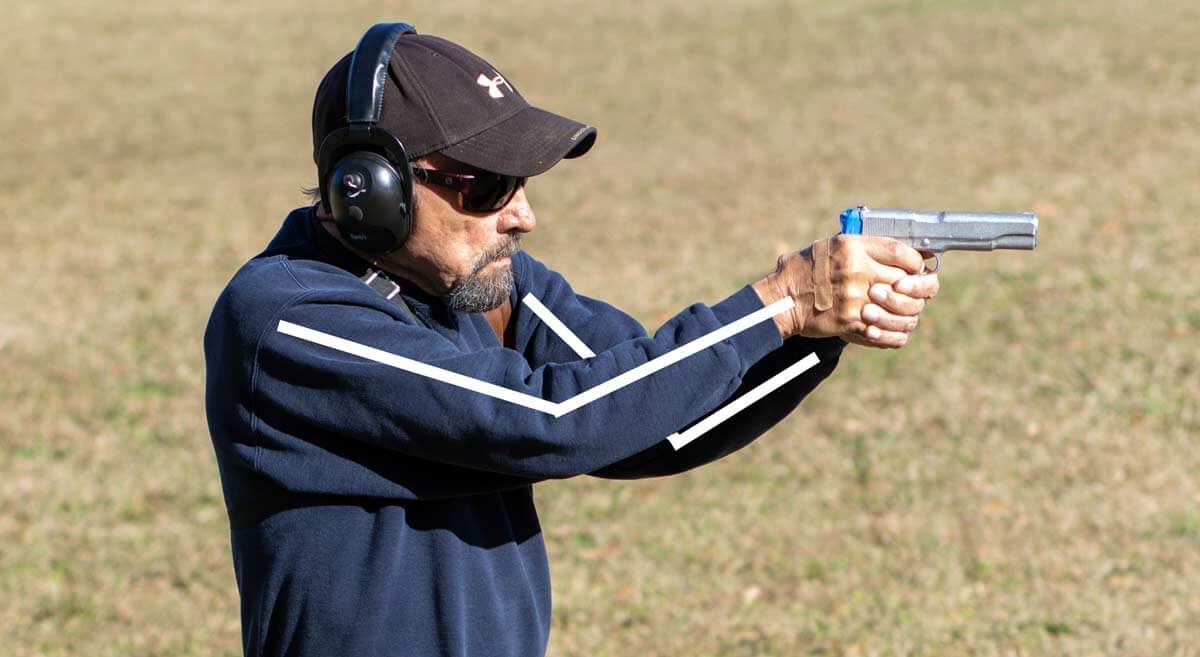
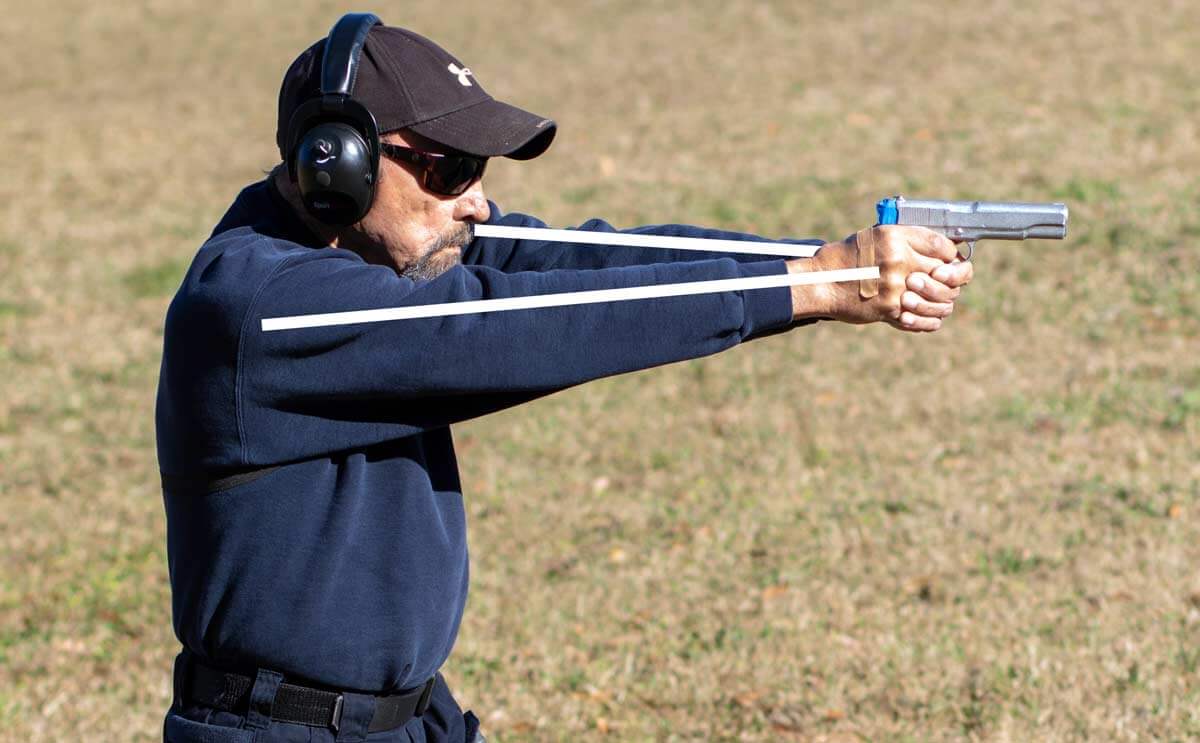
The Chapman Stance
Of all the many “modified Weaver” stances the one created by Ray Chapman, the first World Champion of the Combat Pistol, is the one that stood the test of time.
Ray was a contemporary and friend of Cooper and Weaver, but didn’t care for bent wrists and bent elbows when shooting a .45.
His solution was to lock the gun arm out rigid and use the bent support arm to pull the gun arm tight into its shoulder socket. This in effect turned the gun arm into a rifle stock.
While there are some early pictures of Ray shooting with his shoulder back, by the time he established his famous Chapman Academy of Practical Shooting he was emphatic that the shoulder is forward for recoil control. Great champions who won fame with the Chapman stance include Tom Campbell and Mike Plaxco.
Chapman Advantages
Firing a handgun from the Chapman stance has many commonalities with rifle and shotgun use: the shooter is essentially using his or her gun arm as the stock of a long gun.
Jeff Cooper for most of his career abhorred the Isosceles stance, but endorsed Chapman’s variation of the Weaver.
Chapman Disadvantages
The Chapman stance requires shoulders forward for maximum effectiveness. Like the Isosceles, the Chapman’s locked gun arm component may prove sub-optimal for the person with elbow injuries or disorders.
Hybrid Stances
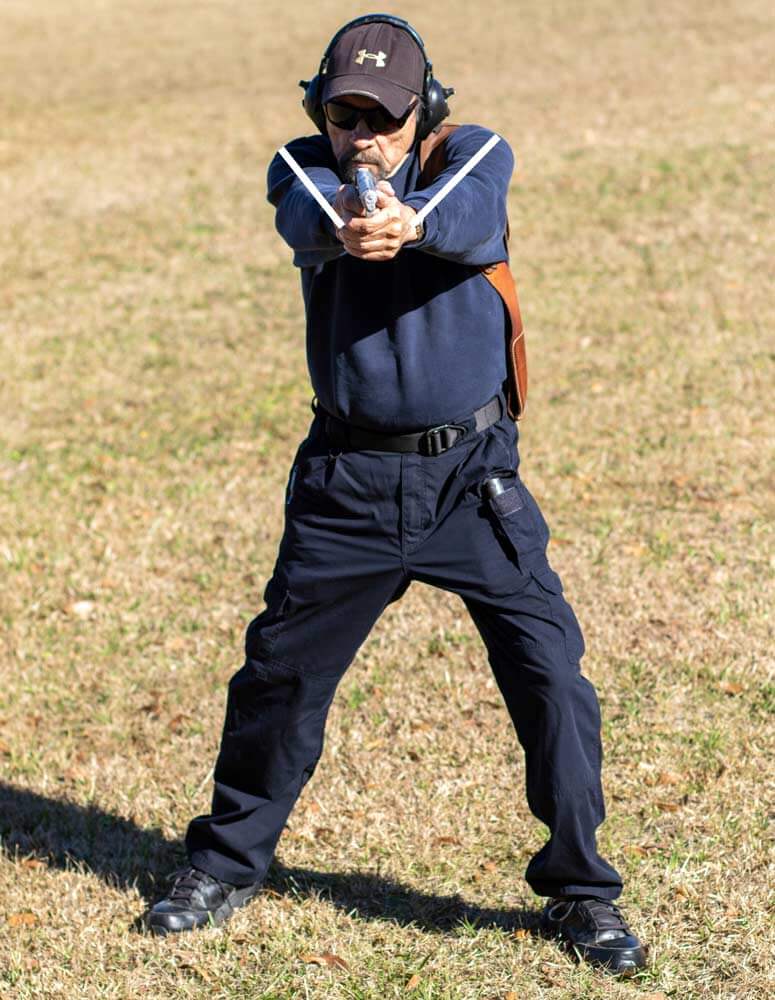
Some very competent shooters prefer what they call “modern Isosceles,” with the chest squared to the target but the elbows bent outward, i.e., parallel to the ground and perpendicular.
It requires a good deal of practice but rewards the shooter by giving the palms more leverage to press inward against the grip area of the handgun.
The term “Isosceles” is semantically incorrect for this stance, in that the elbows bent outward form a pentagon with the chest, not an Isosceles triangle.
D.R. Middlebrooks, extraordinary as both a gunsmith and a shooter, came up with a “reverse Chapman” stance as part of his “Fist-Fire” shooting system.
In the reverse Chapman, it is the support arm that locks and the gun arm that bends at the elbow. It can be particularly useful for pivoting and firing toward the shooter’s strong hand side if the shooter is trapped by something like a seatbelt and can’t move the legs to better face the threat, and some of Middlebrooks’ students have done extraordinary shooting with this variation.
The bottom line? If our body is our platform, each of us is “driving a different machine in the race.” Musculature, range of movement, possible physical injuries or limitations, eye-dominance vis-à-vis hand dominance, and even habituation may make one or the other of the above stances work best for each of us.
Knowing them all makes the practitioner a better shooter and fighter. The more tools we have in the toolbox, the finer the work we can hope to do.
Editor’s Note: Be sure to check out The Armory Life Forum, where you can comment about our daily articles, as well as just talk guns and gear. Click the “Go To Forum Thread” link below to jump in!
Join the Discussion
Share


Continue Reading
Did you enjoy this article?

 295
295
Springfield Armory® recommends you seek qualified and competent training from a
certified instructor prior to handling any firearm and be sure to read your owner’s manual. These
articles and videos are considered to be suggestions and not recommendations from Springfield Armory. The views
and opinions expressed on this website are those of the authors and do not necessarily reflect the
views and opinions of Springfield Armory.
Product prices mentioned in articles and videos are current as of the date of publication.

Massad Ayoob
Massad Ayoob is a renowned firearms expert with decades of experience in the firearms community. He's the author of more than a dozen books and hundreds of articles and has extensive experience as a law enforcement officer, competitive shooter and expert witness.
