
Operating a gun effectively, especially in the context of gunfighting, has a lot of “know-how” that comes with it. This is knowledge that can take many, many hours to learn, and some things may take a full career to develop.

Like all things, some skill sets are more important than others, and some of that will come down to what firearm you carry every day, or what gun you keep ready for home defense. Common sense will tell you if you have your trusty AR-15 at the ready to stop a home invasion in the middle of the night, then learning to speed reload your super tactical semi-automatic shotgun, John Wick style, isn’t the most important thing for you to practice. We all love the John Wick movies, so don’t act like you haven’t tried this at least once.
Picking and Choosing
In all seriousness, performing an emergency reload on your AR-15 might not be the most important skill to have, either. I bet some of you as you’re reading this just gasped and felt your ego take a hit. Don’t be offended, just hear me out. Logically speaking, how often in a gunfight, with your AR would you run out of all 30 rounds, then want to drop the mag and reload, standing perfectly still, and start hammering the threat with rounds again?

If you have defense loads with good terminal results in your AR and you are not a lousy shot, it’s not going to take more than those 30 rounds for one threat — obviously, that changes if you are facing multiple threats.
The point is that once you have mastered basic operation of your rifle and you can hit targets, the most important skill for you to practice is getting on that target. It doesn’t matter how good of a shooter you are, everyone in the history of the world who has ever been in a gunfight has to get their gun pointed at the threat.
With our pistol, we call this our draw. We will strap on our EDC and practice drawing our pistol over and over again to perfect that presentation onto target. Some of us practice this for a few minutes everyday just to make sure we are not getting sloppy. Just remember to always practice the firearm safety rules.
Rifle Options
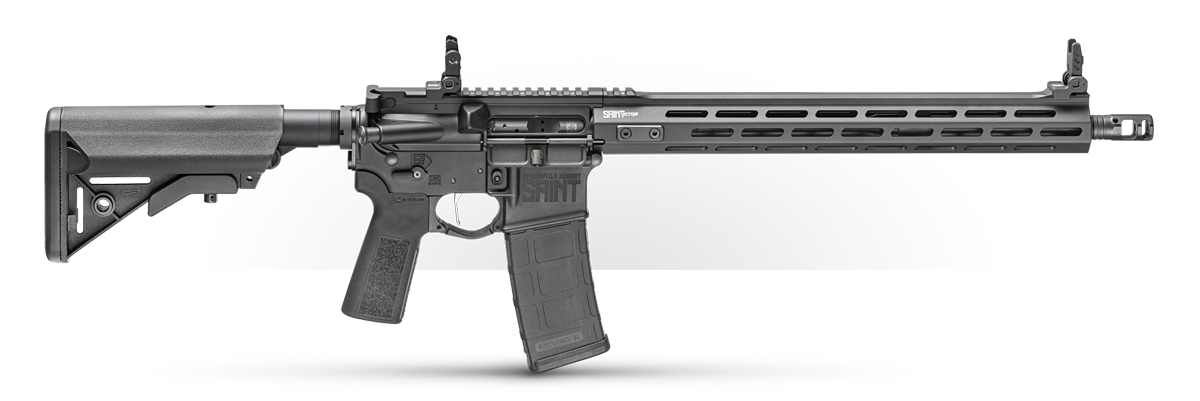
So, what is the “draw” for your rifle? Most of us call it a “ready-up.” In just plain old fashioned English, it’s just the act of getting your rifle from a ready position to aim at the threat. With our pistol, a draw is pretty standard for the most part. With a rifle or carbine like the AR, our biggest change is of course the size, the weight, and the fact it needs two-handed operation.
There are numerous styles of ready ups for your carbine that have even been broken down into subcategories. In this article and the video above, we talk about the big three. If you can master these, you should do well. On all of these positions, the rifle remains on “safe” until you are aimed and ready to fire.
Low Ready
More than likely you already have seen this ready-up. The low ready is the most important position for you to master. If you are a civilian and you use a carbine for defense, you’re not clearing rooms with a team. It’s all on you, so having your rifle at a low ready is the best thing to do if space allows.

If a bad guy is in your house who poses a threat to your family, who cares if you flag him with your rifle — his safety doesn’t matter. The low ready is the best way to get on target quickly with accurate shots and end a conflict as fast as possible.
The buttstock of the rifle will sit in the pocket of your shoulder ready for action, and your muzzle will be pointed low enough that you can easily point it up onto the target or pull it down to the floor if you need to.
Some people divide this into a “low” ready and a “high” ready, the main difference being this: on a “low” ready the muzzle is pointed at around a 45 degree angle into the dirt. With a “high” ready, your muzzle is pointed near the threat’s feet, so you only have to move that rifle up a tiny bit before you are on the vitals.
Over the Shoulder (Retention)
People hold and fire their pistols from retention all the time. This keeps the gun out of reach of a threat by keeping it shorter, and makes it more maneuverable in tight spaces. Well, your rifle is no different. You can hold your rifle in retention in a couple of ways, actually. One being with the buttstock tucked under your shoulder and the muzzle out.

We prefer the over-the-shoulder method. For this one you will rotate your rifle to a comfortable angle, take your buttstock and come up way over your shoulder. If you have an optic on your carbine, that optic should end up right under your chin. That’s how you know you’re doing it right.
Live The Armory Life. The latest content straight to your inbox plus an automatic entry to each of our monthly gun giveaways!
We like this one because from here you can still point the gun up or down in a hurry and fire from this position if you need to. This keeps the carbine super short and can help you as you move in and out of small hallways and doorways.
This one isn’t in the pocket of your shoulder, so to present onto target you have to get the stock into your shoulder and get good eye relief on your sights, no matter what type of sights you have. You can use tricks called indexing to make you faster at this.

One trick for this position is to have the top of the buffer tube or stock against your jaw, so as you press out onto target it slides against your jaw, you slide the stock out past your shoulder, rotate the rifle to level, and then pull it back into the pocket of the shoulder with your support hand. This position has a lot of moving parts, and your rifle axis is off a bit due to the rotation, but this one is a good one to master. Again, if you’re in tight areas, this is invaluable.
Muzzle Up
The last one is the muzzle up ready position. This one is best for not flagging anyone in front of you with your rifle. The scenario where this ready up position is ideal is a team of people clearing a hallway or room.

If you are the second or third guy in line, you can have your carbine at a low-ready position because if you bring your rifle up you will flag your teammate in front of you or if you are close to each other you may not even have enough room to get the rifle up to fire. If your muzzle is up, let’s say a threat pops up on a balcony above your teammate in front of you. You can shoulder your rifle, make the shot and save your buddy’s life.
The same goes for your family. Maybe you are trying to evacuate your family from your house, if you are in the muzzle up ready position, you won’t flag them with your muzzle at all. We don’t want to flag our spouse or our kids even in the legs or feet.

For this one, you want to have the buttstock tucked close right above your belt with your muzzle pointed at an angle up at the ceiling. When presenting onto target, the same stuff applies. You will need to come up and out past the shoulder, then pull the stock into the pocket of your shoulder with your support hand.
This one will take some practice to get good at being on target with the sights quickly. Our indexing tip here is to bring the rifle up out from the shoulder into your cheek and then drive it back into the shoulder. If you can memorize where the stock sits against your cheek, this will help you get the proper eye relief.
Conclusion
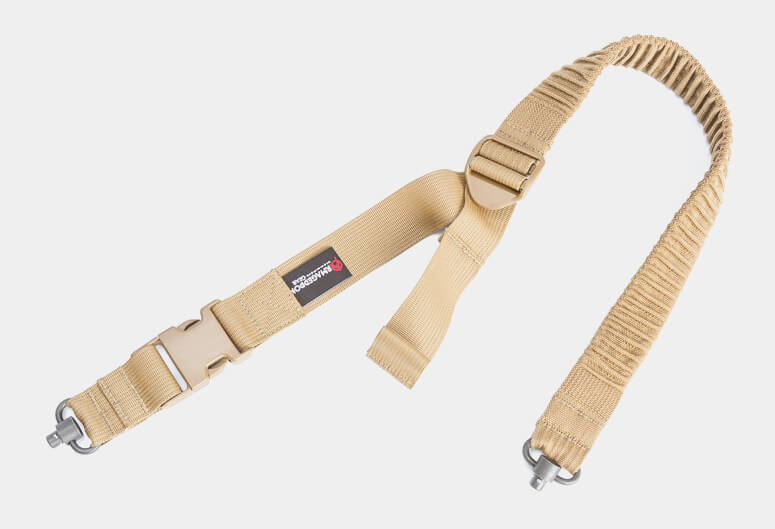
If you perfect these three ready-up positions, you will be able to get your rifle into the fight effectively from almost any scenario. You don’t even need ammo to practice this, you just need your rifle and a sling. You can practice this in your home with no ammo during your dry-fire practice, but just make sure you have your gun unloaded and follow the firearm safety rules.
Editor’s Note: Please be sure to check out The Armory Life Forum, where you can comment about our daily articles, as well as just talk guns and gear. Click the “Go To Forum Thread” link below to jump in!
Join the Discussion
Featured in this video


Share


Continue Reading
Did you enjoy this video?

 122
122
Springfield Armory® recommends you seek qualified and competent training from a
certified instructor prior to handling any firearm and be sure to read your owner’s manual. These
articles and videos are considered to be suggestions and not recommendations from Springfield Armory. The views
and opinions expressed on this website are those of the authors and do not necessarily reflect the
views and opinions of Springfield Armory.
Product prices mentioned in articles and videos are current as of the date of publication.

GunSpot
GunSpot was created to be the one spot for everything gun-related. With us, you can buy or sell guns. We have everything from small-caliber pistols to belt-fed machine guns. And on the GunSpot Academy, you can find high-quality original content. In our content, you will see two faces regularly. Dylan Casey is a gun enthusiast with a digital media degree who is GunSpot's Creative Director. Then there is Chief Instructor Grant LaVelle, who has decades of experience training Marines, police officers and citizens alike. Grant served with and taught marksmanship for the United States Marine Corps. After his time with the Marines, Grant served as a SWAT sniper.
