
Crimson Trace RAD Micro Pro Installation Guide
![]() October 26th, 2022
October 26th, 2022
![]() 6 minute read
6 minute read
With red dots continuing to grow in popularity, those of us who carry an optics-ready pistol have more options than ever. Not all optics will be a direct fit for your specific slide, though, without the need for a mounting plate. So, always double check you have the correct hardware, if it’s required.

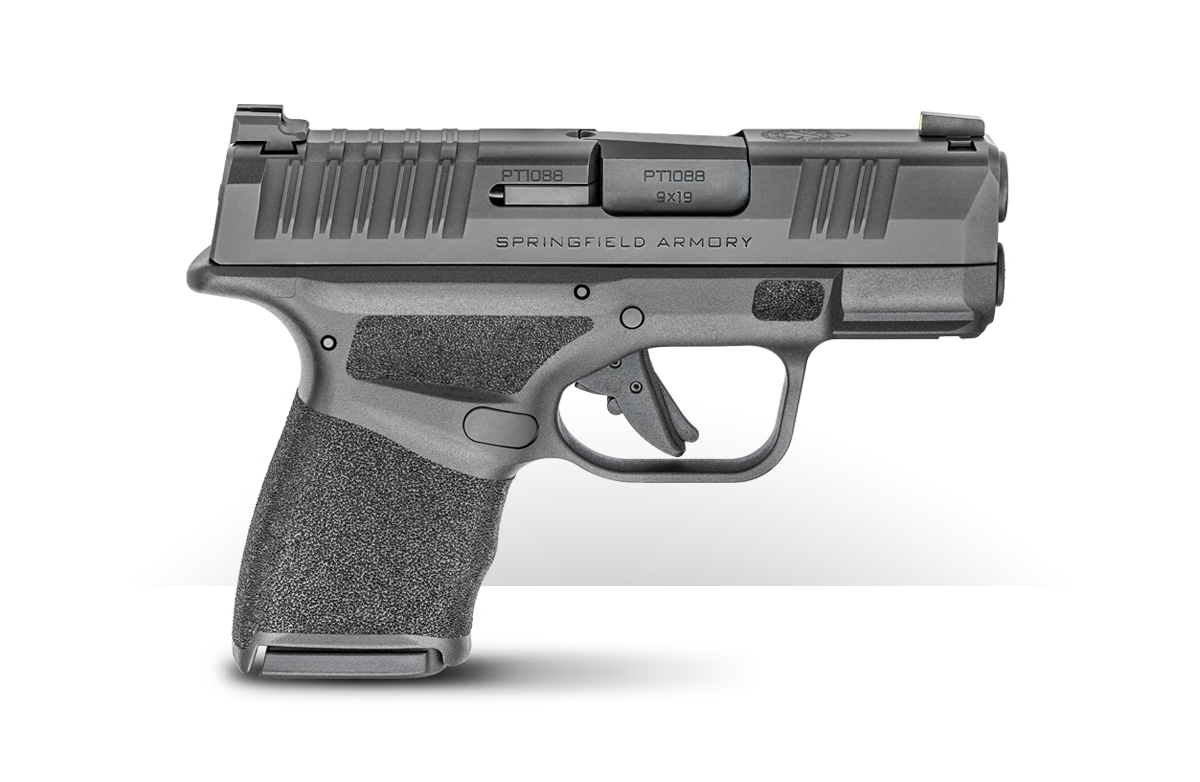
Luckily, the Hellcat OSP (Optical Sight Pistol) and the Hellcat Pro, both have some great optics which do mount directly to the slide. One of those, is the Crimson Trace RAD (Rapid Aiming Dot) Micro Pro.
You may have read Robert Sadowski’s review of the RAD Micro Pro a couple of weeks back, which is a great resource to help you decide if it’s the right optic for your set-up. Whether you read it and wound up buying the RAD Micro Pro or are just curious as to how to mount one, I wanted to provide a user-friendly installation and calibration guide for you.
Installing the Crimson Trace Optic
First things first, you want to make sure your gun is unloaded. That should go without saying, but it’s better to be safe than sorry! Next, you’re going to have to remove the OSP cover plate from the top of the slide. This is a simple task, and all you need is a T8 Torx key.

With the cover plate removed, you may be tempted to mount the optic right away. However, since the battery is bottom-loaded on the RAD Micro Pro, you’ll need to install the battery first. The required battery is a CR1632 and must be installed with the positive side facing out. You’ll know if you put the battery in correctly by the optic either turning on or not!
Now the fun part … you’re going place your RAD Micro Pro into the OSP “pocket” and get your first glance of how it’s going to look once you’re done. You should see it’s essentially a perfect fit, with no mounting plate necessary.

Find the correct length M4-0.7 threaded screws to begin securing it to the slide. The RAD Micro Pro comes with three different sets of mounting screws, and the middle-sized set is the one you’re going to want to use. The screws will come with some blue thread locker already applied, so I wouldn’t suggest adding any more. Just in case Crimson Trace changes the hardware provided with the optic, be sure to double-check the screw lengths. Important Note: the screw should not protrude more than .095” from the bottom of the sight.

So, you’ve removed your cover plate, located the correct mounting screws and placed the optic into the OSP groove. It’s time to tighten that optic down so it doesn’t go flying off while you’re throwing some lead downrange. Crimson Trace recommends tightening the screws to “approximately” 10 inch pounds, but I’ve grown to prefer 15 inch pounds. But, that’s not official, just my personal preference. This ensures it doesn’t come loose during a long range day or from racking the slide using the optic. A proper torque wrench will definitely be your friend here. I use the Wheeler FAT Stix set and have had nothing but good results with it.

That’s all folks! Well, for the installation, at least. Now you can sit back and admire your new set-up that includes the RAD Micro Pro.
Range Time Zeroing
Depending on who you ask, you’ll find many different “right ways” to zero your optic. Some will suggest an absolute co-witness, which aligns the dot with your front iron sight, and some will suggest the opposite, which places the dot in the center of the glass.

Then, in regards to what distance you should zero your sight at, you may get answers ranging from five yards all the way to 50 yards! Personally, I’ve recently been running an absolute co-witness and I zero my carry pistols at 10 yards. With that being said, I can see the pros and cons of the various other styles and distances as well.
The art of zeroing a red dot is enough for a whole article in itself, so I’ll refer you over to GunSpot’s “How To Sight In a Red Dot on a Pistol in Less Than Five Minutes” to better understand the concept and process.
Live The Armory Life. The latest content straight to your inbox plus an automatic entry to each of our monthly gun giveaways!
But, the trial-and-error process of shooting a few round groupings and adjusting the windage/elevation is very similar with most red dots. The exact way you go about adjusting each specific red dot though, can differ. So, let’s take a look specifically at how to adjust the RAD Micro Pro.
On the top of the optic, you’ll find the elevation adjustment screw. On the right side of the optic, you’ll find the windage adjustment screw. Depending on where your first shots land in relation to where you expected them to, you may need to adjust both the elevation and windage.

To shift your dot up, you need to adjust the elevation screw clockwise. To shift your dot to the right, you need to adjust the windage screw clockwise. Conversely, turning them counterclockwise would shift the dot down or to the left respectively.
Now What?
Now that you’ve mounted and sighted in your red dot, or in this case green dot, go train with it! Having an optic alone doesn’t mean you will automatically be the next John Wick. You need to train with it just like anything else.

Occasionally check your zero when you’re at the range to ensure you’re always ready and able to use your optic if and when the need ever arises. Lastly, make sure your current holster is cut to accept an optic. My original Hellcat Pro holster was not, so I had to order a new one from Black Arch Holsters.
Final Thoughts
There are plenty of great optics out there, and the Crimson Trace RAD Micro Pro is one of them. Whichever you choose, just be sure it fits the Springfield Micro footprint found on the Hellcat OSP and Hellcat Pro.
Editor’s Note: Please be sure to check out The Armory Life Forum, where you can comment about our daily articles, as well as just talk guns and gear. Click the “Go To Forum Thread” link below to jump in and discuss this article and much more!
Join the Discussion
Featured in this article

Share


Continue Reading
Did you enjoy this article?

 54
54
Springfield Armory® recommends you seek qualified and competent training from a
certified instructor prior to handling any firearm and be sure to read your owner’s manual. These
articles and videos are considered to be suggestions and not recommendations from Springfield Armory. The views
and opinions expressed on this website are those of the authors and do not necessarily reflect the
views and opinions of Springfield Armory.
Product prices mentioned in articles and videos are current as of the date of publication.

Ryan Domke
A freelance writer, photographer and social media consultant, Ryan Domke is a shooter with a passion for both guns and tactical gear. He has a commitment to learning as much as he can about firearms and sharing that knowledge with the firearms community.
