Welcome to the big wide world of ARs. This article and the video at top are intended for the new owner of an AR-pattern firearm such as the SAINT series from Springfield Armory. We’ve got a lot of new AR owners in the fold, and we want them to understand how their firearm works.
First and foremost, let’s look at the four primary safety rules for any firearm:
- Treat every weapon as if it was loaded.
- Never point a weapon at anything you do not intend to destroy.
- Keep your finger straight and off the trigger until you are ready to fire.
- Know your target and what lies beyond it.
Memorize and live by these safety rules, ladies and gentlemen.
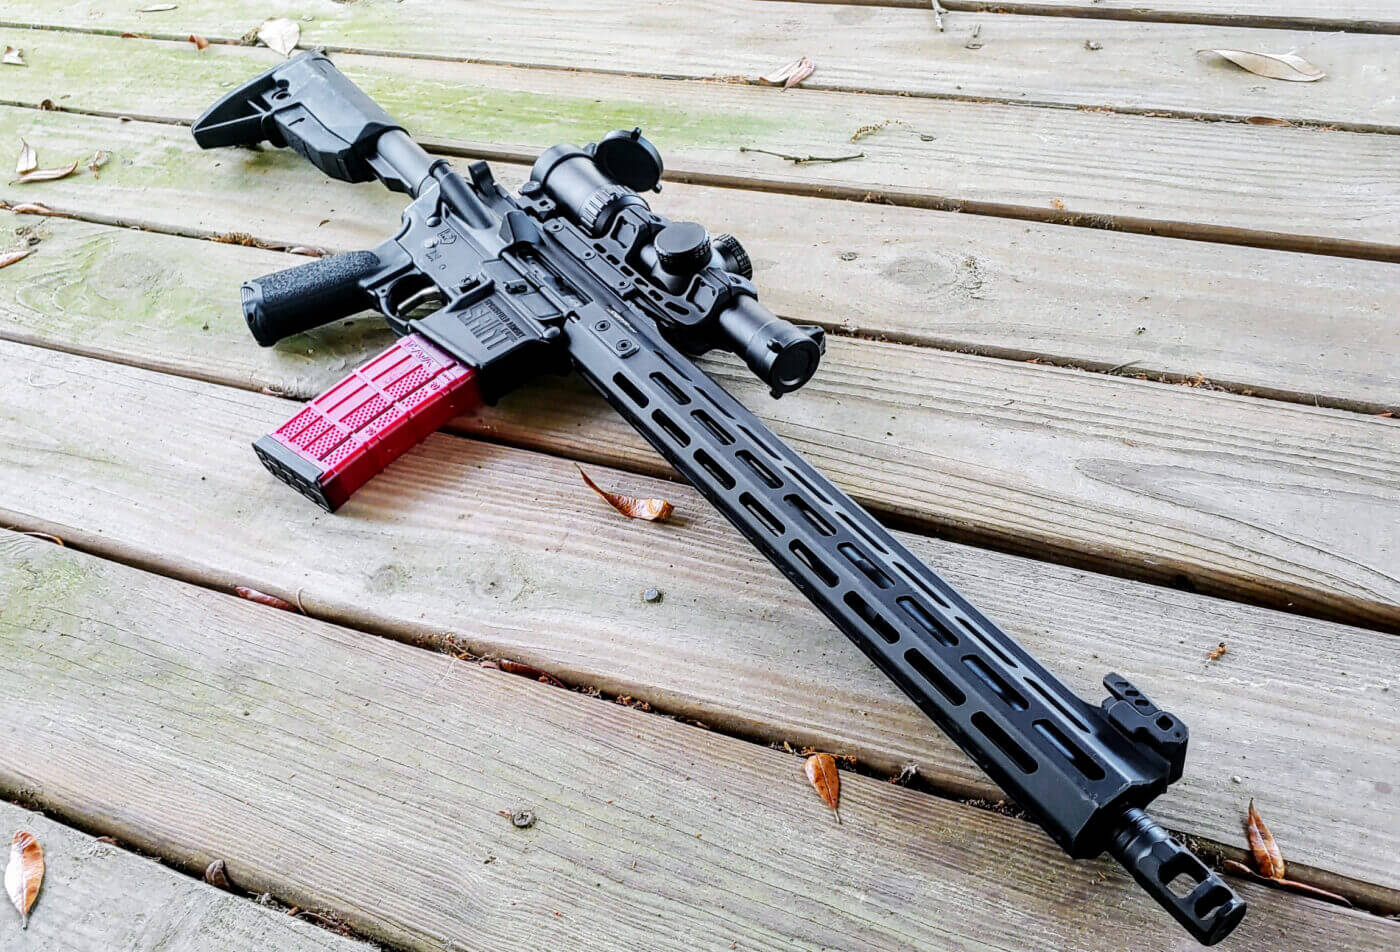
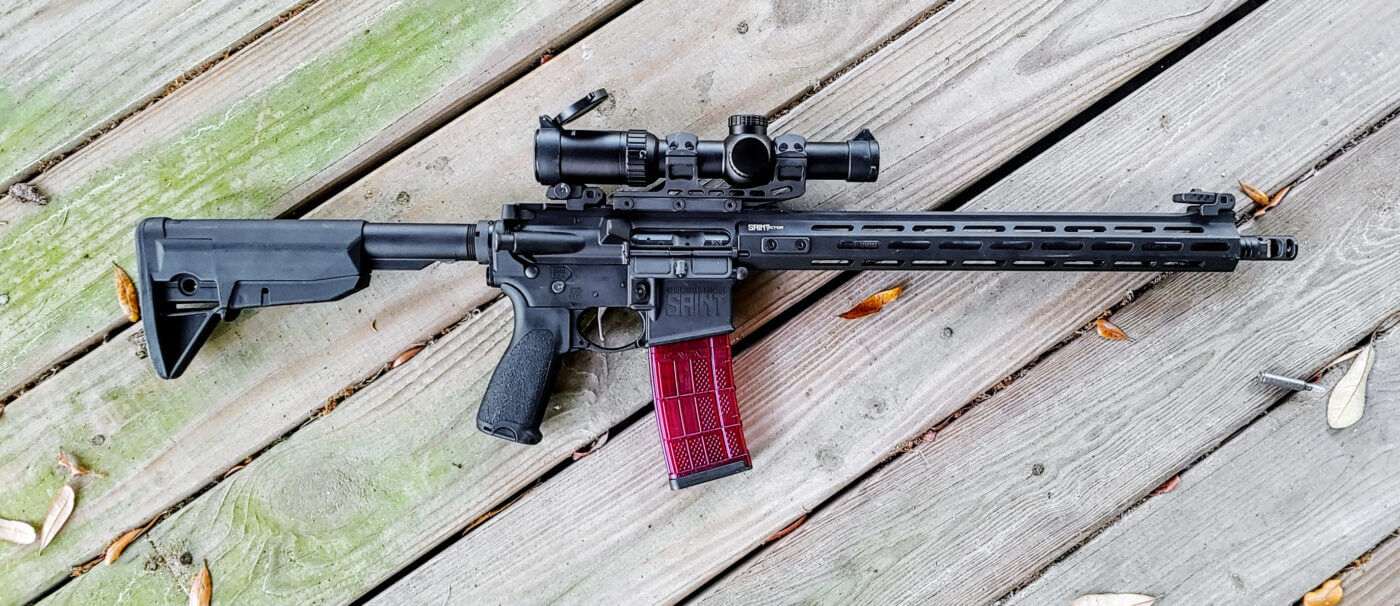
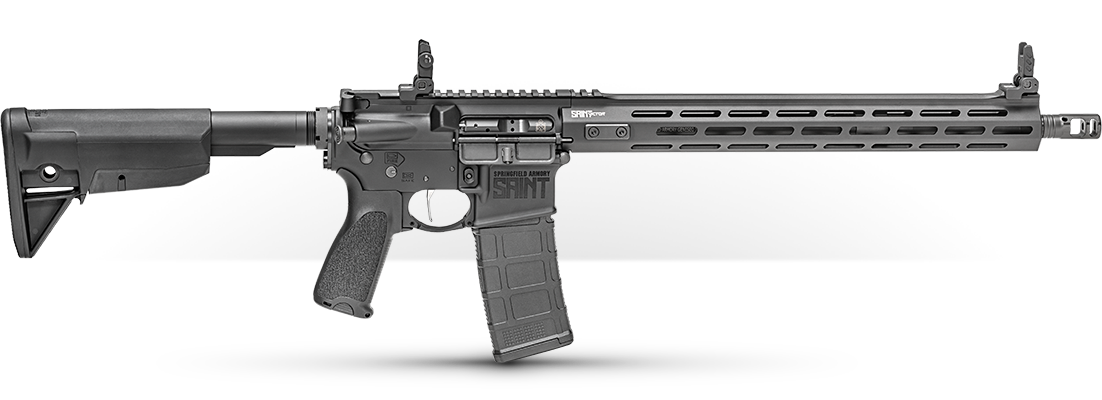
The Bare Bones Basics
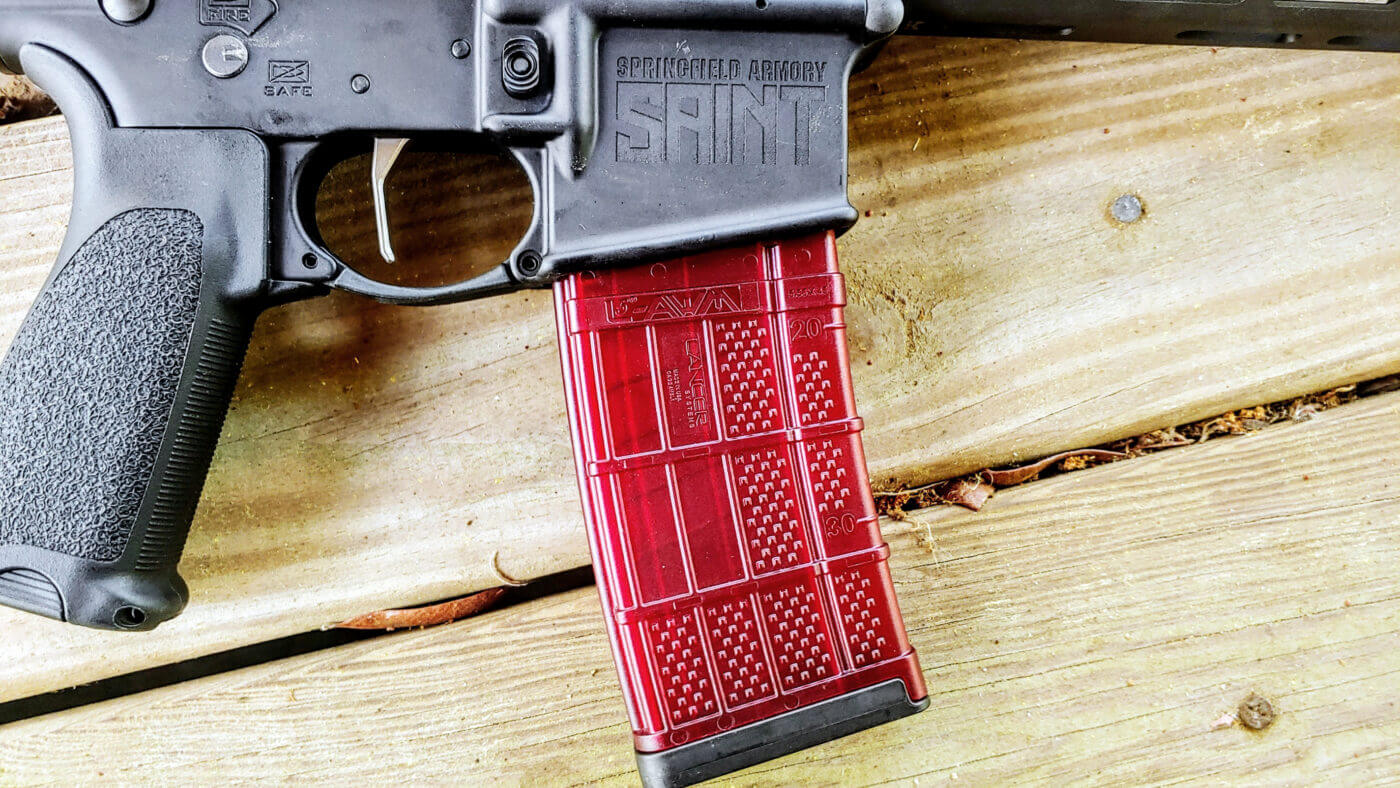
The AR is a magazine-fed, semi-automatic, gas-operated weapon. Let’s break down what that means, exactly. “Magazine fed” describes how the ammunition is fed into the chamber of the firearm from the magazine (that long part that sticks out of the bottom).
“Semi-automatic” means that the weapon fires one shot per pull of the trigger. When you pull the trigger, the gun will fire a single round. For the weapon to fire again, you have to release the trigger and pull it once again.
“Gas operated” is how the weapon functions. When the trigger is pulled, a firing pin hits the primer at the back of the chambered round, and when the primer sparks, it ignites the gun powder in the round. The gun powder then turns into a gas, and that gas propels the projectile out of the case and down the barrel.
A bit of that gas is then siphoned off through a hole in the barrel that is then directed up and through a gas block attached to the barrel and a gas tube that runs above the barrel and inside the front handguard that you hold with your support hand. The gas is sent back into the receiver.

From here, it pushes the bolt carrier group (that black part you see through the ejection port on the right side of the upper receiver) rearward and ejects the round and resets the hammer. The bolt strikes a buffer and spring and is then propelled foward once more, where it picks up the next round out of the magazine and pushes it into the chamber. From here, the weapon is once again ready to fire.
The AR’s simple design also makes it incredibly modular. Your AR may be different than mine when you start comparing stocks, triggers, grips, handguards, barrels and even chamberings. That’s the genius of the design, but even though your rifle may appear much different than mine, the essential function is likely the same.
Controls
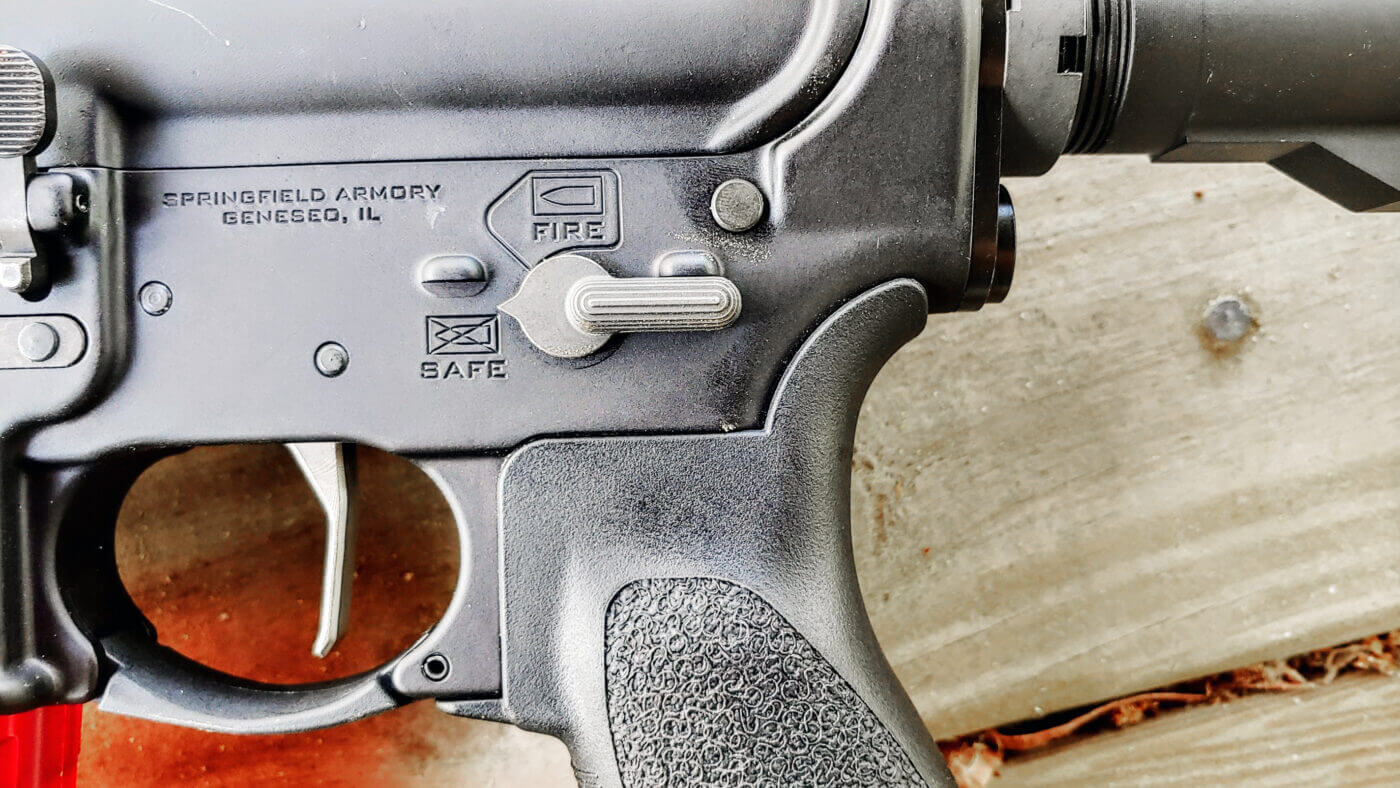
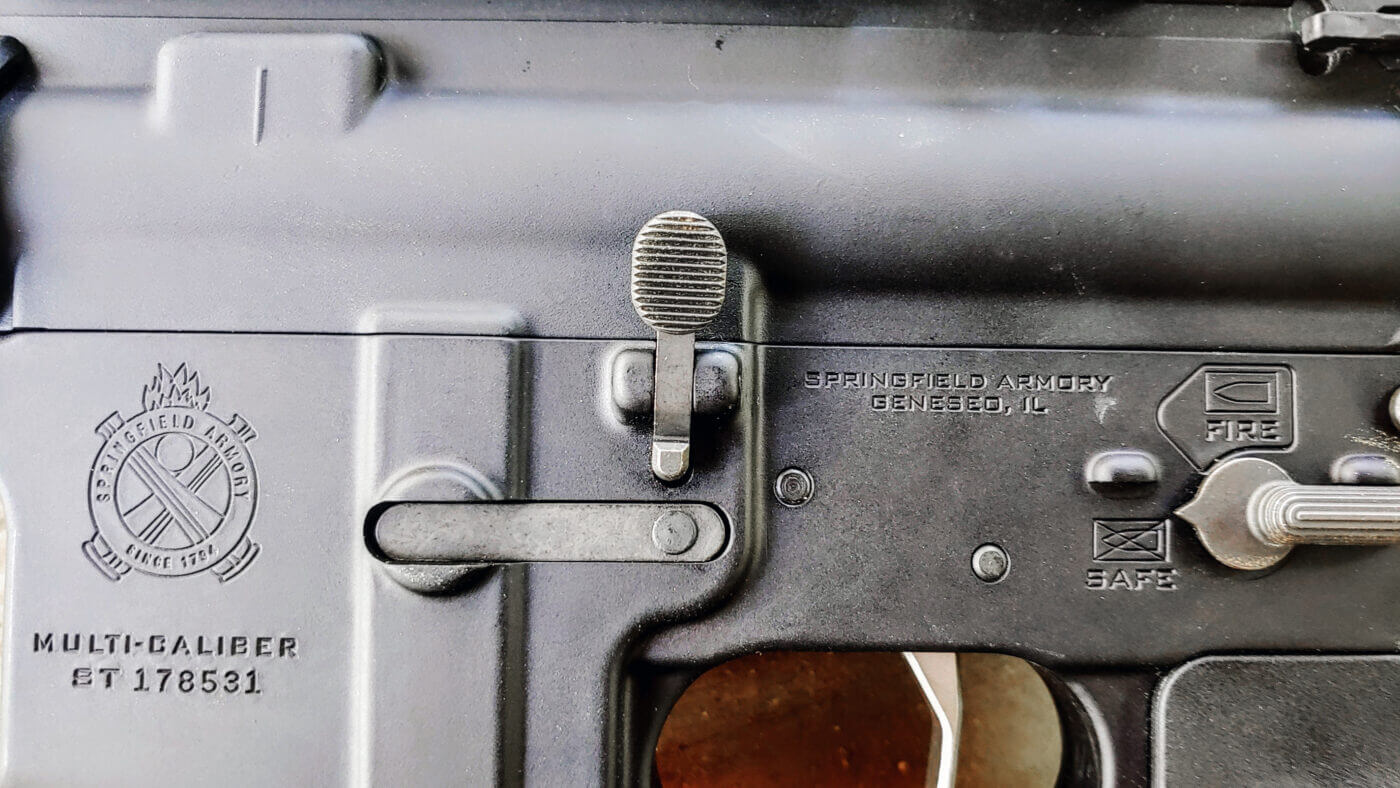
The AR’s controls can vary slightly, but the core design itself is mostly the same from firearm to firearm. The first control you should know is the safety. The safety is a lever that allows you to switch the weapon between “safe” and “fire”. The safety is located above the pistol grip on the lower receiver (the lower half of the action of the gun) and is either just on the left side, or (if an ambidextrous safety) on both sides.
For the gun to be on “safe”, you swing the leg of the lever to the back so the “point” of lever assembly is pointing forward. When the lever leg is swiped downward and the “point” is pointing upward, the gun is off “safe” and is ready to fire.
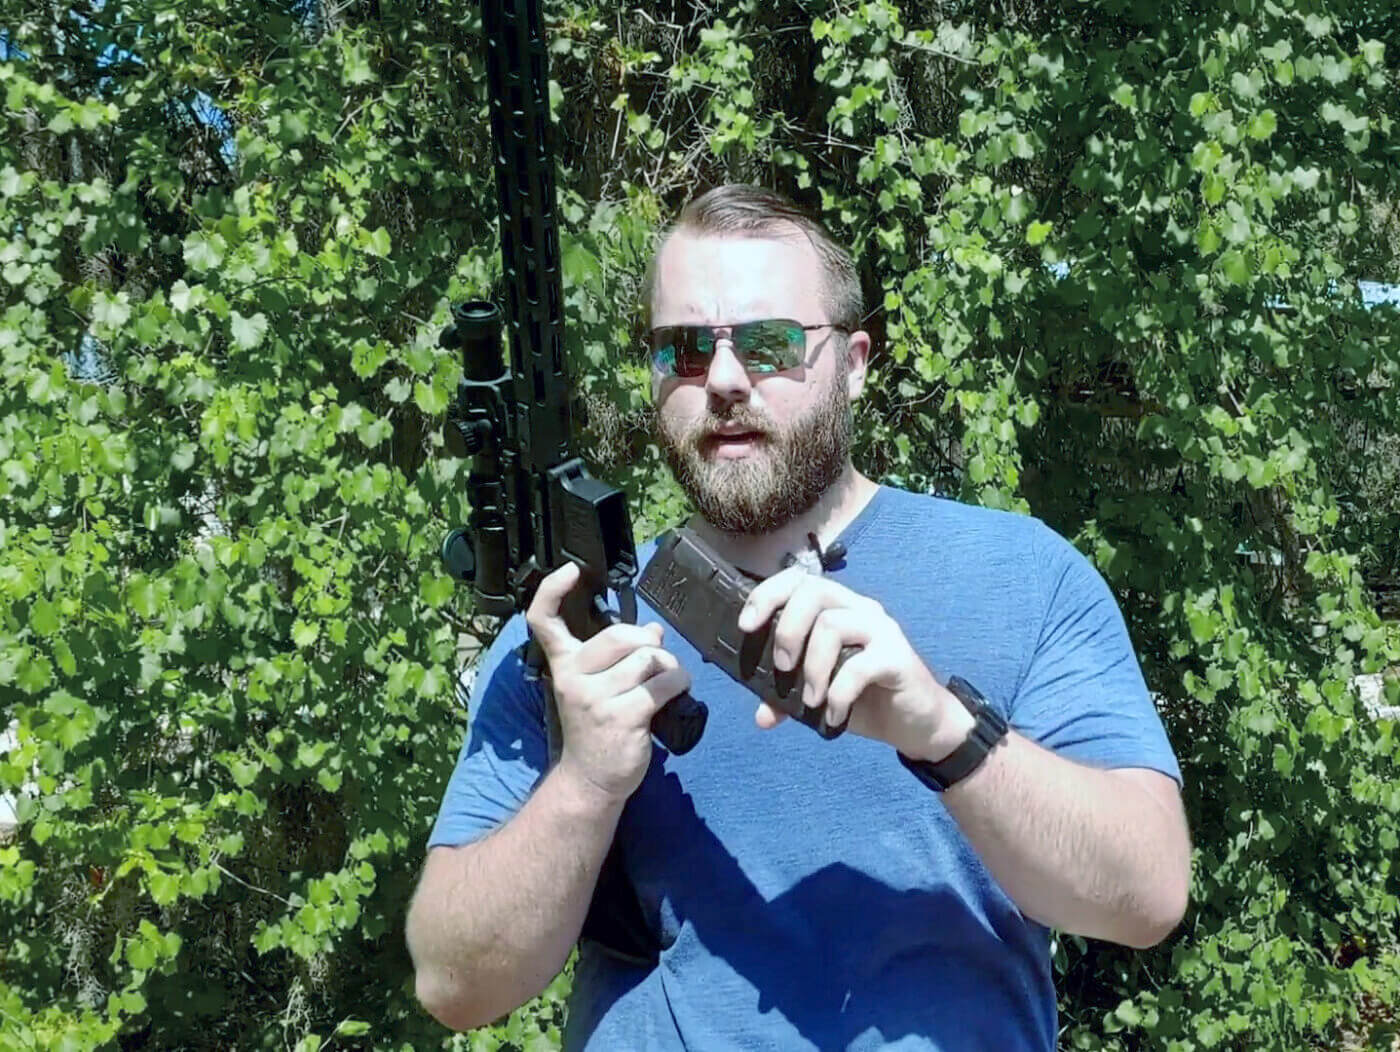
Forward of the safety on the left side of the lower receiver is the bolt lock/release lever. This device allows you to lock the bolt to the rear, as well as send the bolt back forward when the action is locked open. When you run a magazine empty, the gun will automatically lock the action open. To release the bolt, push the grooved section inward.
On the opposite side of the lower receiver is a button that releases your magazine. The magazine release button is straightforward. Push it, and the magazine drops. You do not need to press the button to insert a magazine, just to remove it.
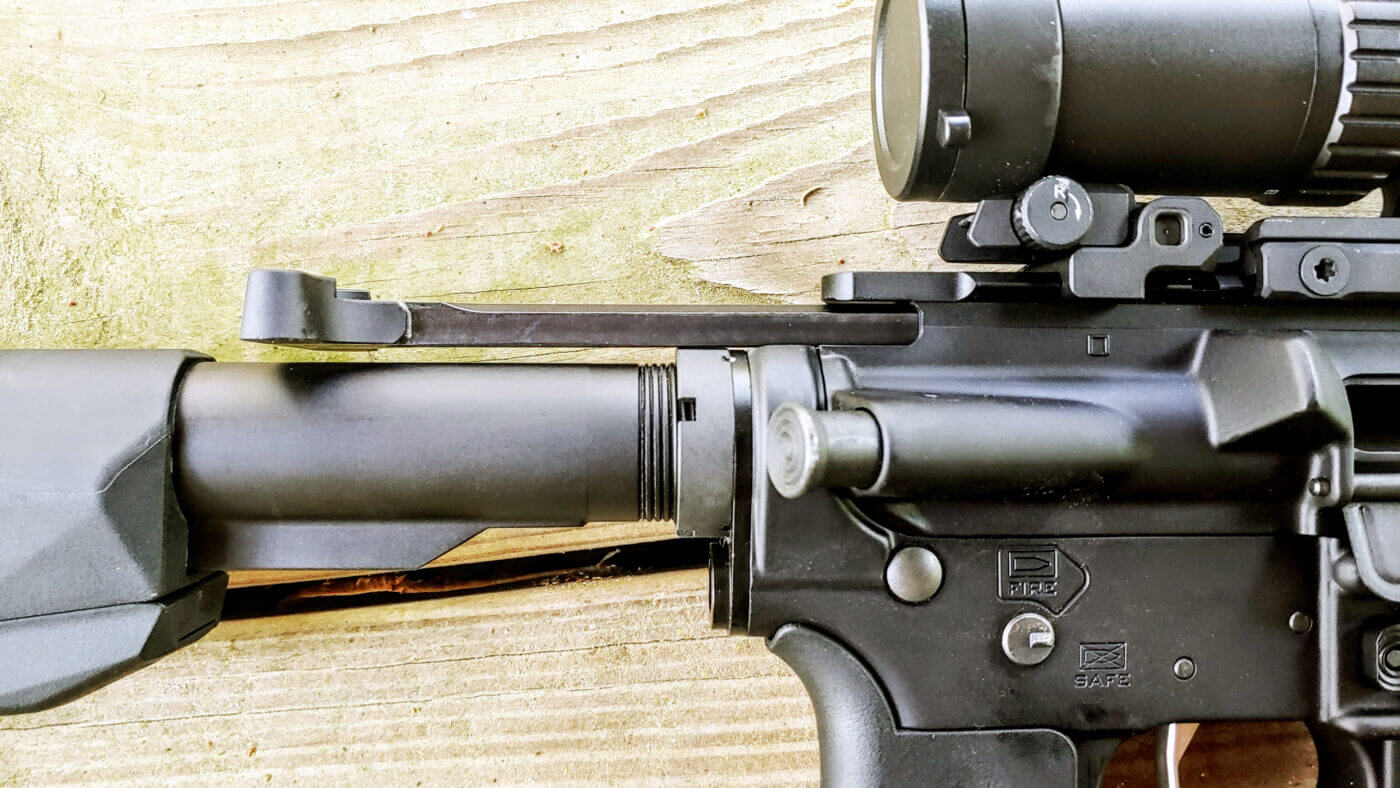
At the top, rear of the upper receiver is a T-shaped part called the charging handle. This is used to place a round into the chamber. Pulling it to the rear and releasing it will load the weapon if a loaded magazine is inserted. You also lock the bolt to the rear by pressing in on the lower part of the bolt lock/release lever and pulling the charging handle to the rear.
Load, Fire and Clear
Before you load an AR with live ammunition, you need to be on a firing range and under proper shooting conditions. To practice, you can use dummy ammunition, commonly known as Snap Caps.
To load an AR, you must first load the magazine. Loading the magazine is very simple. Align one round over the top and press it downward. Repeat until the magazine is full.
Insert the loaded magazine into the rifle. Ensure the magazine is seated correctly by giving it a slight tug downward to check. Once the magazine is seated correctly, retract the charging handle to the rear and just release it. Do not hold the charging handle as it moves forward; just let it go. If you slowly “ride” the bolt forward, the round may not properly seat in chamber inside the barrel.
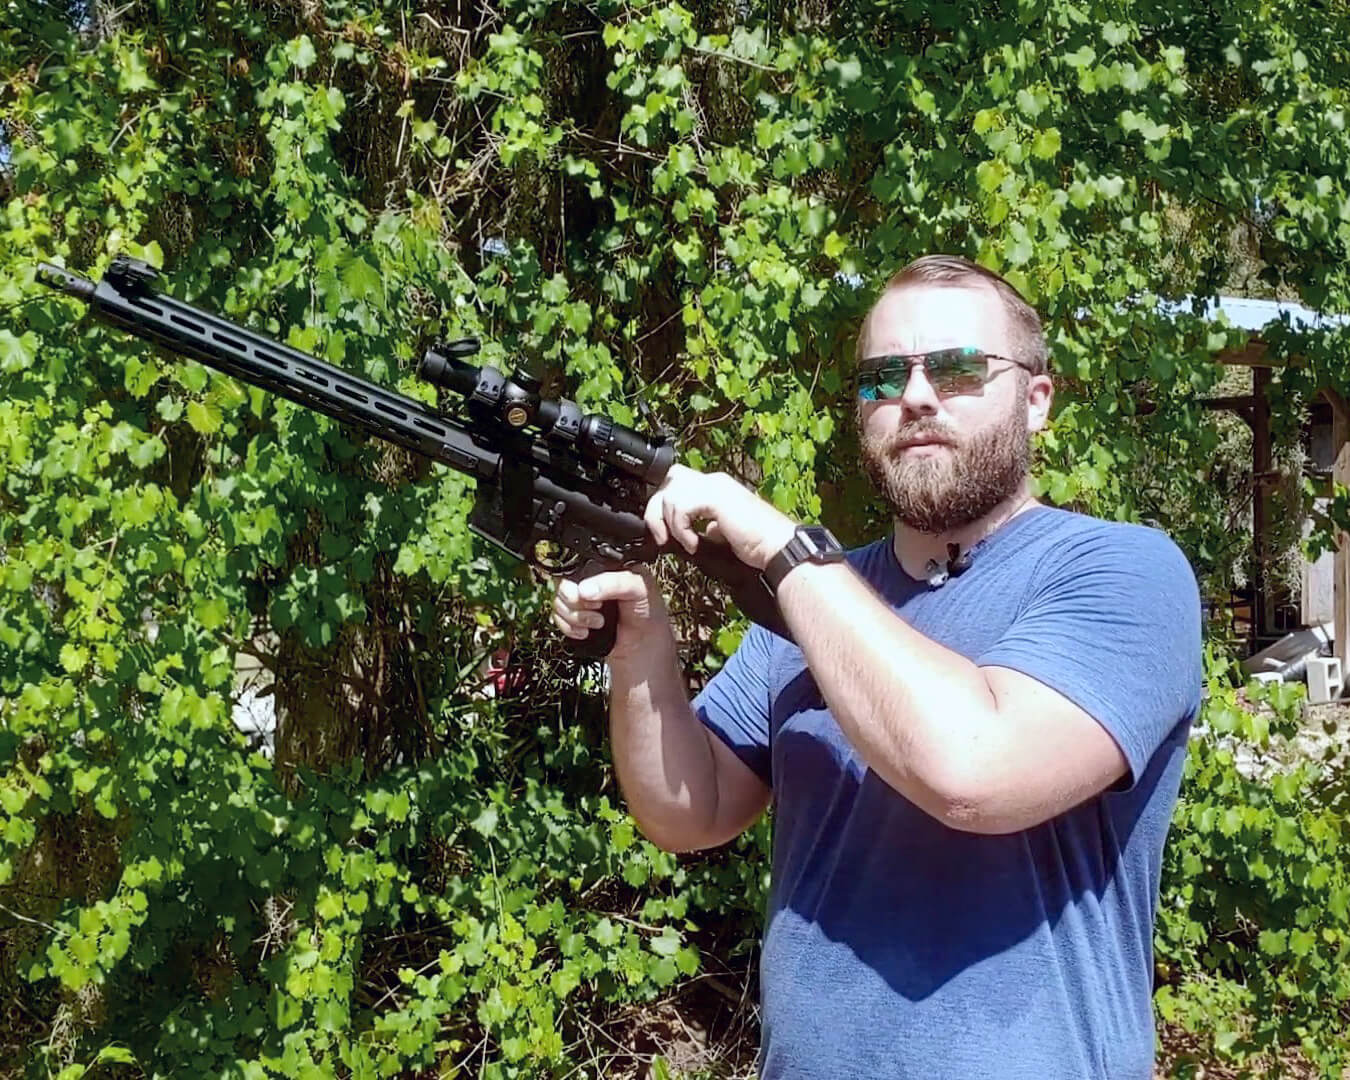
At this point, you have a round in the chamber and are ready to fire. To fire the weapon, you aim downrange, disengage the safety and apply pressure to the trigger until the weapon fires. That’s all there is to it. Obviously, ensure you are always following the four safety rules.
Now, the most important thing for you to know is how to unload and clear the weapon. Clear means you have ensured the gun is unloaded. Although, just because the gun is clear doesn’t mean you treat it any differently. Your AR should always be treated as if it were loaded.
Live The Armory Life. The latest content straight to your inbox plus an automatic entry to each of our monthly gun giveaways!
To clear the weapon, the first step is to engage the safety, remove the magazine and set it aside. While orientating the weapon downrange, ensure the weapon is on safe. Then, retract the charging handle to eject the round from the chamber. Lock the bolt the rear using the bolt lock. Next, look into the chamber and ensure nothing is in the chamber. If possible, use your finger to physically ensure the weapon is clear.
The Basics
This is the bare bones basics of an AR. This is literally day one stuff with your rifle. There is a lot more to it, and you should always be willing to learn and continue your education. You’ll also need to learn how to shoot the weapon, so when possible, seek out face-to-face training with an instructor.
If you have any questions, please go to our forum and ask away. We’ll be happy to help and answer all the questions we can.
Editor’s Note: Be sure to check out The Armory Life Forum, where you can comment about our daily articles, as well as just talk guns and gear. Click the “Go To Forum Thread” link below to jump in!
Join the Discussion
Featured in this video
Share


Continue Reading
Did you enjoy this video?

 134
134
Springfield Armory® recommends you seek qualified and competent training from a
certified instructor prior to handling any firearm and be sure to read your owner’s manual. These
articles and videos are considered to be suggestions and not recommendations from Springfield Armory. The views
and opinions expressed on this website are those of the authors and do not necessarily reflect the
views and opinions of Springfield Armory.
Product prices mentioned in articles and videos are current as of the date of publication.

Travis Pike
Travis Pike is a former Marine Machine gunner who served with 2nd Bn 2nd Marines for 5 years. He deployed in 2009 to Afghanistan and again in 2011 with the 22nd MEU(SOC) during a record-setting 11 months at sea. He’s trained with the Romanian Army, the Spanish Marines, the Emirate Marines, and the Afghan National Army. He serves as an NRA certified pistol instructor and pursues a variety of firearms based hobbies.
