
People love to personalize their stuff. Guns are not only no different, they might be some of the most personalized and customized objects we own. It’s just our natural way of not only making what’s ours just a bit different than it was when we got it, but it can also be a great practical exercise, depending on the personalization. The downside of customizing a gun is that most often it can be expensive — and permanent.
Today, I’m going to give you a step-by-step tutorial on how to install Talon Grips on your Springfield XD-S Mod.2 pistol.

The Why …
The folks at Talon Gun Grips have been feeding the need for practical modifications for years. And best of all, these are inexpensive, non-permanent and easily DIY. I’ve been installing them on most of my polymer-framed handguns for years. That was not because all those handguns really needed an improved grip, though.
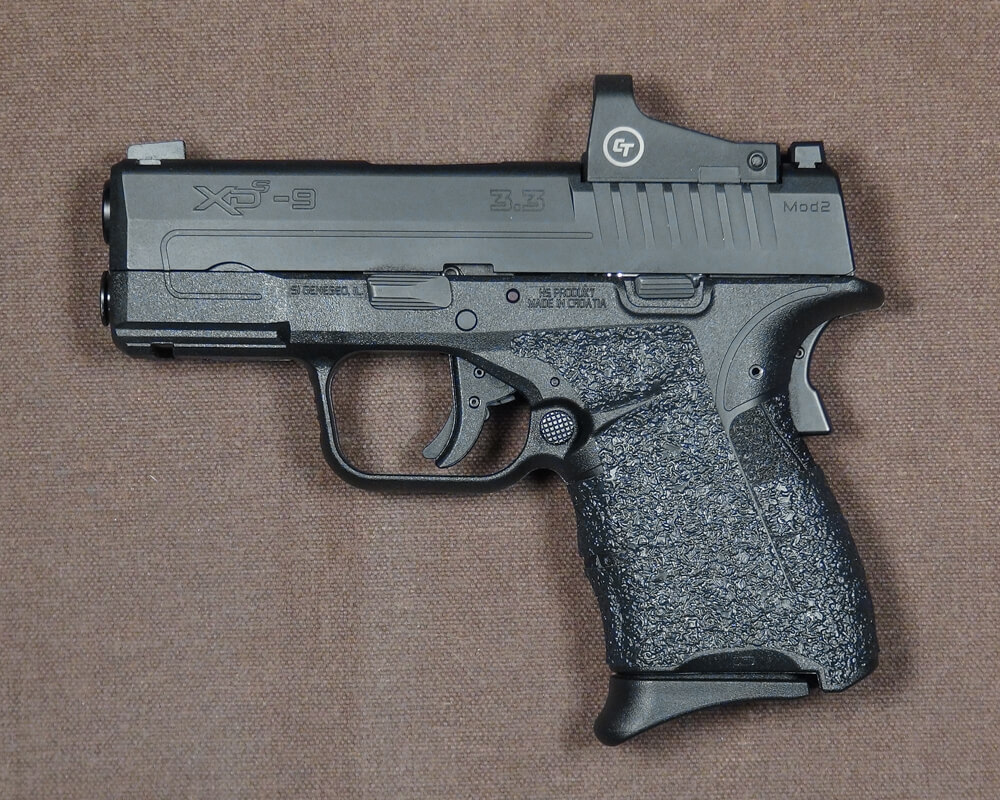
In fact, many new pistols such as the Springfield Armory XD-S Mod.2 9mm I selected for this project have superior grip texture and ergonomic design. So why make the change? Under certain conditions, like extreme heat or wet conditions, some added grip texture can be appreciated. Also, I think my primary reason is that I’ve become accustomed to the feel of Talon’s rubber material, and I like the consistency of having it on most of my pistols.
… and the How
So, that’s the “why”. You might have a different why — or just be curious about the process. So let’s get to the “how.” I’ll break it into just a few basic steps, and the companion video at the top of the page will further show each of these steps.
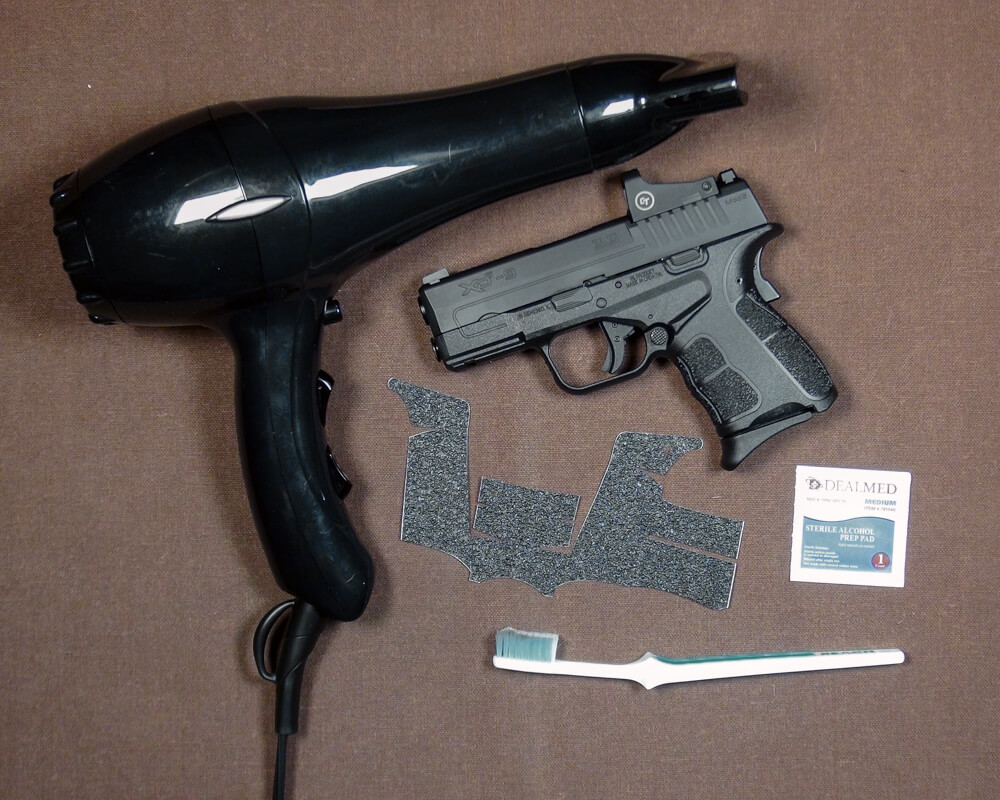
Like any good DIY project, no matter how simple it is, the best way to start is to gather and assemble together all the stuff you’ll need. Relax, it’s a short list: The alcohol wipe that is provided with the Talon grip; an old (but clean) toothbrush or similar for getting into the texture and scrubbing out any crud; and a hair dryer or heat gun. You might also want to have a pair of scissors at hand if you want to remove the protective backer in two sections instead of one.
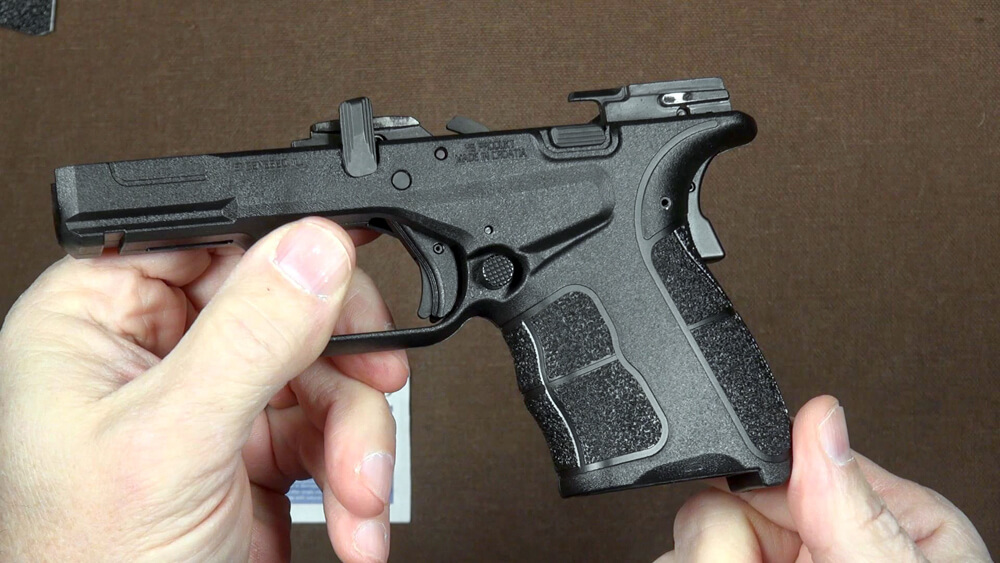
Before starting — I call this “Step Zero” — make the gun empty and safe. Take my advice, just remove the slide and magazine and be done with it. Besides, you’ll be able to handle the lighter empty frame much easier for the application.
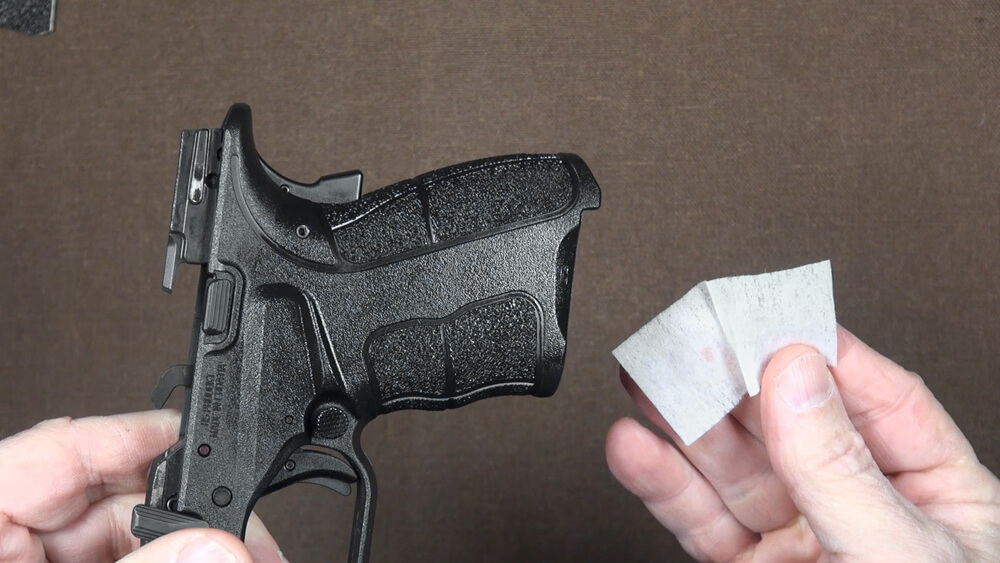
Step 1: The official first step is to clean the substrate. Adhesive won’t stick well to a dirty surface, and even less so to one with any oil on it. Use the little alcohol wipe to thoroughly clean the area to be covered by the Talon grip.
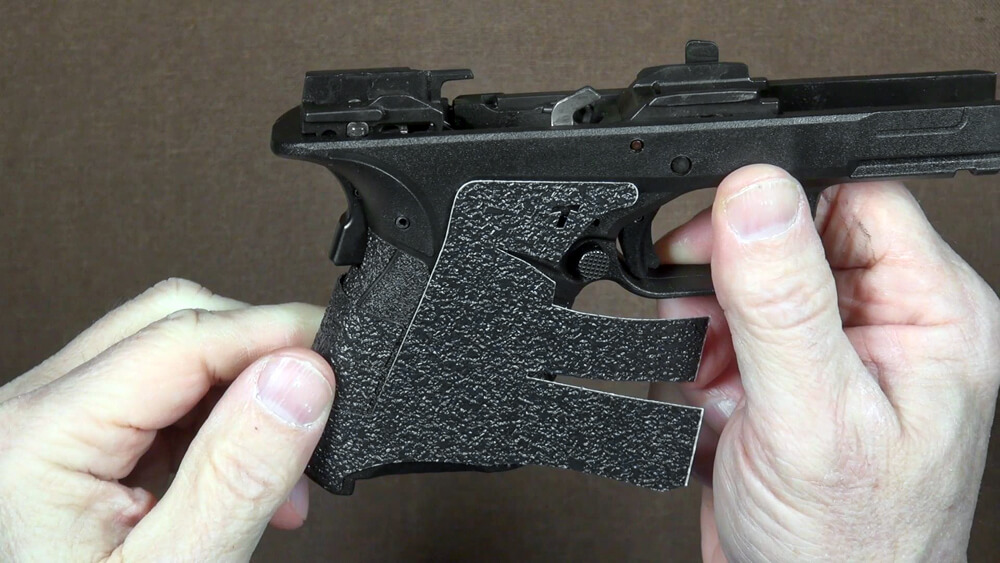
Step 2: This is the big step. Peel the backer from the adhesive (you can choose to do this in two halves — watch the video for an example of this) and fit the grip onto the frame. I advise doing a dry fit first to get familiar with where it will go and to make note of what I call “index points,” which are the spots you want to align it with.
Start from the left side of the grip, and gently lay the adhesive side against your polymer frame, following the index points and being careful to keep it level and straight. One of the easiest indexes for this is the bottom near the magwell, where it’s easy to see if it is crooked. You can lift and re-apply the grip several times to get it just right — but try to avoid touching the adhesive with your fingers.
Live The Armory Life. The latest content straight to your inbox plus an automatic entry to each of our monthly gun giveaways!
Most application of the Talon Grip require the portion of the panel that covers the frontstrap to be tucked under the left panel. This means lifting the edge you started with a bit and firmly pressing the finger tabs (which can be one or multiple tabs) into place. Then, recover the left panel edge and seal. The accompanying video will show this in better detail. Definitely watch the video!
Step 3: When you’re satisfied with the application, the next phase is one of the most important. Do not skip this if you want a long-lasting application of the grip panel. Using your dryer or heat gun, heat the newly applied grip tape until it is very warm, even hot, to the touch. Then press down firmly all over the applied grip to push the softened adhesive into the texture below. I call this the “smoosh” process, and it is the key to a great install.
Conclusion
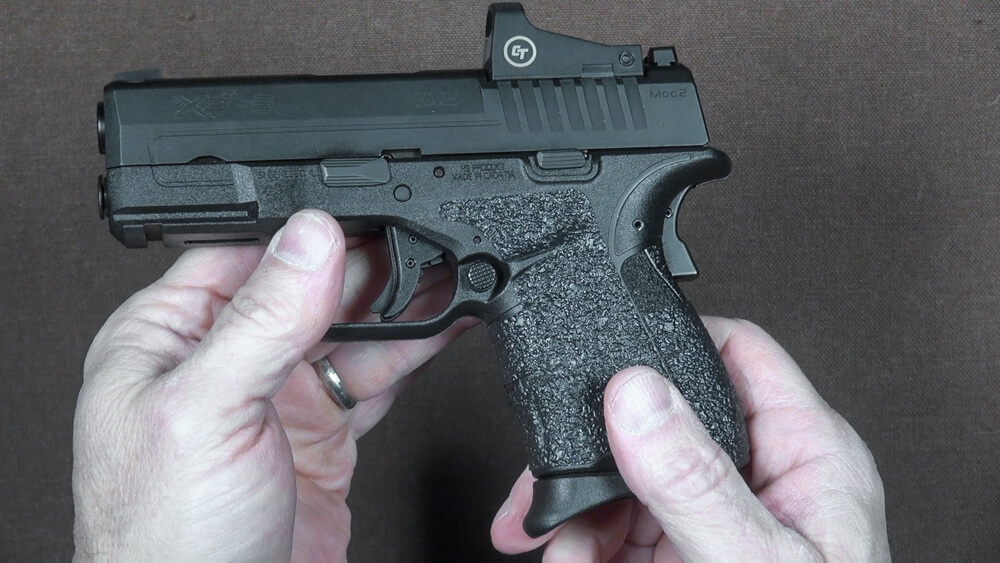
Now that you’re done, re-assemble the slide to the frame and admire your newly customized handgun. The best part is that you spent very little money and time doing it — you did it yourself — and it can be easily removed in the future with absolutely no permanent marking to the gun!
Editor’s Note: Please be sure to check out The Armory Life Forum, where you can comment about our daily articles, as well as just talk guns and gear. Click the “Go To Forum Thread” link below to jump in and discuss this article and much more!
Join the Discussion
Featured in this video


Share


Continue Reading
Did you enjoy this video?

 26
26
Springfield Armory® recommends you seek qualified and competent training from a
certified instructor prior to handling any firearm and be sure to read your owner’s manual. These
articles and videos are considered to be suggestions and not recommendations from Springfield Armory. The views
and opinions expressed on this website are those of the authors and do not necessarily reflect the
views and opinions of Springfield Armory.
Product prices mentioned in articles and videos are current as of the date of publication.

Justin Opinion
“Justin Opinion” is a lifelong firearms enthusiast and shooter. The son of a master gunsmith, he makes no claims to such skills but has a deep appreciation for the skillful work of the men and women who design and build great guns. A certified instructor and range safety officer who enjoys the shooting sports, he uses his experiences and those of his friends to apply a real-world perspective to reviews. The Justin Opinion Channel can be found on YouTube, Facebook and Instagram, and his reviews can also be found at GunsAmerica and American Handgunner.
