How to Sharpen a Knife
July 6th, 2023
7 minute read
Learning to sharpen a knife is not beyond your grasp. Nevertheless, many people have expressed concern about ruining their blade by using the wrong tool or technique. In today’s article Randall Wilson breaks the process down, talks about the tools you should use and explains how to sharpen a knife.
Do you know what most people carry in a pocket or purse? A dull knife, that’s what. For years, I ran a small-time business selling knives to first responders and friends. It was a fun side gig and allowed me to buy knives that I wanted at wholesale prices from a national distributor. What I didn’t foresee in the future of that endeavor was what I called “warranty work.”
After a knife left my hands and the customer walked away with his or her new pointy toy, invariably, they would return months later with an unsharp and abused blade. They didn’t know what to do with it. So, gratis, I would clean, sharpen, lube, and return said knife to a useful state for them.
Hence, I became better and better at giving the steel a workable edge. In the process, I experimented with many different methods and tools for achieving this end. Let’s start with the bench whetstone. Not wet stone. Whetstone comes from an Old English translation of hwettan, which means to whet or sharpen — on a stone!
Finding the Knife’s Edge
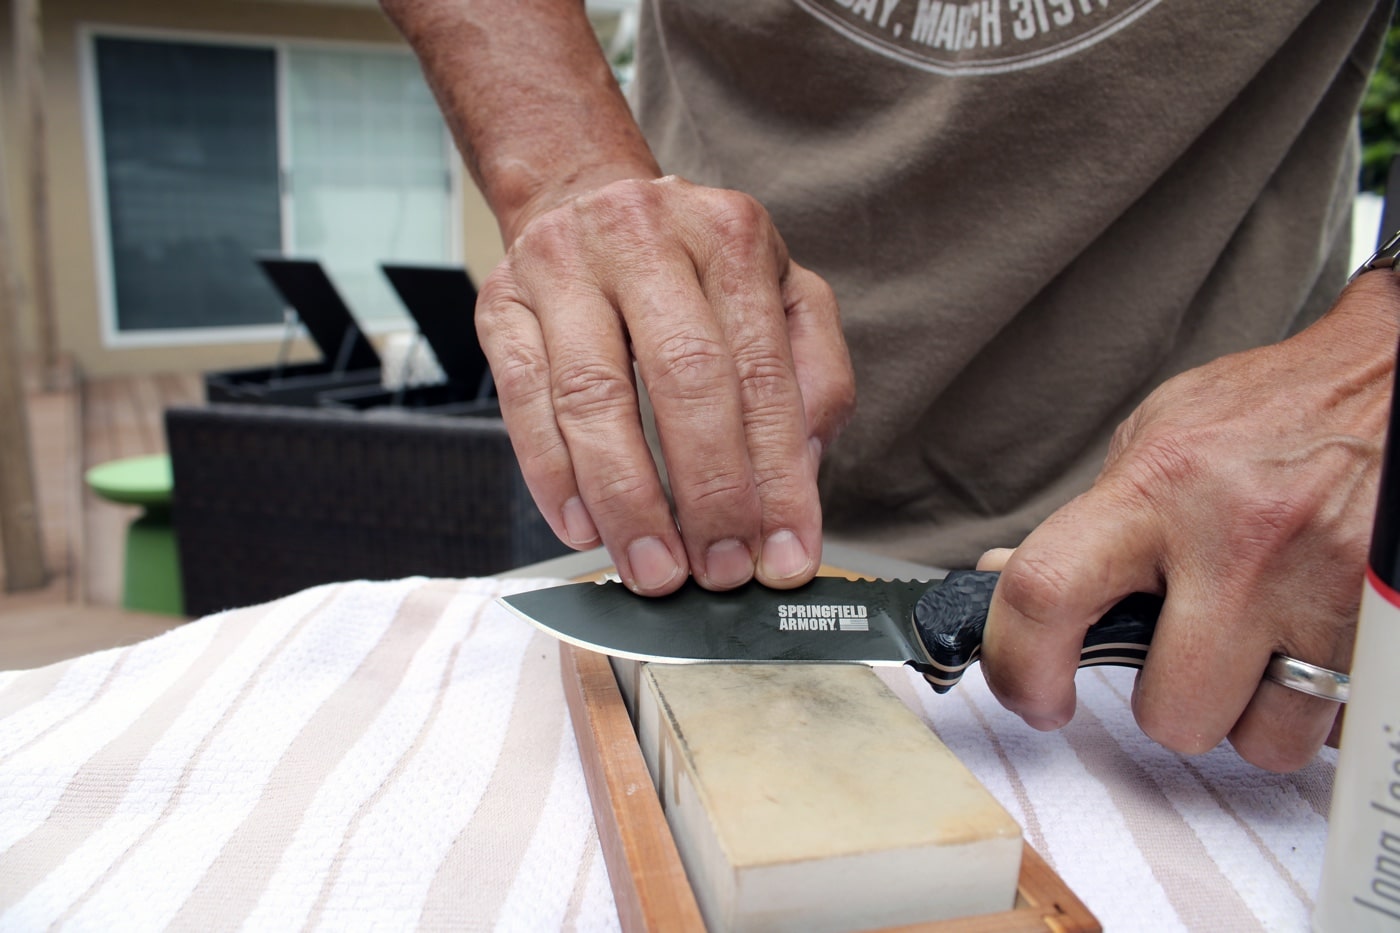
Whetstones, also called sharpening stones, come in different compositions and uses. You need to know whether you are using a water stone or an oil stone. Water and oil assist in the sharpening process by floating away undesirable particles. These are variously called swarf or slurry. A manufacturer will generally tell you what type of whetstone you have purchased.
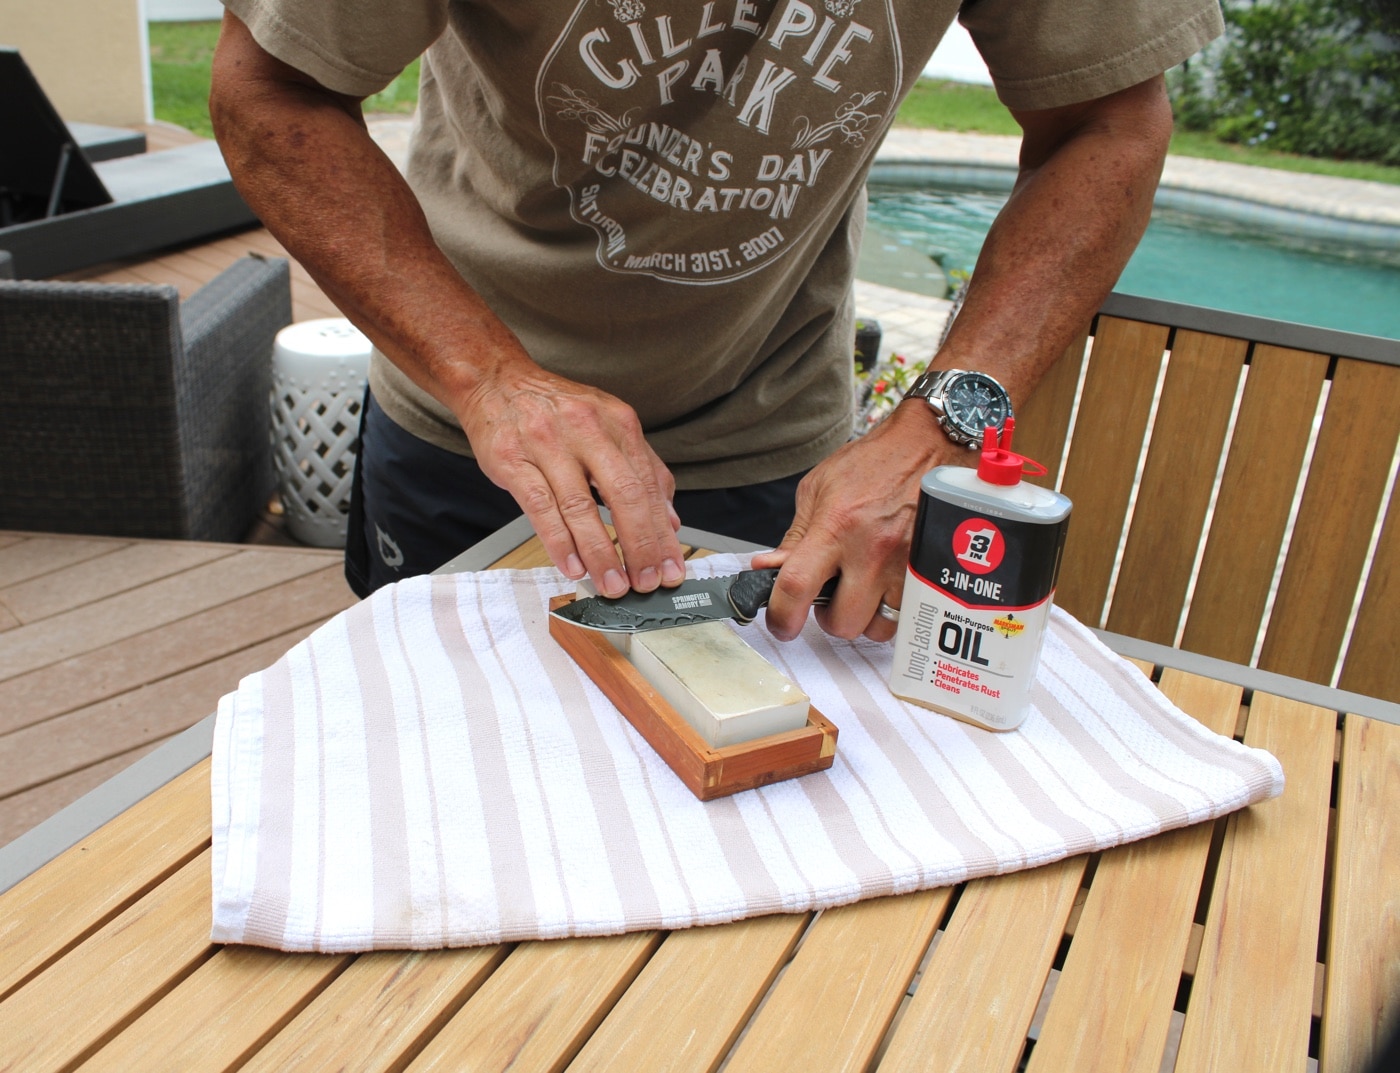
If you have a used stone of unknown origin, you can add some water to the surface. The water will soak into a water stone or pool on top of an oil stone. Water stones such as aluminum oxide or naturally-mined Japanese stone are slightly softer and wear faster than oil stones but cut quicker. Oil stones can be made of Novaculite, silicon carbide (carborundum), or aluminum oxide. Oil stones wear longer but cut slower and are messier. Either type will get the job done.
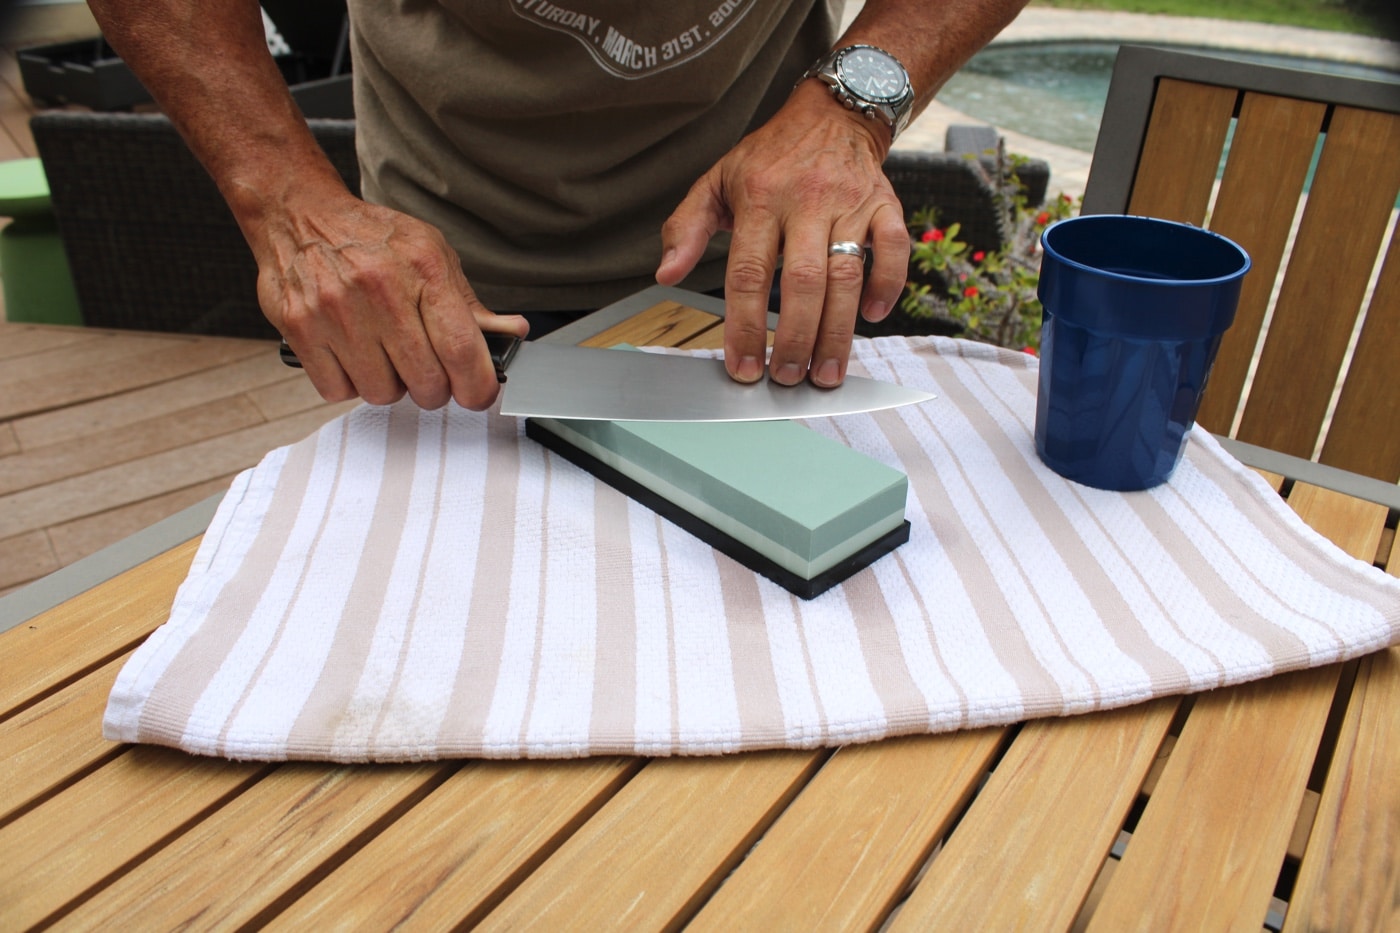
For stones, grits between 320 and 800 are employed to establish or repair a knife edge. Grits ranging from 1,000 to 10,000 are for finishing and polishing the edge. I like a stone in the 400 range for fixing a damaged edge, but I do not go much above a 1000-grit stone for touch-up work since the media I normally cut does not need a knife’s surgical precision. And a super keen edge may dull faster during brutish tasks.
To the Point
You have your blade, and you have your stone. Are you ready to start sharpening? Maybe. Do you understand angles? Before dragging your 1095 or 440C across a gritty surface, you must know the angle at which to conduct your movement. Most pocket or field knives do very well with a 20 to 25-degree edge. A knife blade perpendicular to the stone is 90 degrees, half of that is 45, and half of that is about 22 degrees. There is your angle for most utility and field-grade knives.
There are plenty of sharp-smiths who will argue about pushing versus pulling the edge of the blade across a whetstone. Others grind in both strokes. All can work for you. Choose whichever way to use a whetstone you think is best for your knives. There is a metric ton of videos online that show each Einstein’s individual technique to sharpen the blade. As long as you have the correct angle, a decent stone, and about five pounds of pressure on the sharpening strokes, you can achieve edgy greatness. Be patient and put in the work.
Understanding the Rules for Knife Sharpening
While there are four primary rules for safely handling a firearm, I have three basic rules when you sharpen your knife. Heeding these will prevent bandages and stitches.
- Do not cut toward any part of your body or anyone else’s (unless it is for self-defense).
- A sharp knife is a safe knife since it requires less force to make cuts.
- Do not catch a falling knife — ever. Even if it is your $800 balisong, let it go.
More Than One Way to Sharpen a Knife
When sharpening a knife, one is alternately grinding away one side of the edge and then the other. Essentially, you are raising a burr on one side of the edge at a time. As you progress to a fine sharpness, you will want to strop your finished edge. This breaks off the burr and polishes what you have accomplished. It can be done on a leather strop or, as I learned from Ernest Emerson, on the back cardboard of a legal pad!
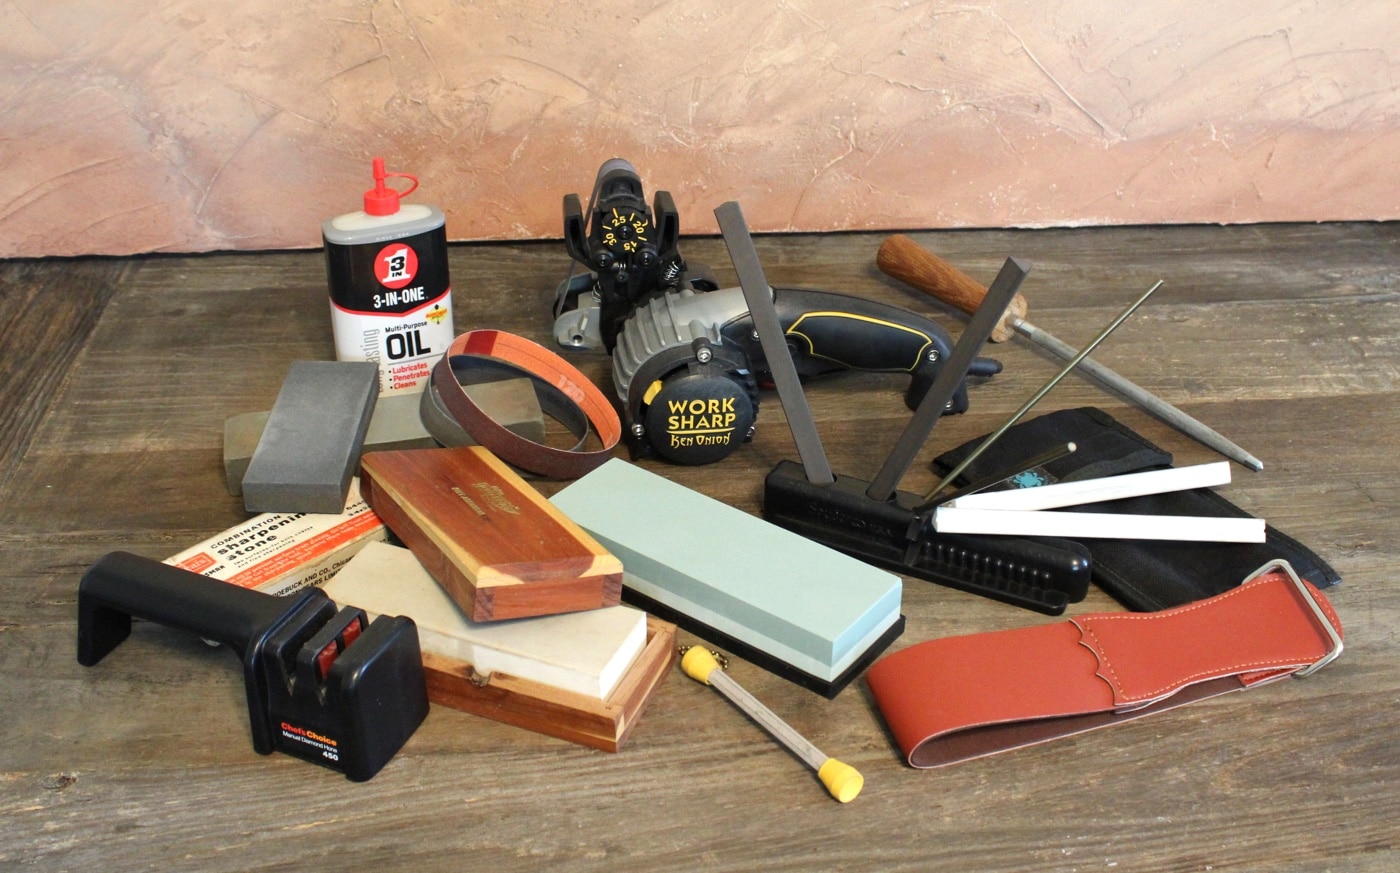
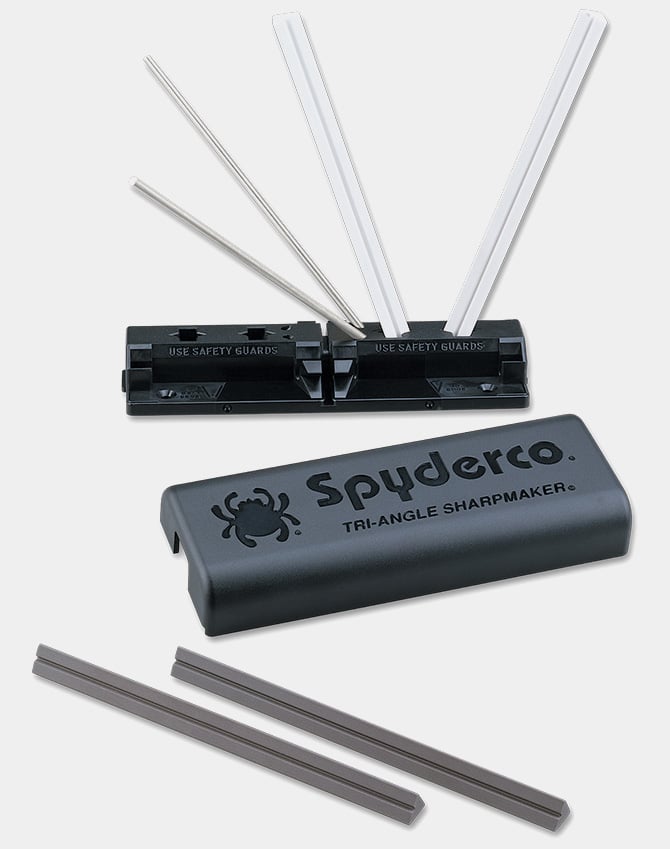
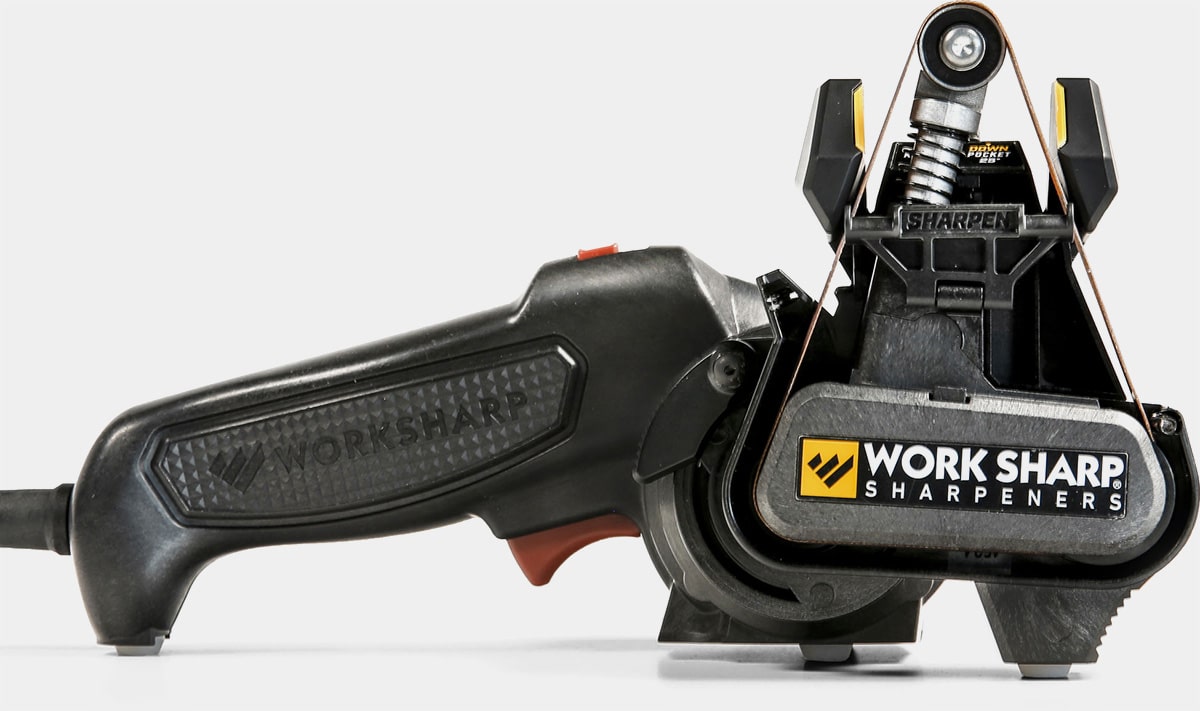
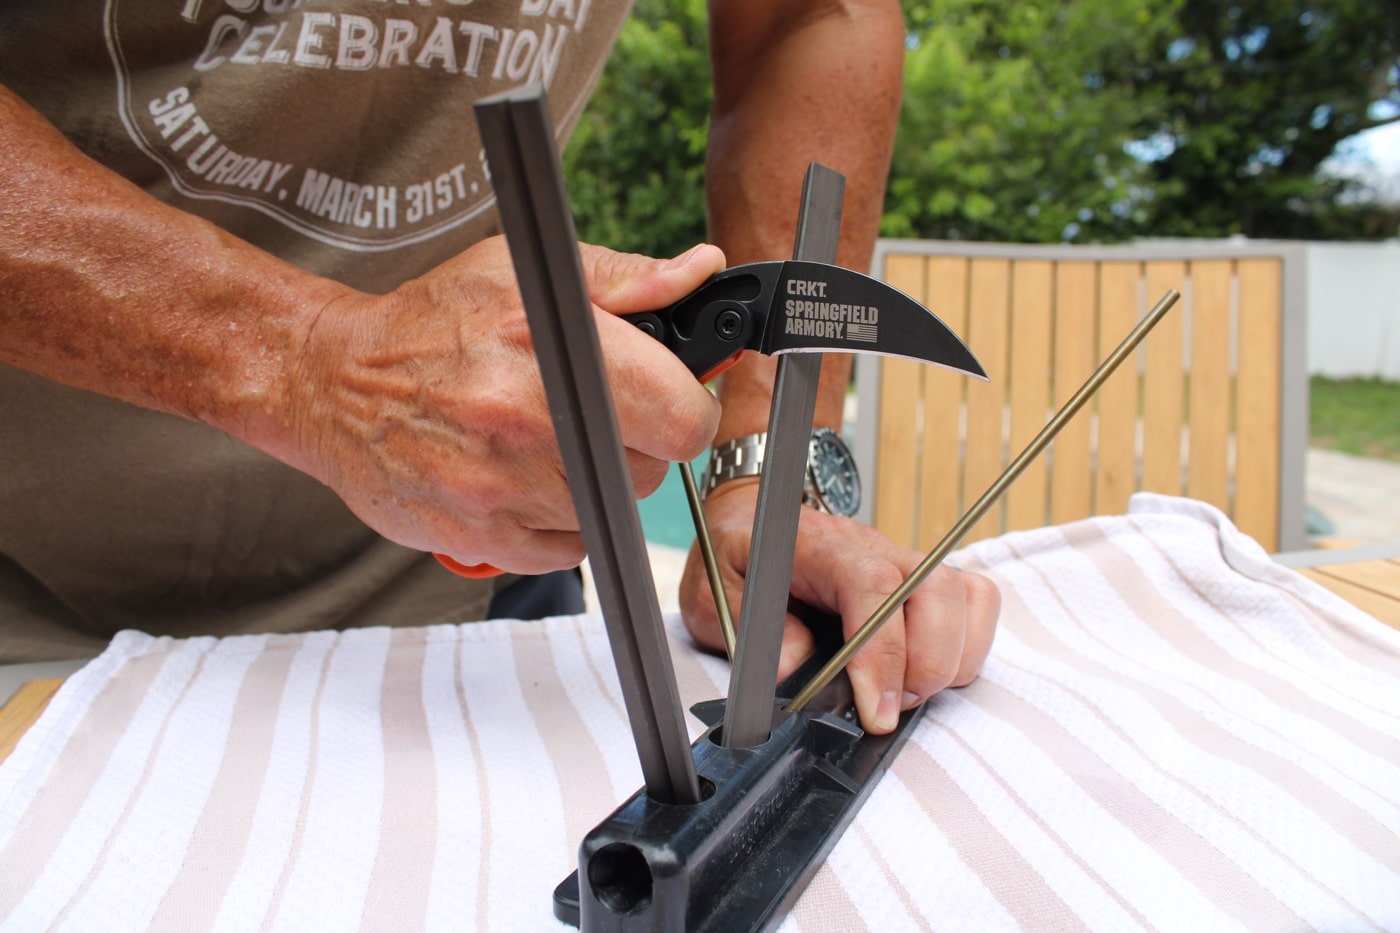
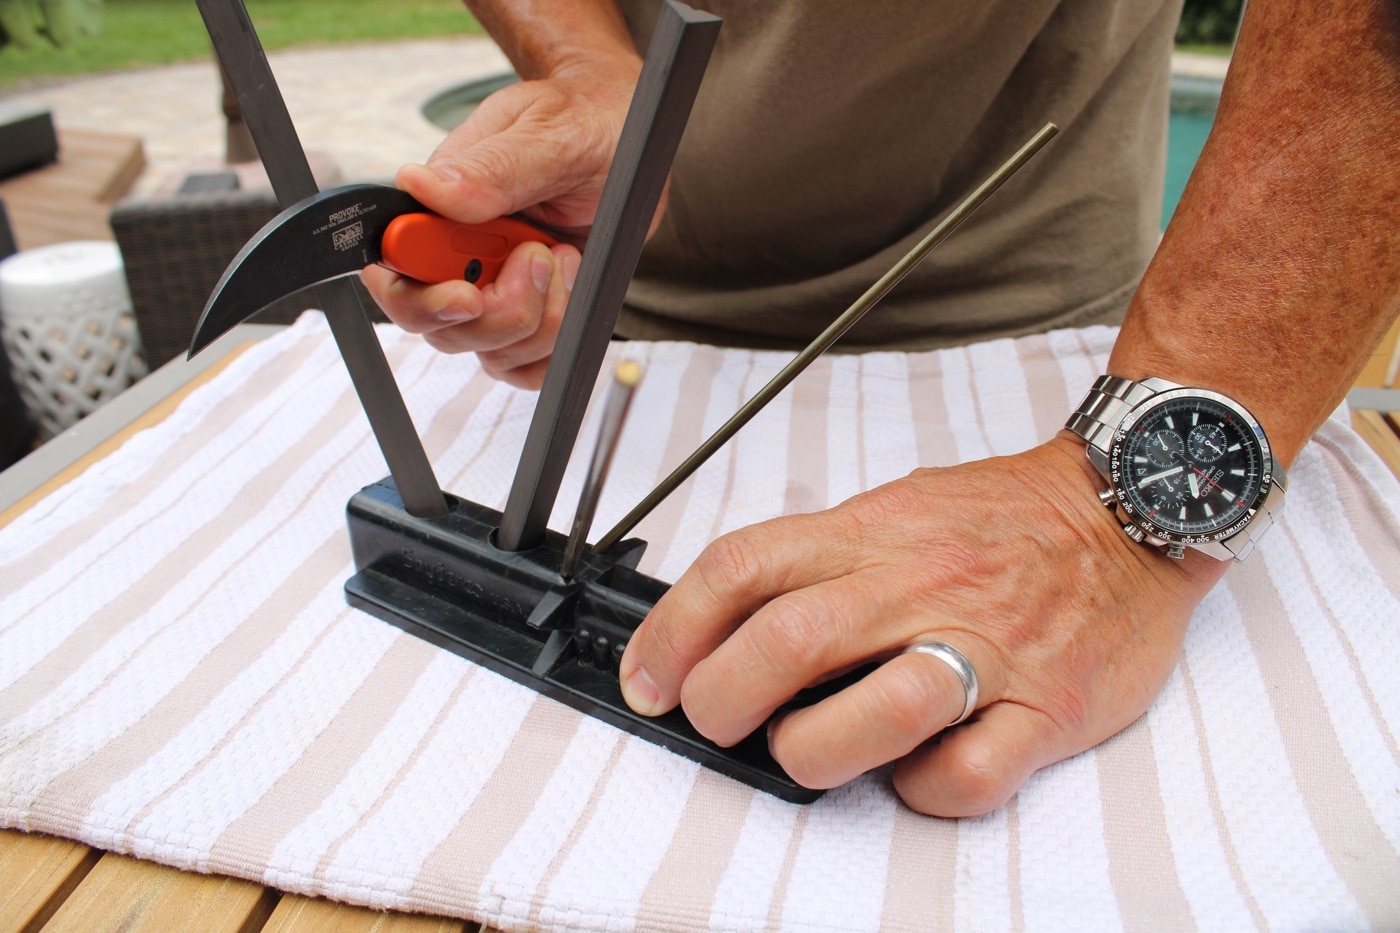
In the shop, other honing methods I have used include stand-up V sharpeners, filing guides, and small motorized grinders. My Spyderco Tri-Angle Sharpmaker has medium and fine honing rods, a stand, and two brass safety guides. I use this frequently for touching up blades. For knives made by my hands, I have a Work Sharp Knife and Tool Sharpener for putting on secondary bevels. Since it is adjustable, it provides a nice shortcut for cutting those initial angles correctly on a virgin blade.
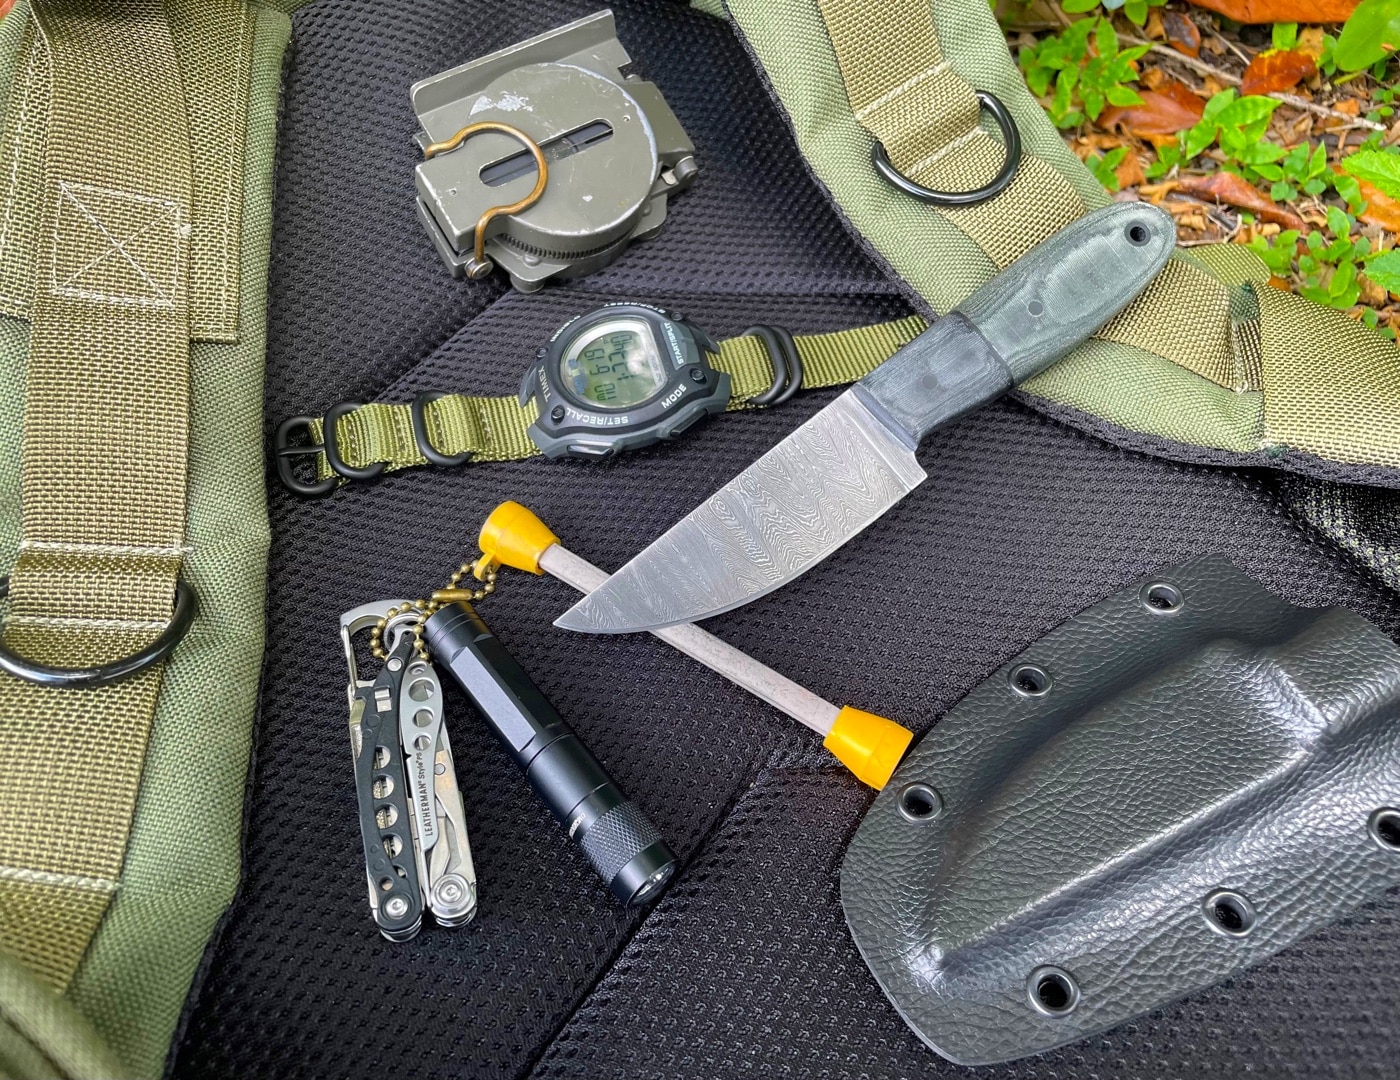
If you understand the mechanics of using a bench whetstone, there are ways to maintain your knife in the field as well. Smaller stones, ceramic rods, or diamond sharpeners can keen up an edge in the woods or on the mountain. Again, think of angles as you remove metal. You can either pass the blade over the stationary sharpener or hold the knife still and make passes across the sharp part. It is essential that your knife has a good edge with which to start.
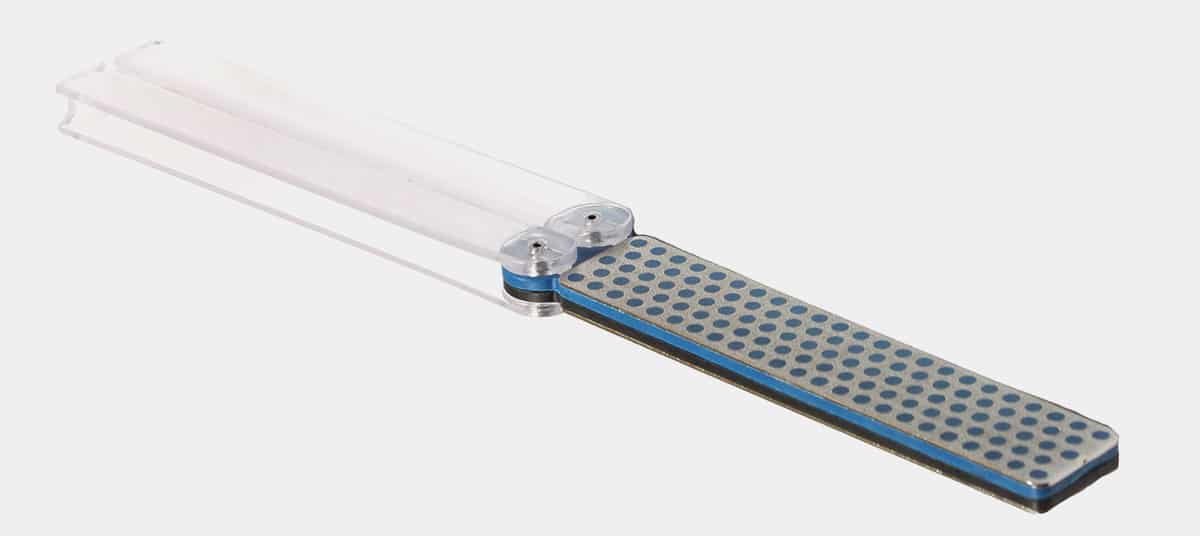
A much-loved field tool is the DMT Diafold Double-Sided Diamond Sharpener. It has a course side (325 mesh) and a fine side (600 mesh). Its handle is both a safe grip and folds to make a guard to protect the stone’s faces. The Diafold rides nicely in a hunter’s backpack or vehicle. On the trail, I carry a small ceramic rod that I have also used to hone up the perennially obtuse cutlery at every single rental house in which we’ve ever made a meal.
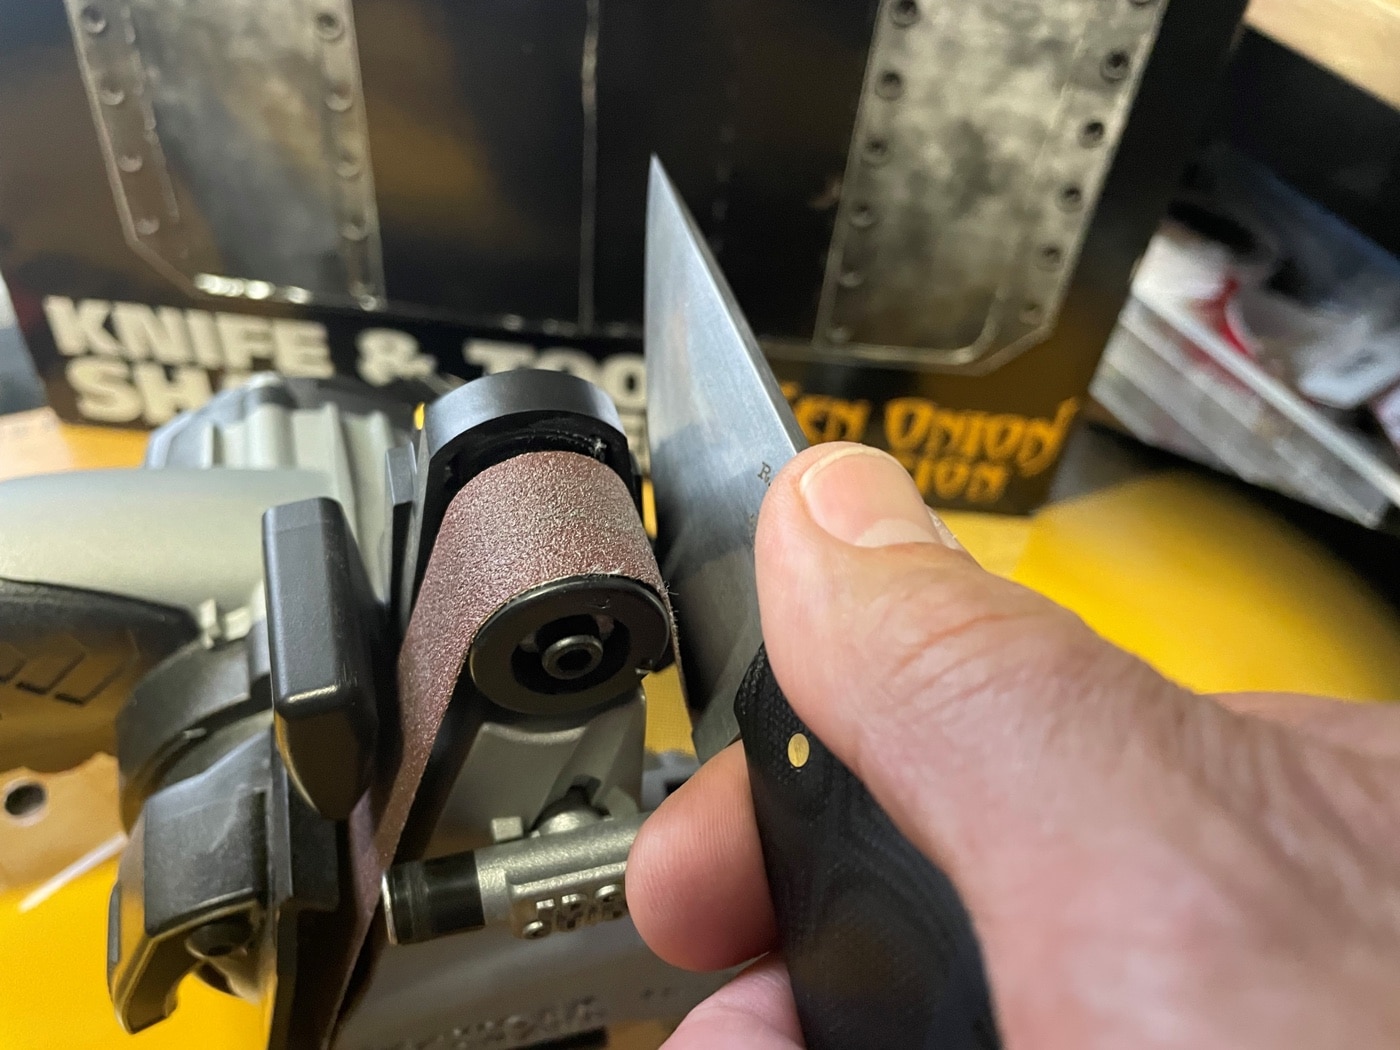
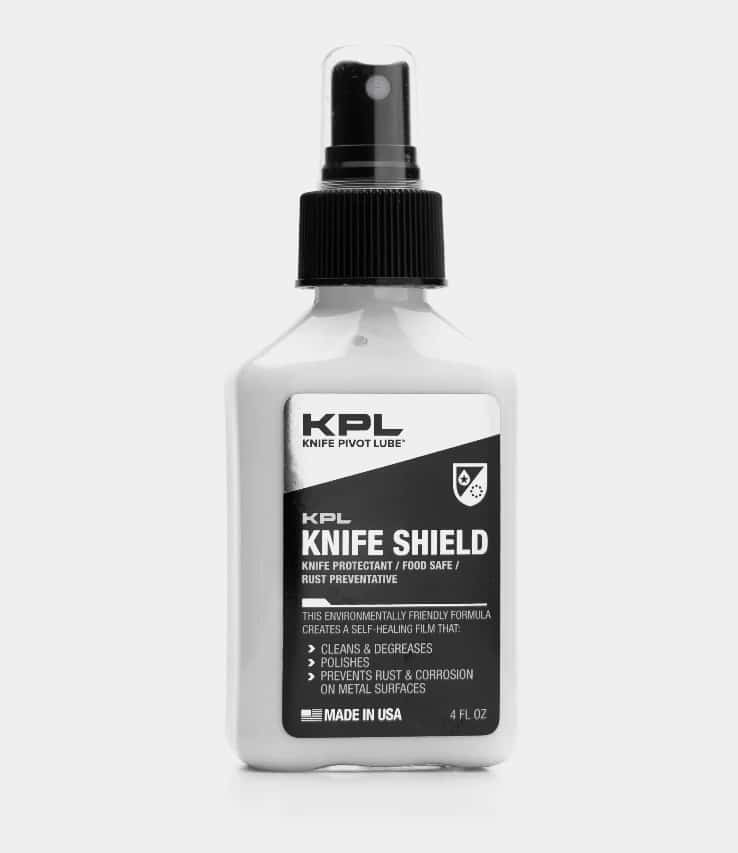
I always make sure my knives are sharp, clean, and protected with a food-grade oil or wax prior to stepping out at the trailhead, campsite, or hunt. For carbon steel knife blades, I have used vegetable oil or mineral oil as rust inhibitors. There are pricier edible options such as KPL Knife Shield, Froglube, and other products. If the blade is not used for cutting foodstuffs, car wax is an inexpensive coating. Some folks use Renaissance Wax, Sentry Solutions, Flitz products, and so on. Pick your poison, so to speak. Remember that stainless steels are only stain-resistant and need protection as well.
Final Thoughts About Sharpening a Knife
So back to warranty work. I have been aghast at what some people do to their cutting tools.
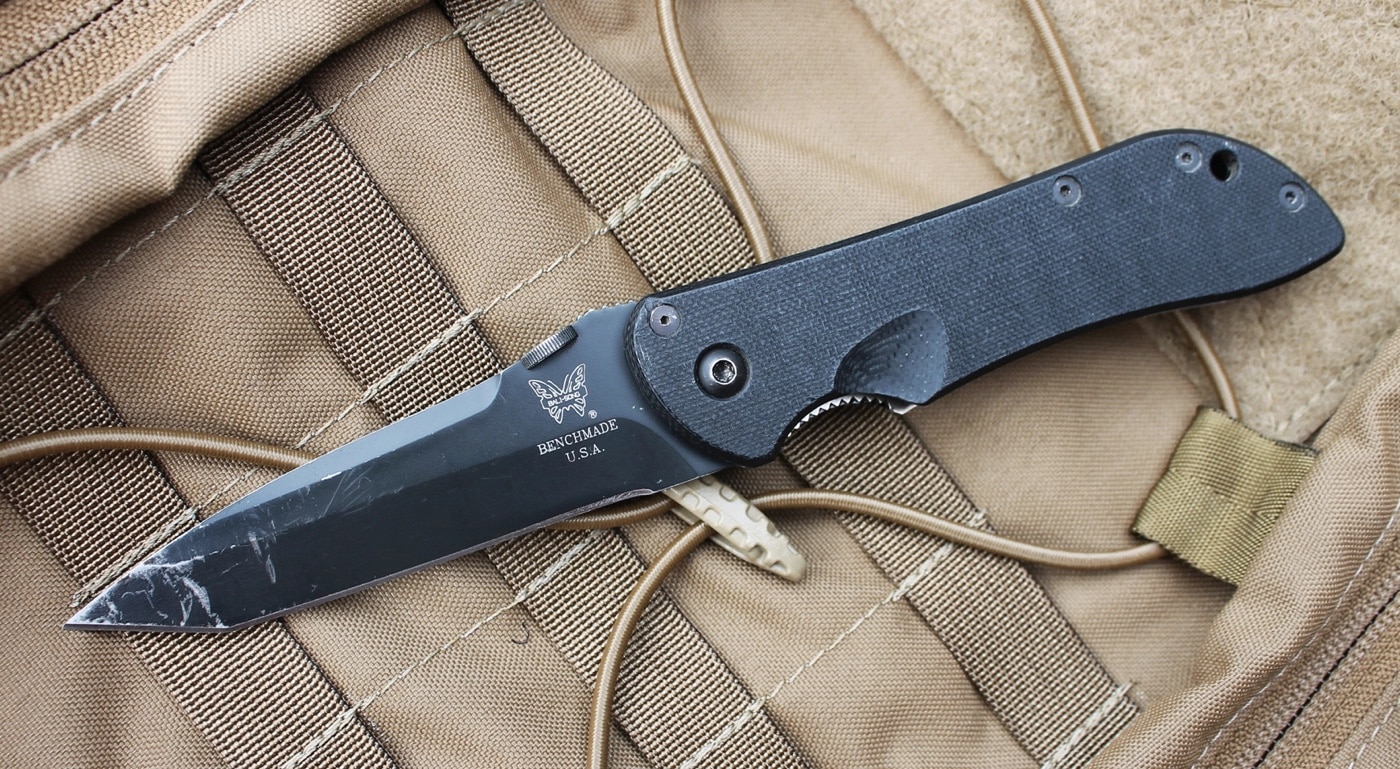
A knife is for slicing. As that is its raison d’etre, a keen edge is mandatory. One co-worker brought me a Benchmade Stryker 910BT for a refresh. I had sold the knife to him some fifteen years before. While it needed a deep cleaning, the most horrifying part was that the blade was butterknife blunt. Ten minutes on a whetstone and 20 passes on the Tri-Angle Sharpmaker returned the Clackamas, OR-built design back up to hair-popping again. Knife sharpening takes care and practice.
All of us can sharpen knives. I’m not asking anyone to knap flint here, for goodness’ sake.
Editor’s Note: Be sure to check out The Armory Life Forum, where you can comment about our daily articles, as well as just talk guns and gear. Click the “Go To Forum Thread” link below to jump in!
Join the Discussion
Featured in this article
Continue Reading
Did you enjoy this article?

 149
149


