
Editor’s Note: This is the third entry in the “Practical Skills” series from The Humble Marksman. You can find the first part on recoil management here, the second part on mastering trigger manipulation here and the fourth part on speeding up your reloads here.
A lot of the conversation about fast draws in the shooting sports has to do with hand speed — that’s what people always comment on whenever watching someone else draw quickly. Hand speed is a major part of blistering sub-second competition draw times, but it’s impossible to reach this without first scrubbing your technique for efficiency.
Introducing hand speed without the foundation of efficiency is a recipe for wasted motion and the potential to be unsafe. Focusing first on efficiency you can tune up your stand-and-deliver competition draw so you don’t leave any time on the table.
Where to Begin
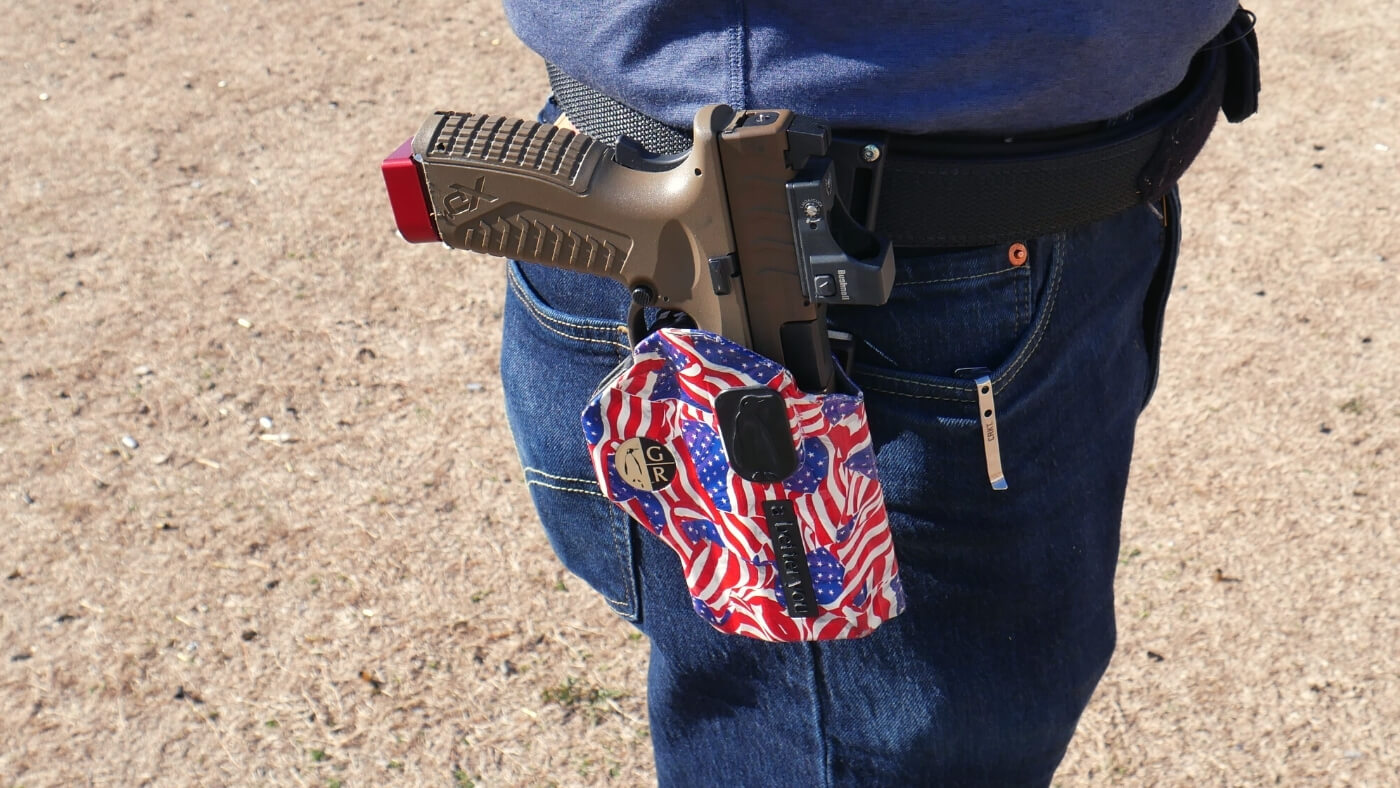
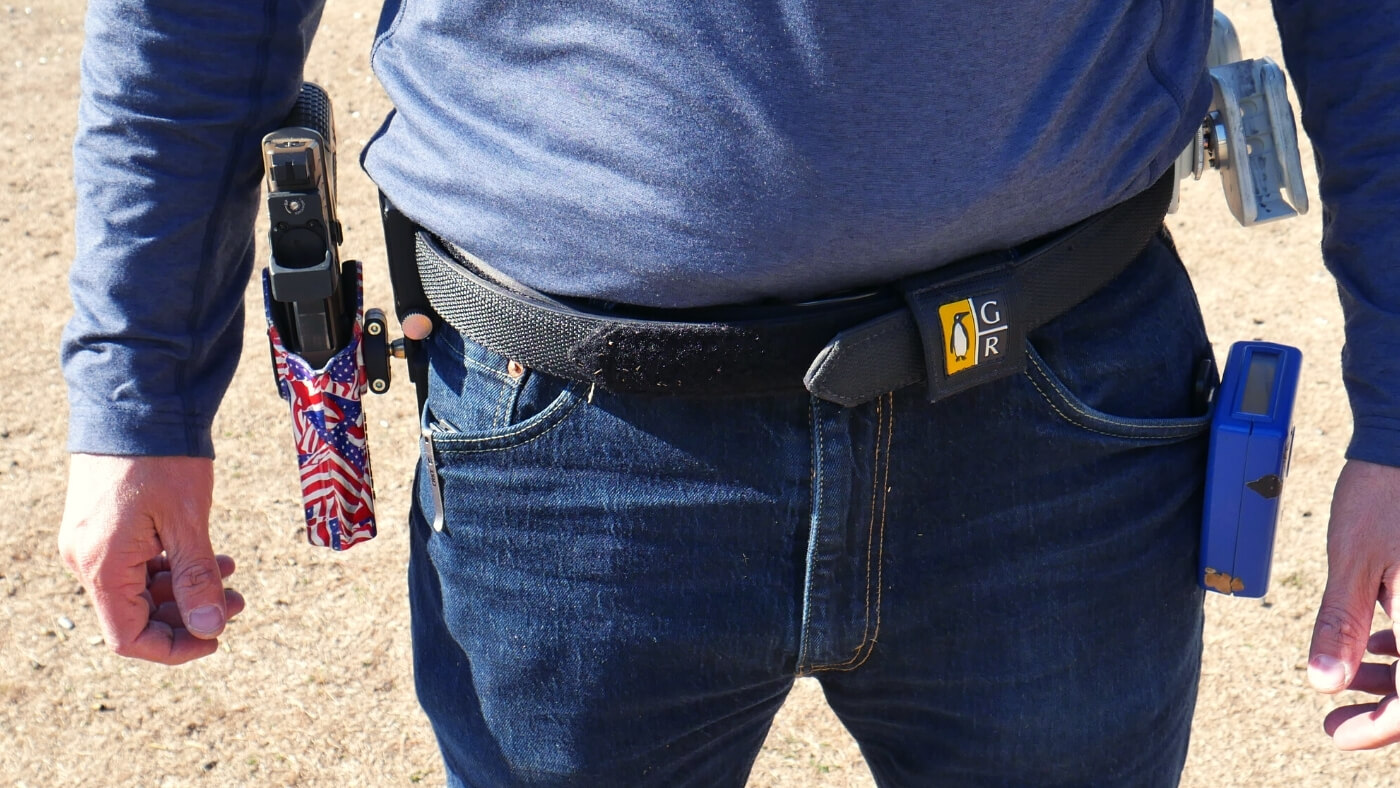
The first step in the drawing process is optimizing your gear. In USPSA, you’ll want the butt of the gun on your holster set up to be roughly parallel with the top of your belt by using a forward/speed cant while having the gun be as low down as allowed by the rules.
At the time of this writing, the butt of the gun must be above the top of the belt. The holster should be as far forward as your hand naturally falls at your side, but must be behind your hip bone. The ideal holster position is to have the holster situated so that raising your hand straight up, you’re on the grip of your gun in the holster.
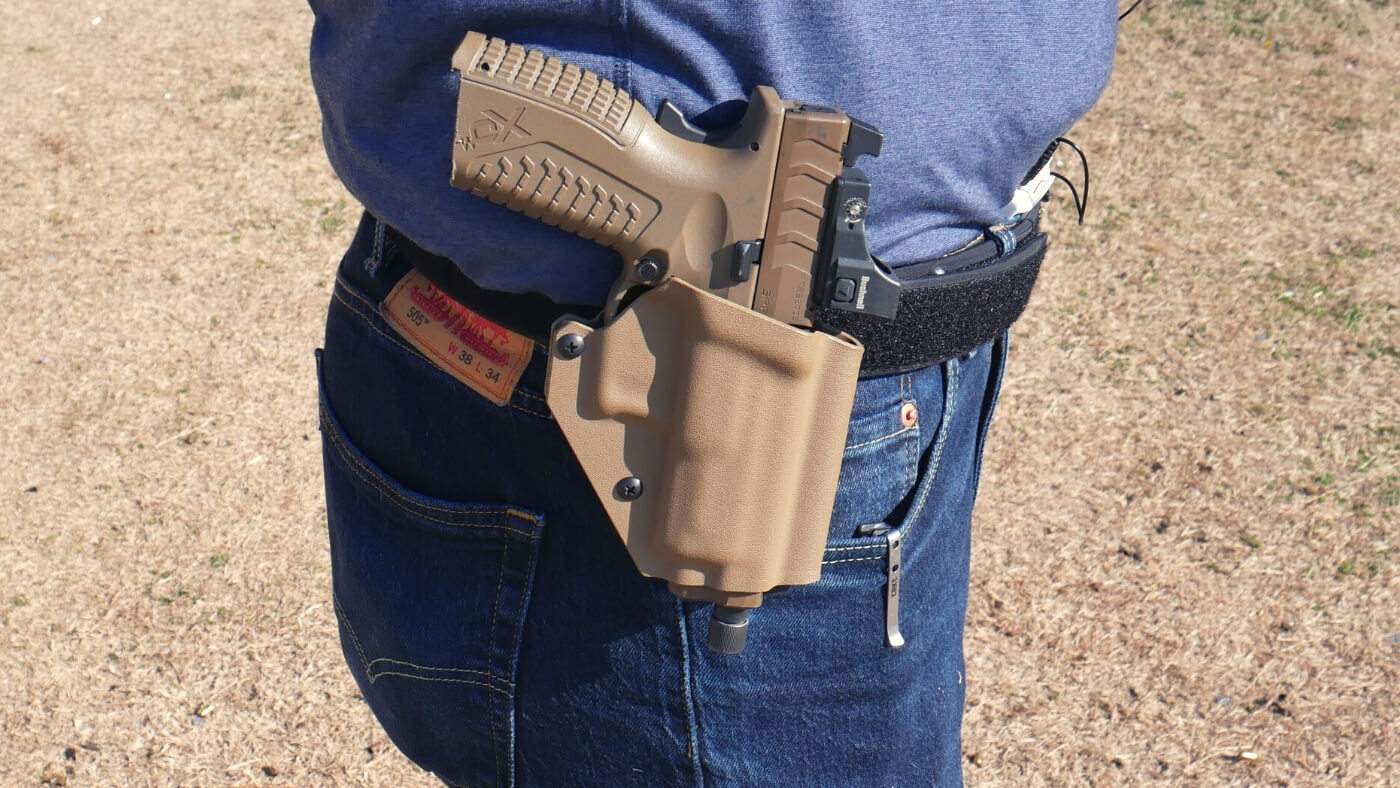
To set up a holster for IDPA matches, you must keep the pad of the triggerguard behind the centerline of your body. The holster must be high and tighter to your body than USPSA, with the frontstrap of the pistol above the belt. Using the seam of your pants as a guide, you can bring where the triggerguard meets the dustcover in line with the seam. If you have doubts when you show up to the match, ask the match director or your safety officer to ensure you’re legal.
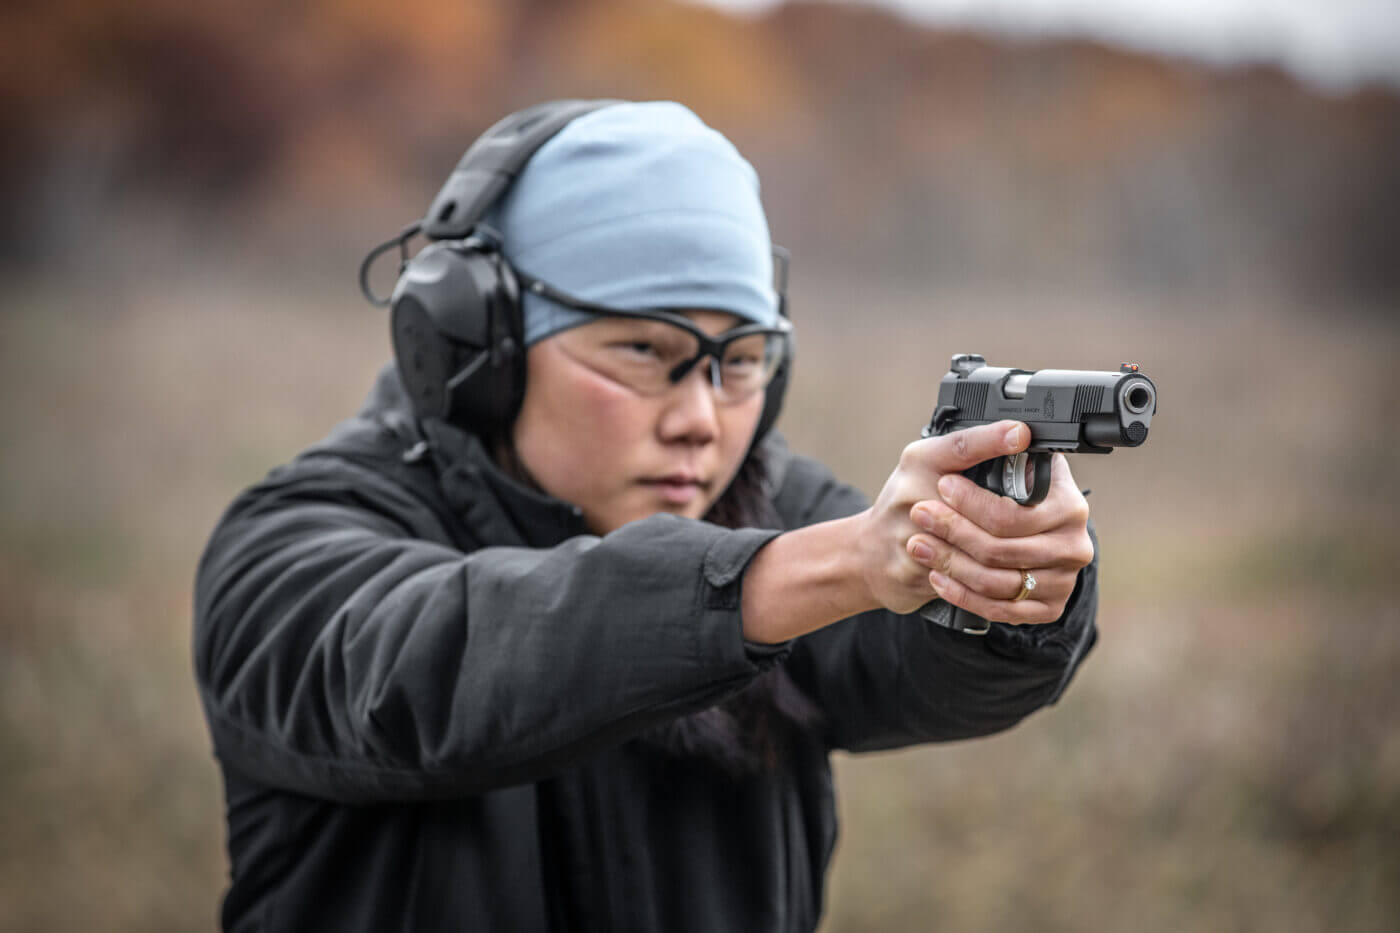
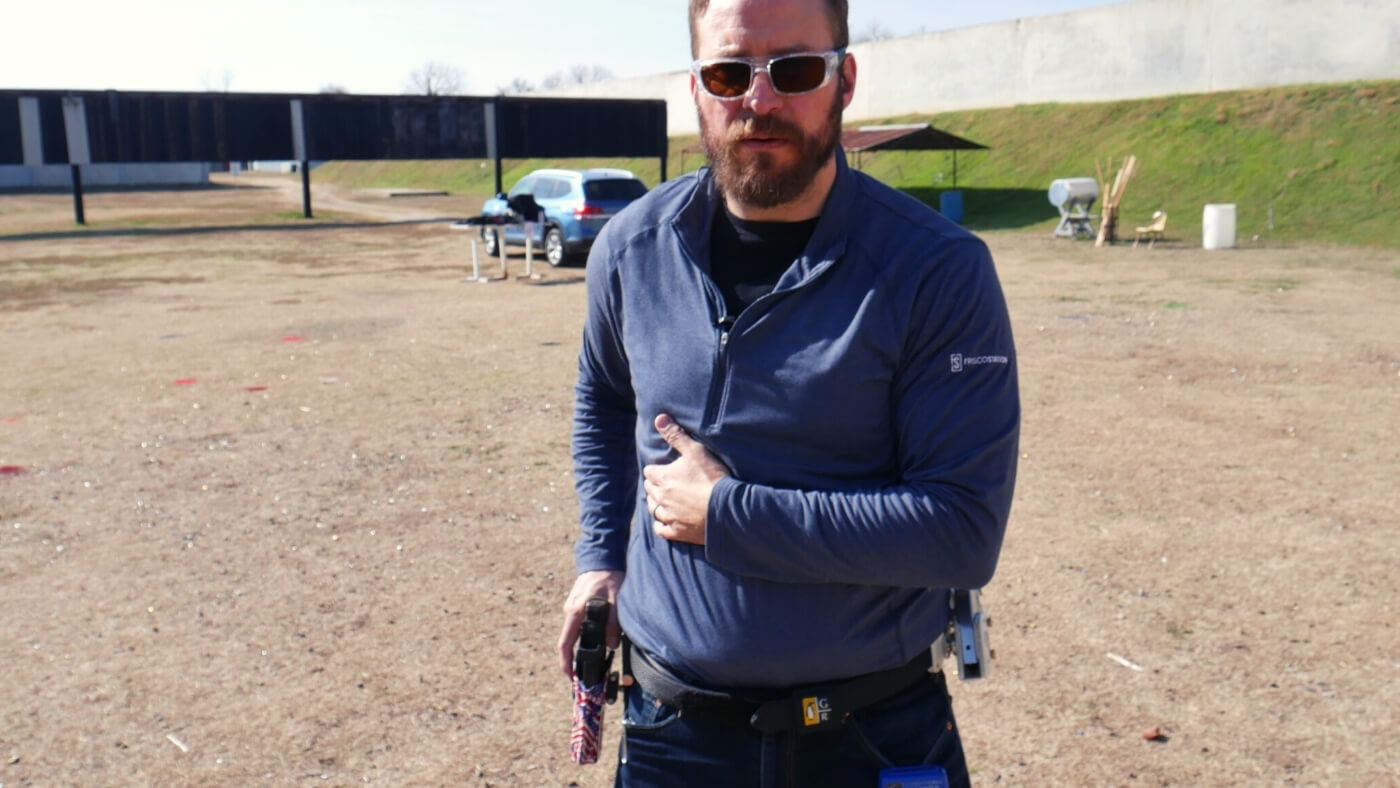
Starting the draw, orient yourself on your target. Toes should be pointed out at about 45-degree angles from the target creating a wedge with your target in the center. Your belt buckle, sternum, bridge of nose and your entire body needs to be aimed at the target. As a call back to the first article in the series, we’re going to cheat our body into alignment so we don’t waste any time getting it into alignment.
Begin by air gunning and holding your pretend gun up to your eye, observe the location of your shoulders. Keep them in place and lower your hands to your side. Now, roll your wrist over on both hands as if you’re already gripping the pistol and engage the tendons to “lock” your wrist out.
A big piece of a quick draw is developing a suitable firing grip on the gun before the gun is presented to target. By having your shoulders already in place and our wrist angles already set, it’s easier to help your grip win that race.
Step by Step
Step 1: The first piece of the fast draw is moving both hands together. At the stimulus, move your strong hand straight up by picking up your elbow so your hand moves to the grip of the gun and your support hand under your pectoral on the gun side of the body. Your elbow is at about a 90-degree angle with the gun in the holster.
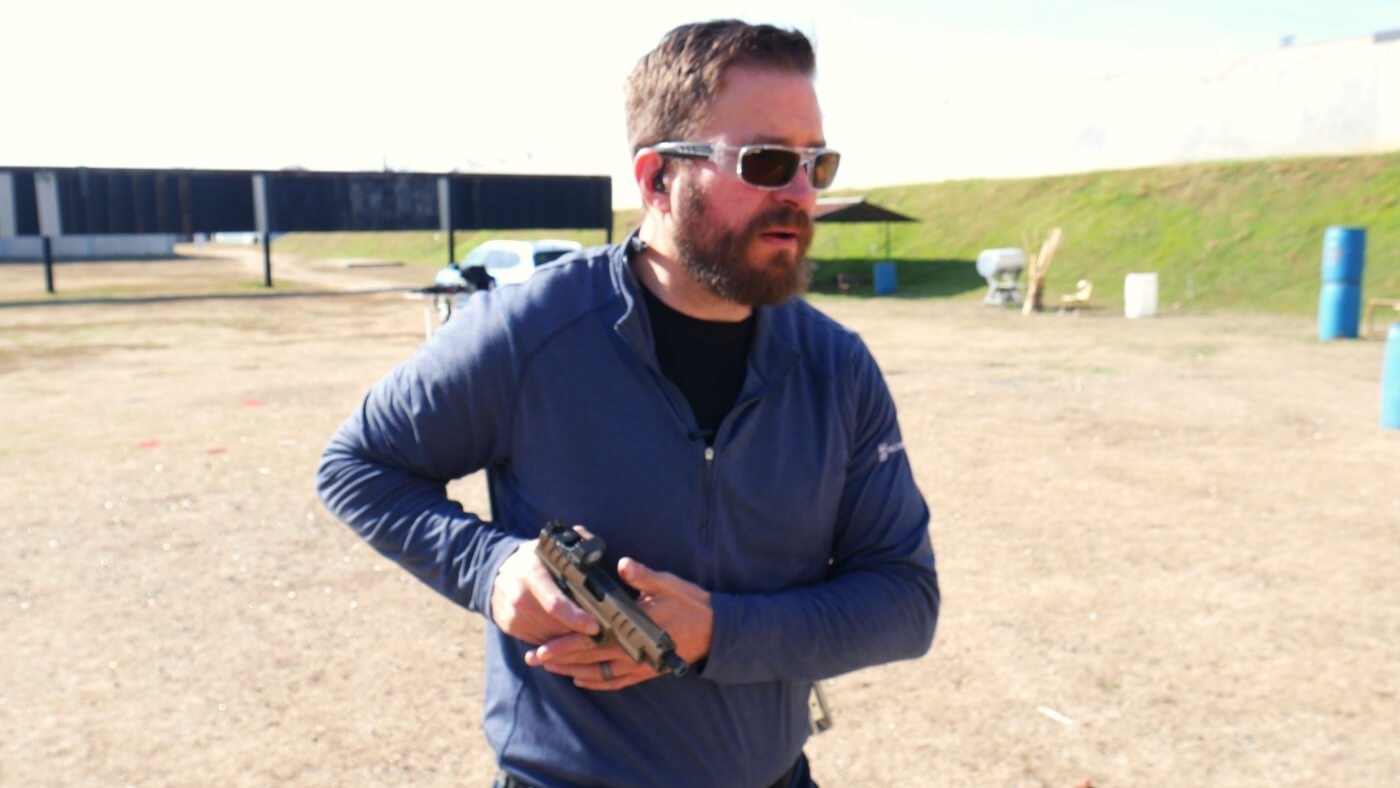
“Pop” the gun out of the holster by attempting to drag the muzzle across the sight channel on the holster by contracting your bicep to put the gun right under your pectoral with the gun pointed at the target. Once the muzzle clears the ejection port cut on the holster, it will feel like a “pop” and the muzzle will be pointed generally at the target.
Step 2: From here, begin to move the muzzle of the gun in a straight line toward the point on the target you are focused on. As the gun begins to move forward, the support hand will come into contact with your dominant hand.
Start by hooking the fingers of your support hand over the knuckles on your strong hand then clamp down the palm of your support hand onto the grip as you push forward toward the target. The line from clearing the holster with the muzzle to the aim point should be a straight one.
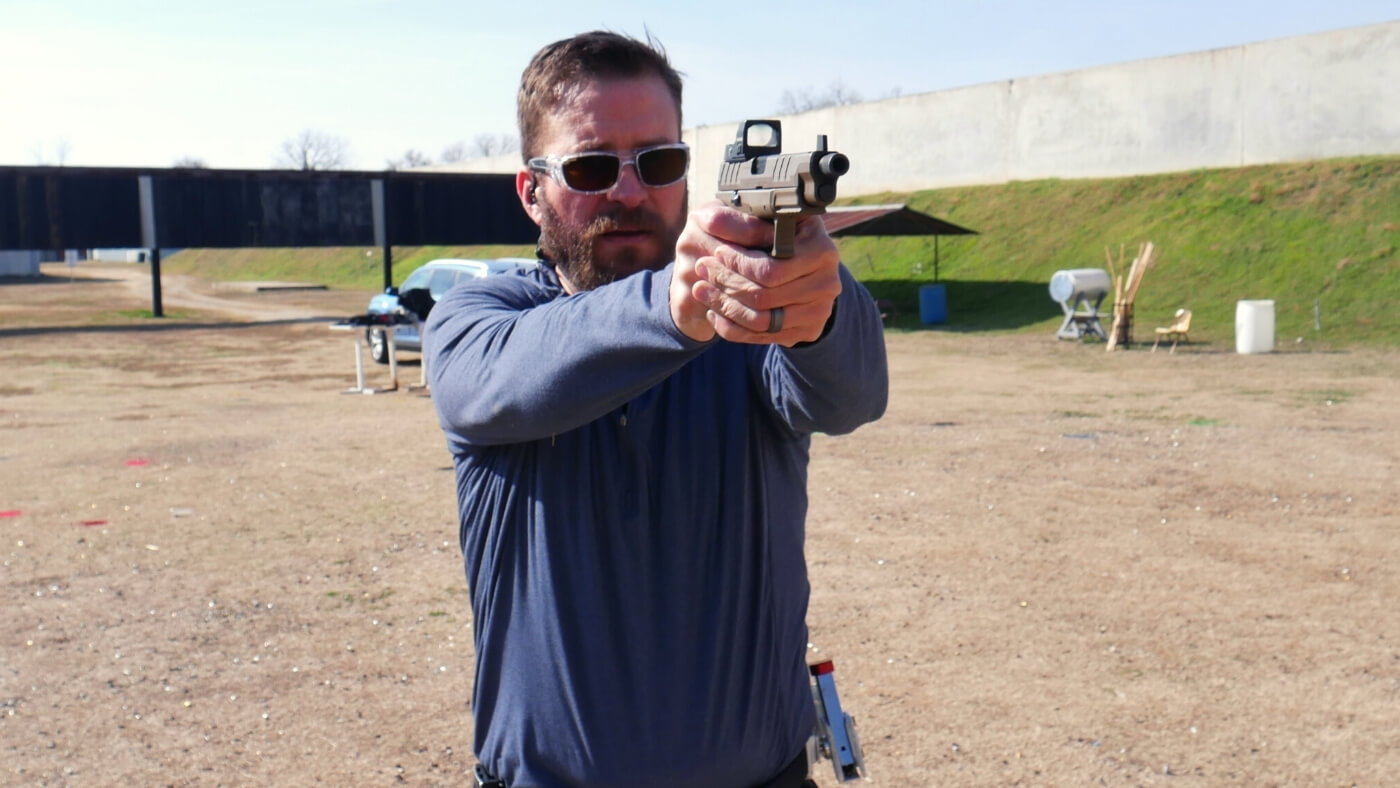
Step 3: Once your support hand is locked in, you can begin to prep the trigger as you lift the gun up to your eye. Before breaking the shot, focus on making sure both wrists are locked out. At full extension, hopefully your grip tensions are dialed in and you’re ready to shoot. It really is a race from the holster to full presentation on contracting the muscles to get the tensions appropriate.
Live The Armory Life. The latest content straight to your inbox plus an automatic entry to each of our monthly gun giveaways!
Focus on developing the appropriate forces immediately, not easing into them but turning the dial from 0 to 100 — with 100 being the correct tension, not the total force you are capable of. Appropriate grip is the foundation of speed shooting.
Step 4: So, practice your quick draw. Do it half speed in the mirror and ensure you’re not moving anything on your body that doesn’t have to move in getting the gun up to your eye. One common area of wasted motion is a shoulder shrug when moving to the gun. Another common area of wasted efficiency are “bowling” the gun up to your eyeline — you overswing then must correct down, or pointing the muzzle up, building a grip then rotating it down onto target (or “fishing”).
Getting It Right
Another pitfall on the competition draw is drawing to a difficult target such as a head box and slowing the presentation down to reflect the slower trigger pull you’re likely to use. The presentation should ALWAYS move at the maximum speed you are capable of without compromising your match technique. Take time on the trigger and sight picture only once the gun is up.
As with any competition technique discussion, there are many roads to Rome that “work,” but they aren’t as fast. If you ask more of your technique insisting to accomplish it as fast as possible, not just doing it, then certain techniques begin to stand out as “better.”
Once your static draw is as clean as you can make it you can begin to try and move your hands faster. Going faster, you will notice that precision will threaten to erode with each part of the motion. So, you’ll have to make sure to clean the motions up. Faster hand speed makes developing grip strength and wrist tension a little bit more challenging as well. A good goal — using a par time — is drawing to an acceptable sight picture on a target in less than a second. How much less depends on the target you are presenting to.
Editor’s Note: Be sure to check out The Armory Life Forum, where you can comment about our daily articles, as well as just talk guns and gear. Click the “Go To Forum Thread” link below to jump in!
Join the Discussion
Share


Continue Reading
Did you enjoy this video?

 55
55
Springfield Armory® recommends you seek qualified and competent training from a
certified instructor prior to handling any firearm and be sure to read your owner’s manual. These
articles and videos are considered to be suggestions and not recommendations from Springfield Armory. The views
and opinions expressed on this website are those of the authors and do not necessarily reflect the
views and opinions of Springfield Armory.
Product prices mentioned in articles and videos are current as of the date of publication.

The Humble Marksman
David from The Humble Marksman YouTube Channel is devoted to practical pistol proficiency. He is classified as a Master in the United States Practical Shooting Association (USPSA) in both Carry Optics and Production and is a Master in Stock Service Pistol in the International Defensive Pistol Association (IDPA). David started competitive pistol shooting in 2013 as an avenue to become more competent with concealed carry, but fell in love with the sport. He found pursuing mastery in practical shooting carried over into all other aspects of both his shooting and his life. The mission of his channel is to help others reach new heights in their own shooting and to promote participation in the practical shooting sports.
