
Editor’s Note: This is the fourth entry in a five-part series of pieces covering the care and maintenance of some of Springfield Armory’s most popular firearms. Other entries in this series include:
- How To Disassemble and Clean Your Hellcat
- How To Disassemble and Clean Your SAINT AR-15
- How To Disassemble and Clean Your 1911
- How To Disassemble and Clean Your XD-M
With so many first-time gun buyers entering the market right now, it might be helpful for us to cover the basics of the care and cleaning of the Springfield M1A rifle. In fact, it might be helpful for even those who have owned an M1A for a while.

In this article and video, I show you how to disassemble and clean your M1A. Plus we give you tips on general care and maintenance of the rifle so you can enjoy a lifetime of shooting.
Origins of the M1A
Developed in era when guns were made from wood and steel, the M14 was based off the of the classic M1 Garand rifle and updated for the demands of the Cold War-era. While the M14’s primary service life with the U.S. Military was short, the design has lived on through the semi-automatic-only adaptation of the design known as the M1A rifle, made by today’s Springfield Armory.
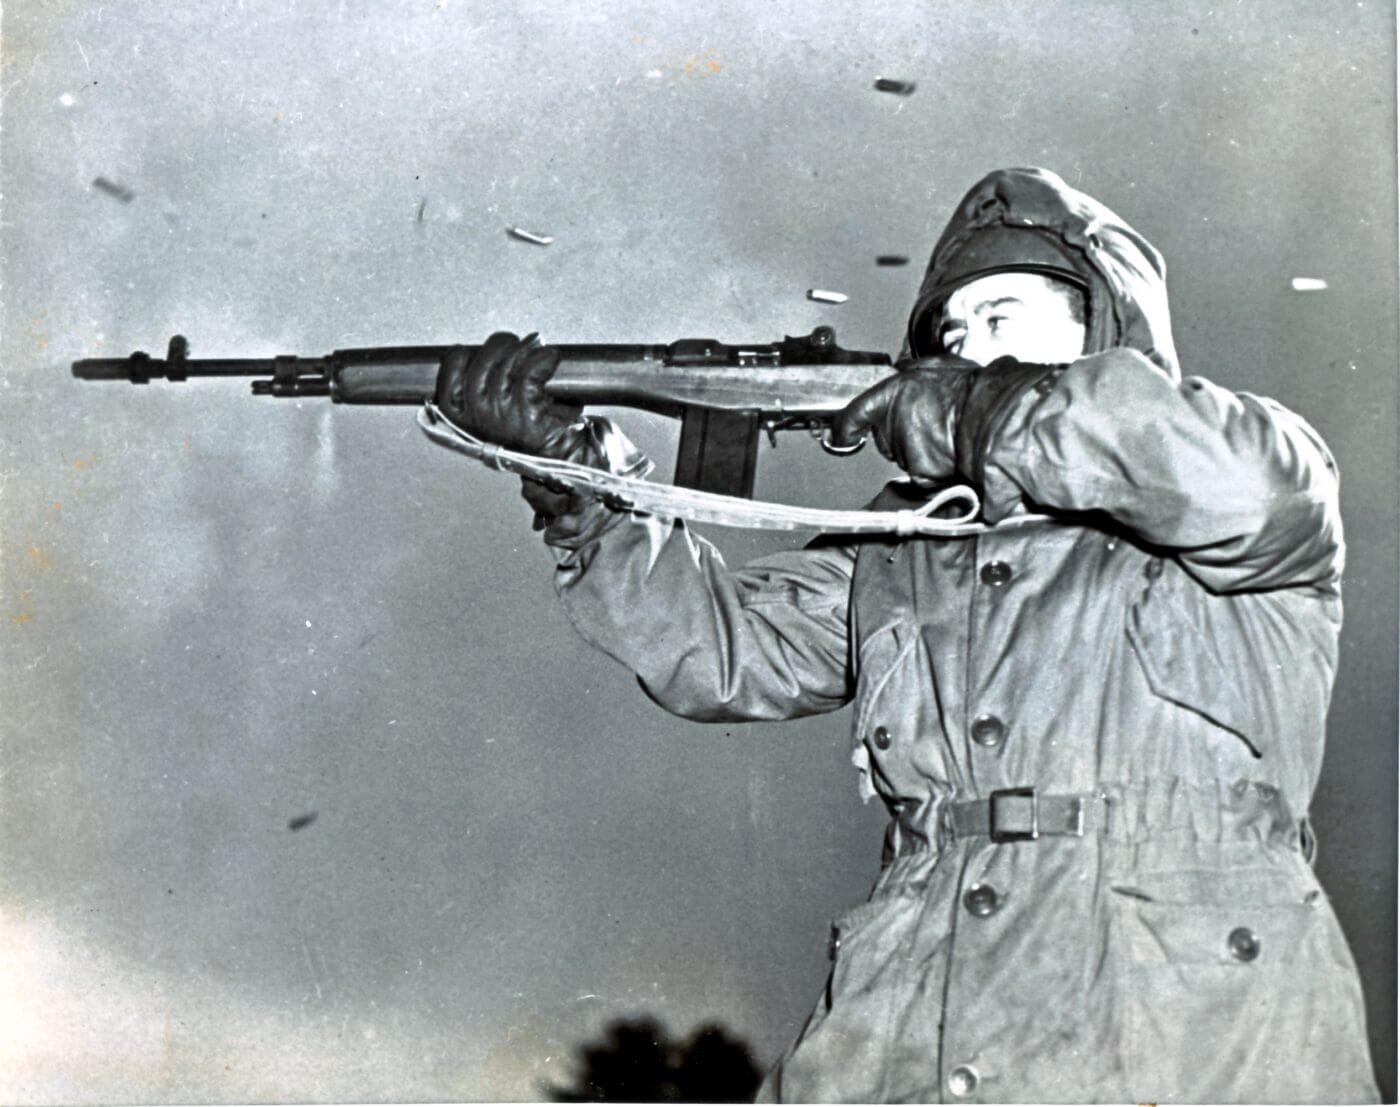
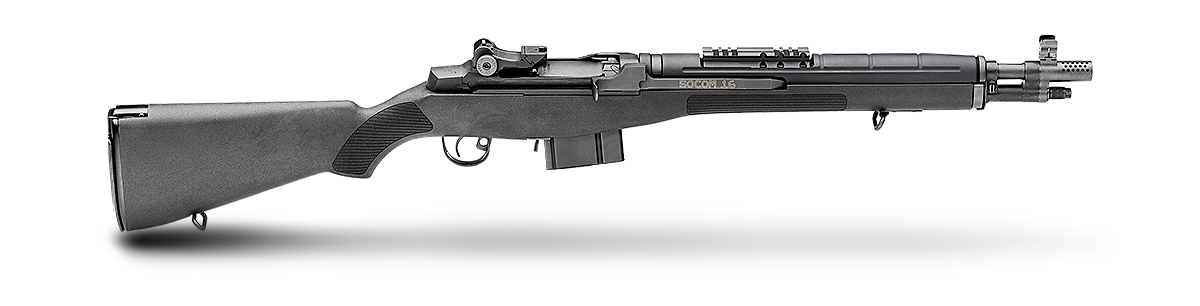
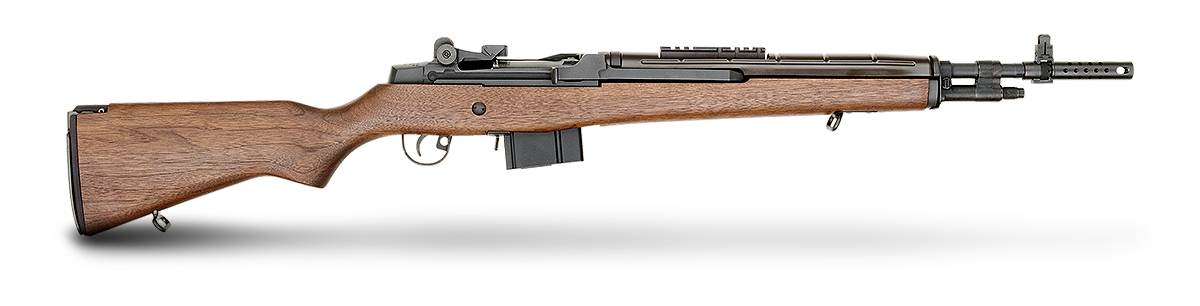
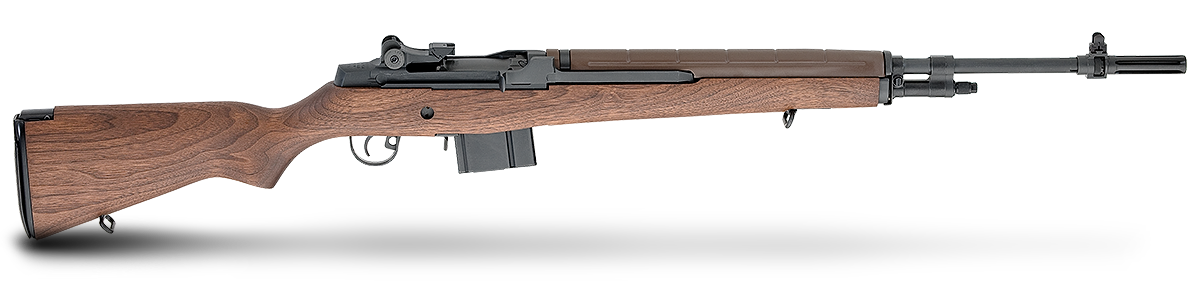
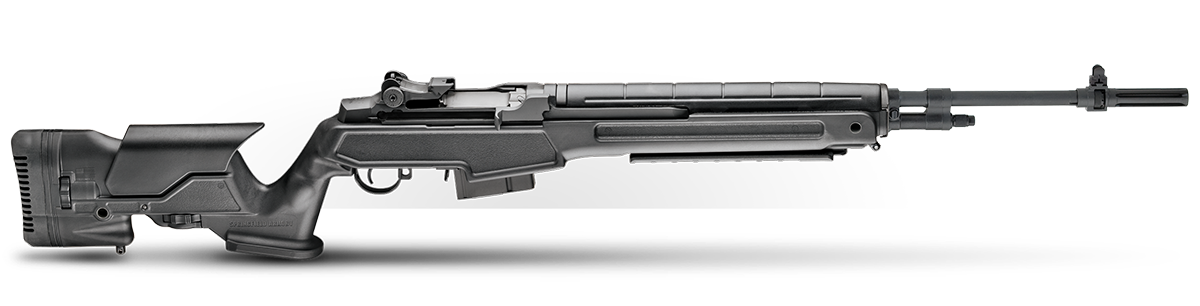
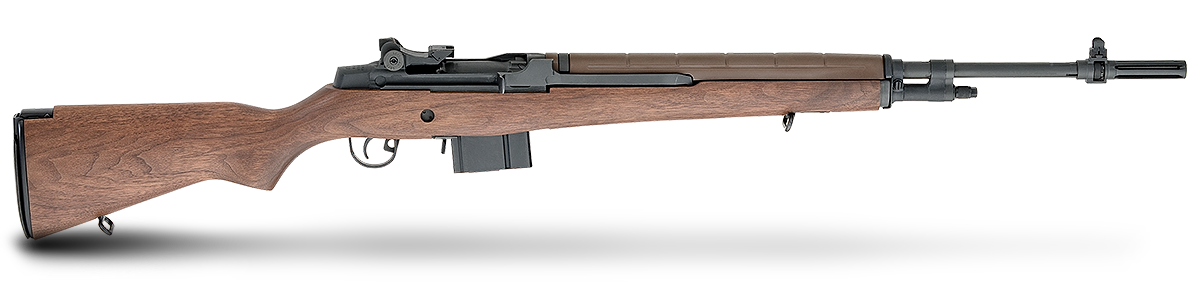
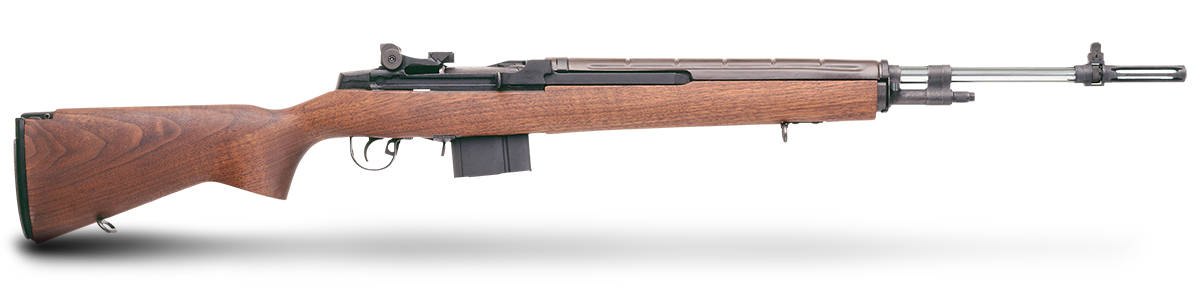
Released in 1974, the M1A was an immediate hit and remains one through today. And while the original was made from wood and steel, Springfield Armory offers a range of different configurations, including the 16” M1A SOCOM 16 CQB, the 18” Scout Squad and the full size (original) 22” versions, which include the Standard, Loaded, National Match and Super Match variants.
Learning the Way
One of coolest things about the M1A is how easy they are to clean and maintain, and that is the focus of this piece. In the video at the top of the page, I discuss in detail basic firearms care/maintenance of the M1A rifle. However, the first thing any gun owner should do after they purchase a new gun is to read the included owner’s manual. While the manual is included with the M1A, you can also find a digital copy of it here.
Whenever you are handling a gun, you must ALWAYS follow the four rules of gun safety, which are as follows:
- Treat all guns as if they are loaded.
- Never point the muzzle at anything you are not willing to destroy.
- Never put your finger on the trigger until you have made the decision to fire.
- Be sure you have identified your target and what surrounds it.
It should be noted that complete field stripping of the rifle is not necessary for basic cleaning and routine maintenance. You’ll notice in the companion video I do basic maintenance for in between shooting sessions. In addition to that, this article will discuss suggested yearly cleaning, or if your rifle is exposed to rain, snow or very poor conditions.
Step-by-Step
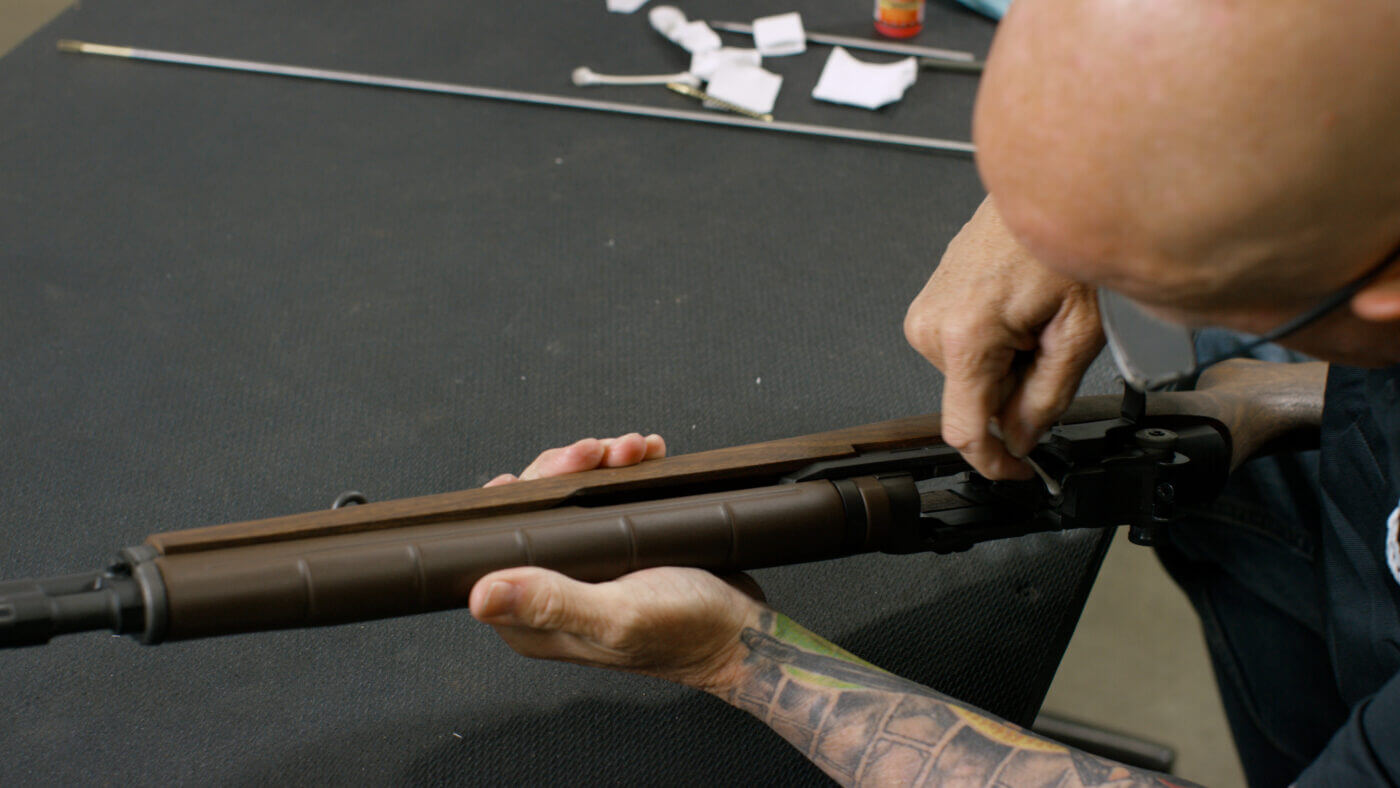
When field stripping your M1A, the first thing you must do it to insure it is unloaded. If there is a magazine in it, remove it, then lock the bolt to the rear, at which time you can physically and visually ensure that there is no round in the chamber or in the magazine well.
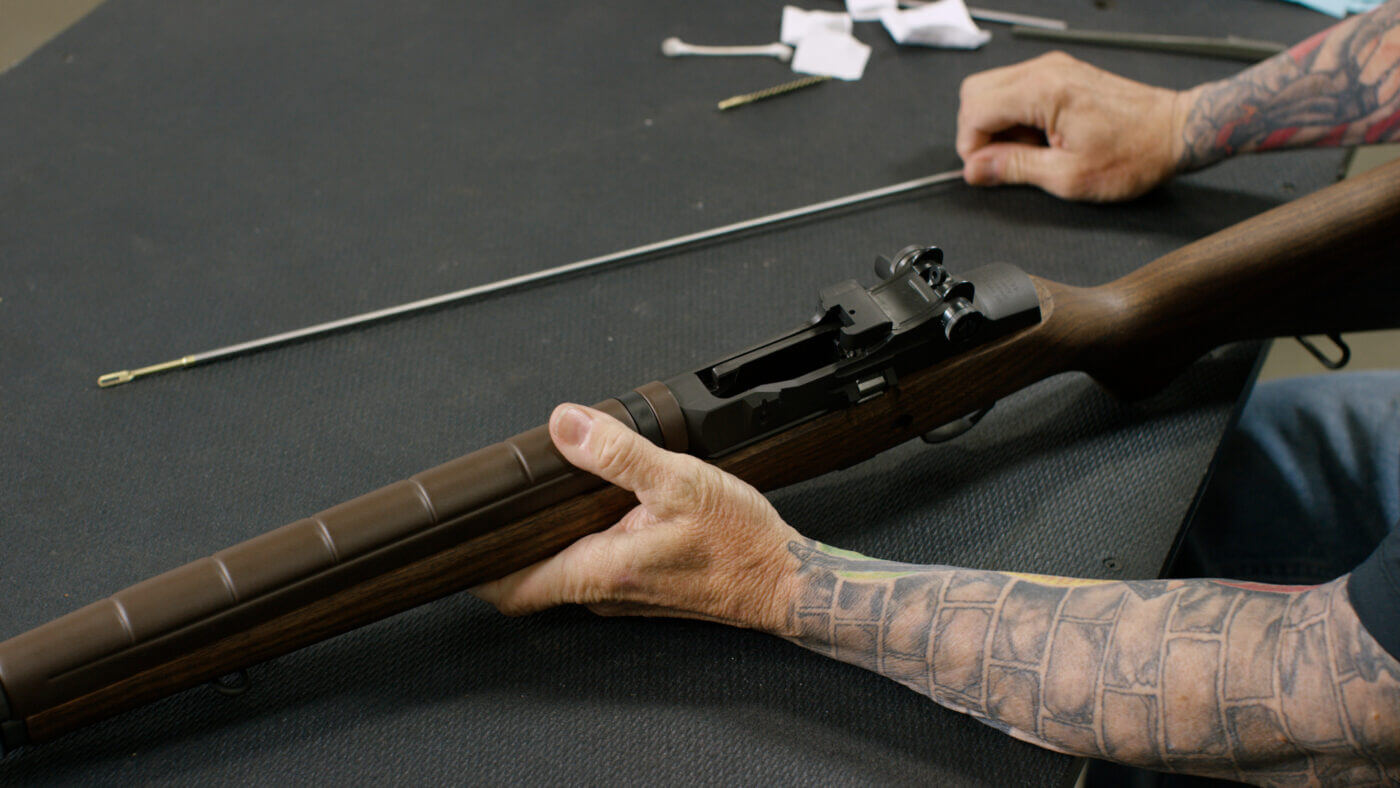
Release the bolt from its locked open position so that it moves forward into battery (locked into the firing position). From here, flip the rifle upside down and lay it on your work/cleaning bench. You will pull on the rear portion of your trigger guard, up and to the rear, which will allow the trigger guard and trigger mechanism to lift up and out of the stock. This also allows the barreled action to be removed from the stock.
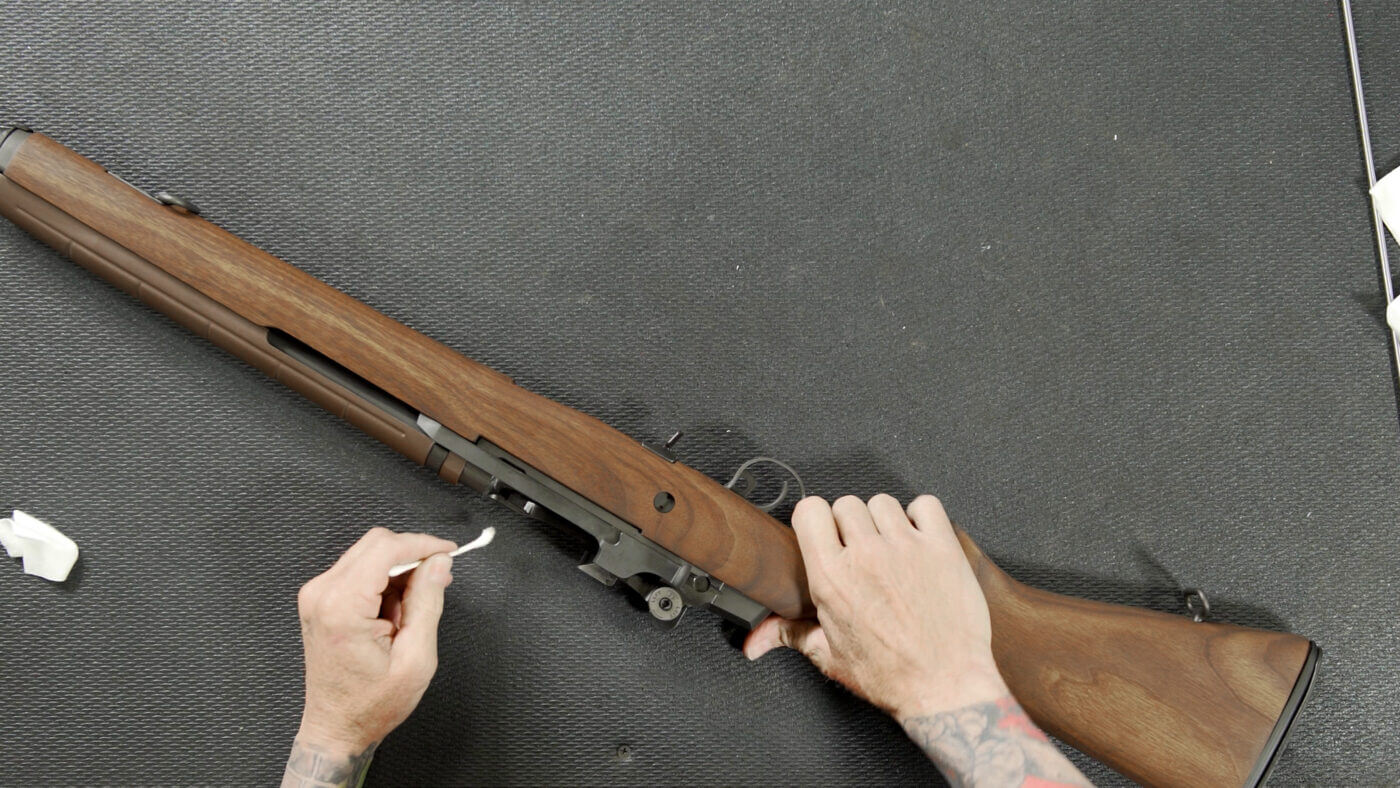
You will now have your M1A in three separate groups — the stock, trigger housing group and barreled receiver group. Using a rag, I wipe down the stock, inside and out, blow out the trigger group with compressed air, or simply use Q-tips to wipe away any dust or fouling.
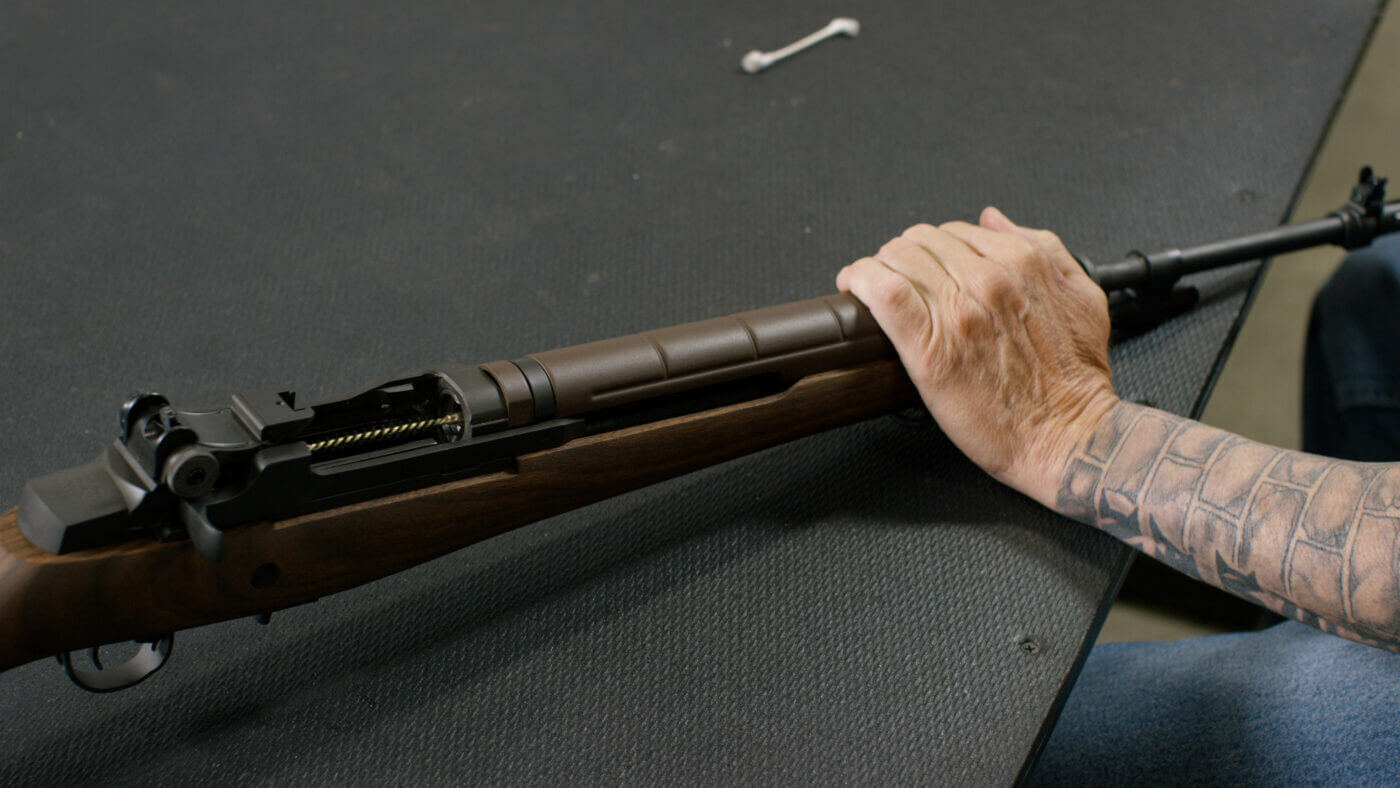
Moving on to the barreled receiver, I will remove the operating rod spring and operating rod spring guide. With the barreled receiver upside down on a flat, solid service, I will pull the operating rod spring toward the muzzle with my left hand to relieve pressure on the connector lock (the small pin that locks the operating rod to the receiver).
Once the pressure is relieved, I can pull the connector lock out until it stops, which allows me to lift and remove the operating rod guide and spring. I will separate these two parts and wipe them down with a rag and then lightly oil them.
Turn the barrel and receiver group so that the sights are up and the muzzle is pointing away from you. Pull back the operating rod handle until the guide lug in its inside surface is aligned with the disassembly notch on the right side of the receiver. Rotate the operating rod upward and outward, then pull it to the rear disengaging it from the operating rod guide. If this sounds a bit confusing, refer to your owner’s manual (linked here).
Grasp the bolt roller and, while sliding it forward, lift it upward and out to the right front with a slight counter-clockwise rotation motion. The operating rod and bolt will now be removed from the barreled action.
Live The Armory Life. The latest content straight to your inbox plus an automatic entry to each of our monthly gun giveaways!
I now clean the barrel with an appropriate length cleaning rod. I first run a solvent soaked patch thru the barrel two to three times. I then follow with a bronze .30-caliber brush 10-20 times through the barrel. I follow up with a few more solvent-soaked patches and finish up with several dry patches to remove the fouling and solvent. Repeat this procedure as necessary until your dry patches come out clean.
Final Steps
The operating rod and bolt will require a good wipe down and light lubrication. Prior to reassembly I will grease the receiver rails and bolt roller with a good synthetic gun grease.
The last thing that needs to be disassembled is the gas system. This is the only normal maintenance procedure requiring any disassembly of your M1A.
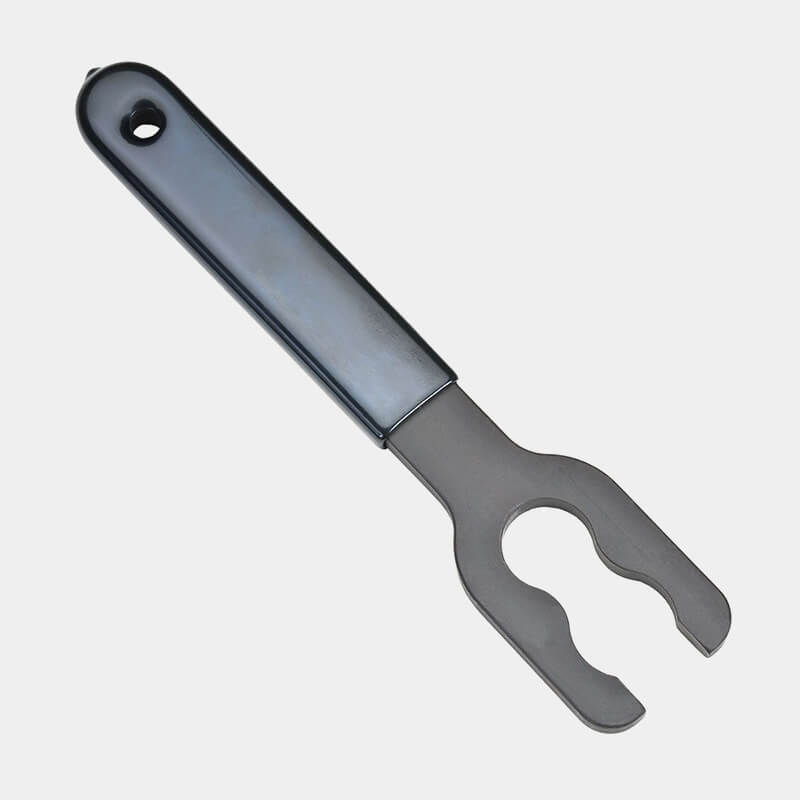
To remove the gas cylinder plug, use a 3/8” (six point) socket wrench or the Springfield Armory M1A Gas Cylinder Disassembly Tool. Remove the plug by turning it counter-clockwise and withdrawing it from the gas cylinder. Turn the rifle muzzle down, which allows the gas piston to fall out. If it doesn’t drop freely, you may have to tap the muzzle on a padded firm surface, such as your work bench.
Once out, clean the piston with bore solvent and wipe dry. Clean the inside of the gas cylinder as well and wipe dry. There are specialty tools you can use to clean the gas piston, or you can use a #15 aircraft-length drill bit and a letter “P” standard drill bit to remove carbon from inside the piston and plug. When re-assembling, make sure the piston is completely below the threads in the gas cylinder before replacing the plug. Apply a SMALL dab of grease to the threads on the plug. The gas system was designed to operate dry.
Just reverse the procedures for reassembly of your M1A. Remember, this is yearly detailed cleaning and doesn’t need to be done every time you clean your rifle. For regular maintenance, follow the tips in the video at the top of the page. Have fun, be safe and enjoy your M1A!
Editor’s Note: Please be sure to check out The Armory Life Forum, where you can comment about our daily articles, as well as just talk guns and gear. Click the “Go To Forum Thread” link below to jump in!
Join the Discussion
Featured in this video
Share


Continue Reading
Did you enjoy this video?

 249
249
Springfield Armory® recommends you seek qualified and competent training from a
certified instructor prior to handling any firearm and be sure to read your owner’s manual. These
articles and videos are considered to be suggestions and not recommendations from Springfield Armory. The views
and opinions expressed on this website are those of the authors and do not necessarily reflect the
views and opinions of Springfield Armory.
Product prices mentioned in articles and videos are current as of the date of publication.

Steve Horsman
Steve Horsman has extensive experience serving in military and law enforcement. He spent four years in the U.S.M.C. and followed with 27 years of experience as a police officer. While in law enforcement, he served as an undercover officer, a member of S.W.A.T. and as a police sniper. Adding to his already impressive resume are 30 years of competition shooting.
