
Sighting in a rifle for hunting or long-range shooting can be an intimidating thing for most people. I’d be lying if I said I didn’t almost dread doing it every single time. Buying a new gun, a new scope and getting it all mounted up can be very exciting. But apart from putting it together and looking at how beautiful it all looks together, it can be intimidating to get results on paper. There is the dread of spending tons of money on ammo during the sighting in process and the fear that it could take you hours upon hours of just going in circles.
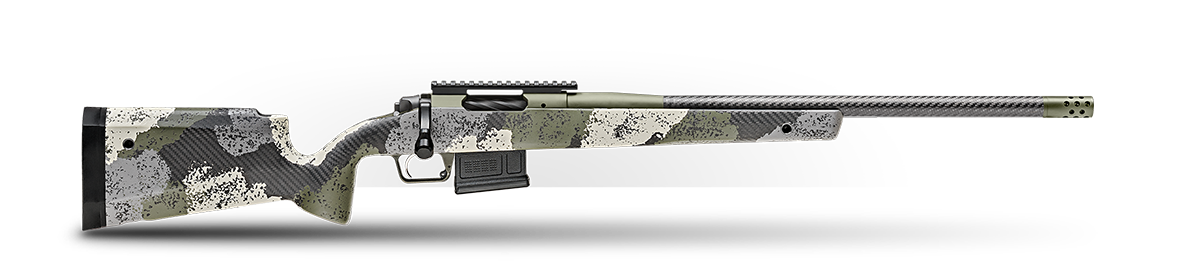
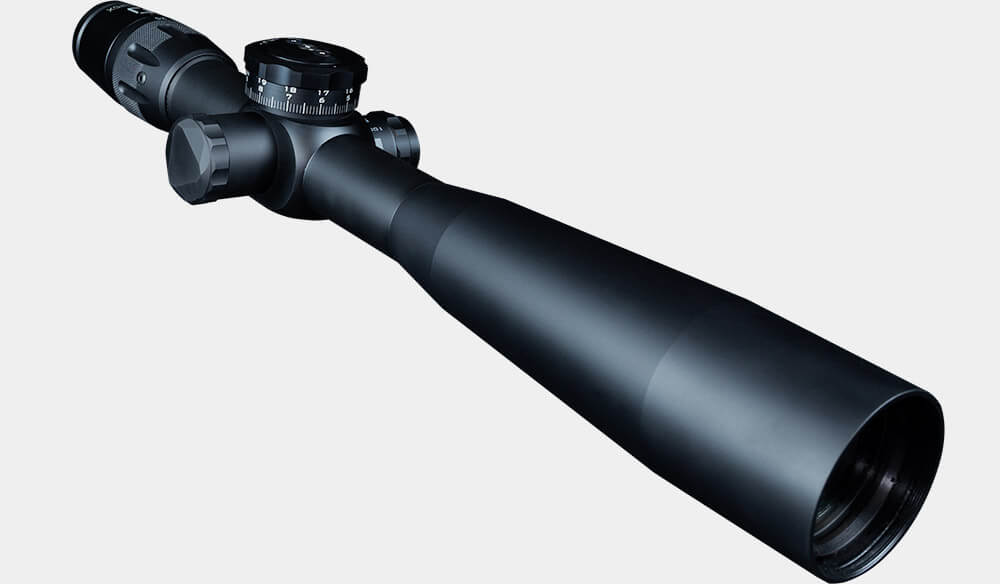
For starters, having quality equipment makes this easier and faster. So, this means a solid place to shoot from and a nice visible target with a clean witness panel. In other words, a target with no bullet holes. A good rifle, scope, support bags, bipod, range finder, and good ammunition are also must-haves in my opinion. Having no weak links is going to give you consistency, which is king.

In the video above, Grant LaVelle — the Chief Instructor at GunSpot — served as a SWAT sniper and is no stranger to bolt-action rifles. So, he helped us put together a tutorial video of how to zero your scope and get it ready for hunting or precision shooting.
Step-by-Step
The first thing you have to do is mount your scope where you have a good, comfortable eye relief for your eye. With your scope in its rings, place it in some slots on your rifle, we recommend using picatinny rails as it gives you more slots to place the scope in.

Get at a bench or lay down in the prone position and make sure with a comfortable cheek rest that you can see down your scope clearly with no scope shadow. Make sure you power your scope up so you can introduce as much shadow as possible to test this out. If you see scope shadow or a black ring around the image as you look through your scope, then your scope would need to move either forward or backward. Keep moving it until that disappears. If your stock doesn’t have an adjustable cheek weld, you will not be able to deal with height issues other than getting lower or higher scope rings.
Next, Grant suggests a naked bore sighting of your gun. You can do this at different distances if you need to. For our video, we did it at 100 yards. You will need to be in a secure position — probably at a bench or in the prone position — and using a bipod with support bags. When boresighting, you need to remove the bolt from your gun and look down the bore of your gun, pick a target downrange, and just frame it up inside the center of your bore.

You don’t need to shoot at this target; we are just going to use this as a point of reference to line up our scope to our bore. Now take the crosshairs of your scope and start adjusting your windage and elevation so that the center of your crosshairs aligns with the center of the bore. Keep checking back and forth until you have it as close as possible.
Firing Shots
Our next step is the moment that brings most of us anxiety, taking our first shot, this is where we see if today is about to be a nightmare or a dream come true. Put your bolt back in and take a shot downrange. Now, let’s be clear, if you did the bore sighting at 100 yards and your first shot made it on an 8.5”x11” sheet of paper, then you are doing a great job. It might be 6” low and 7” to the right, but if you are on paper that’s a great start. This is because at 100 yards our MOA or MIL adjustments are easy mathematics at 100 and we can fix this easily.

The part that trips a lot of people up is that when we make adjustments we are actually adjusting the point of impact. So, if your elevation knob says “UP” and has an arrow pointing a direction, then that arrow is actually adjusting the bullet hole you just shot up. The same goes for your windage adjustments. Most adjustments are this way, but we always advise that you read the manual of your optic before making adjustments. Keep doing this until you are zeroed on the target. Then it would be best to shoot a group on a clean target to make sure everything is solid.
Now, if you have old-school turret knobs like on a traditional scope, you are done. Cap those babies up and head home. If you have target knobs that are meant for putting DOPE on the scope, then stick with us for a bit. You probably noticed your view behind the scope doesn’t make sense anymore. Your 0 number on your knobs won’t match up to your hash mark now that you have made your adjustments.

Don’t fear, typically this is pretty easy to fix. Most scopes have set screws for the caps and you will have to unscrew those to then turn the knob without making adjustments. This will let you reset your 0 to the center hash mark so that you can visually see when you are at your 100 yard zero. You’ll just need to do that for windage and elevation.
Live The Armory Life. The latest content straight to your inbox plus an automatic entry to each of our monthly gun giveaways!
Okay, now one last very important thing. Don’t let all your hard work go to waste! For the last thing on your target knobs, manually count how many revolutions or adjustments down you can go from your 0. Then write that down, and do that for both windage and elevation.

Here is why that is important. Let’s say somehow your knobs get turned. Well, all you have to do is turn your knobs all the way down and then count your adjustments back up and you would know you were back at your 100 yard zero. The last bit of information that would be wise is to also write down is what slots your scope is setting in on your picatinny rail.
Conclusion
Now you are officially done and your zero is protected. You are ready to go shooting on your PRS match, your hunting trip, or to just go shooting on the range with your buddies. Either way, you are set and hopefully, you no longer dread the sighting in process!
Editor’s Note: Be sure to check out The Armory Life Forum, where you can comment about our daily articles, as well as just talk guns and gear. Click the “Go To Forum Thread” link below to jump in!
Join the Discussion
Featured in this video
Share


Continue Reading
Did you enjoy this video?

 52
52
Springfield Armory® recommends you seek qualified and competent training from a
certified instructor prior to handling any firearm and be sure to read your owner’s manual. These
articles and videos are considered to be suggestions and not recommendations from Springfield Armory. The views
and opinions expressed on this website are those of the authors and do not necessarily reflect the
views and opinions of Springfield Armory.
Product prices mentioned in articles and videos are current as of the date of publication.

GunSpot
GunSpot was created to be the one spot for everything gun-related. With us, you can buy or sell guns. We have everything from small-caliber pistols to belt-fed machine guns. And on the GunSpot Academy, you can find high-quality original content. In our content, you will see two faces regularly. Dylan Casey is a gun enthusiast with a digital media degree who is GunSpot's Creative Director. Then there is Chief Instructor Grant LaVelle, who has decades of experience training Marines, police officers and citizens alike. Grant served with and taught marksmanship for the United States Marine Corps. After his time with the Marines, Grant served as a SWAT sniper.
