
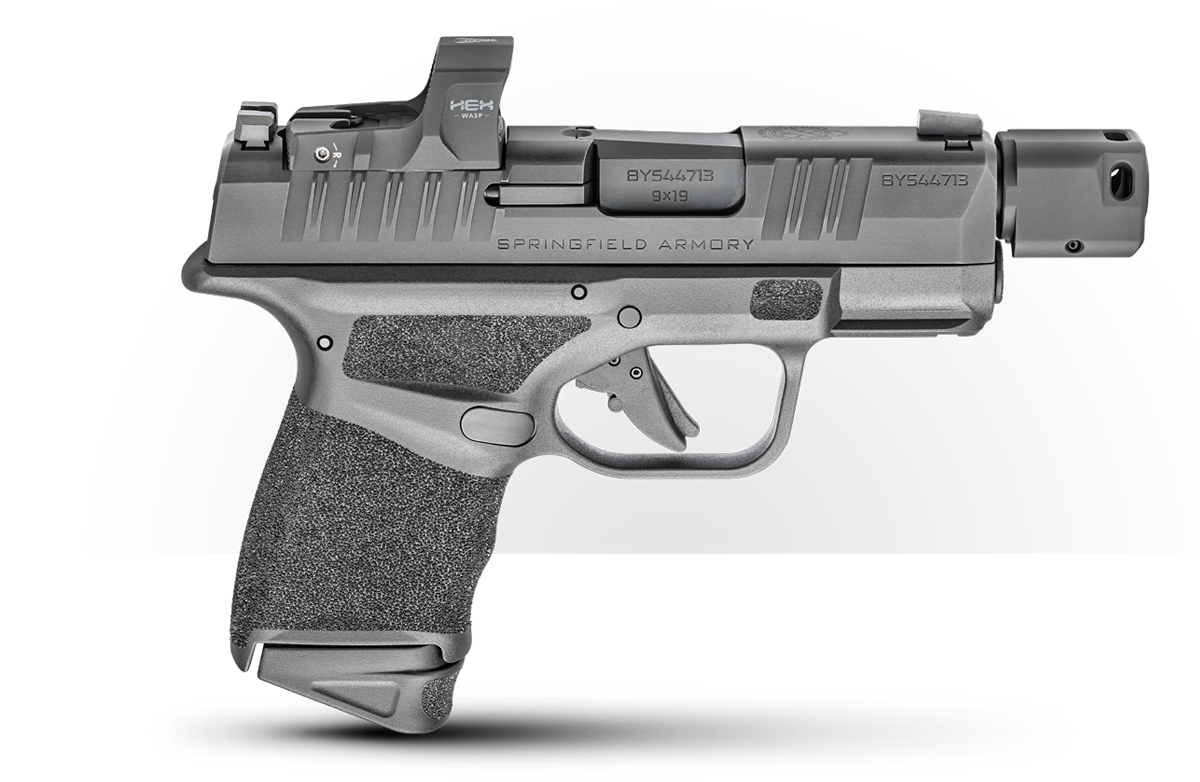
I used to think that red dot sights on defensive pistols were the wave of the future. Well, the future is now, and Springfield Armory’s HEX Wasp micro red dot sight is an excellent choice when it comes to mounting a red dot on the slide of a micro-compact handgun. I have a Wasp on my Hellcat RDP and I love it.
Over the past few months of working with and shooting my Wasp-wearing RDP 9mm, I’ve found some tried and true strategies for getting my optic defense-ready and keeping it that way.

The Why
Mounting an optic on a defensive handgun is serious business. The most important trait of a solid defensive pistol is reliability. That reliability must extend to the sighting system. A properly mounted red dot sight is a more reliable sight, so it only makes sense to ensure that our HEX Wasp is mounted properly as we dial it in.

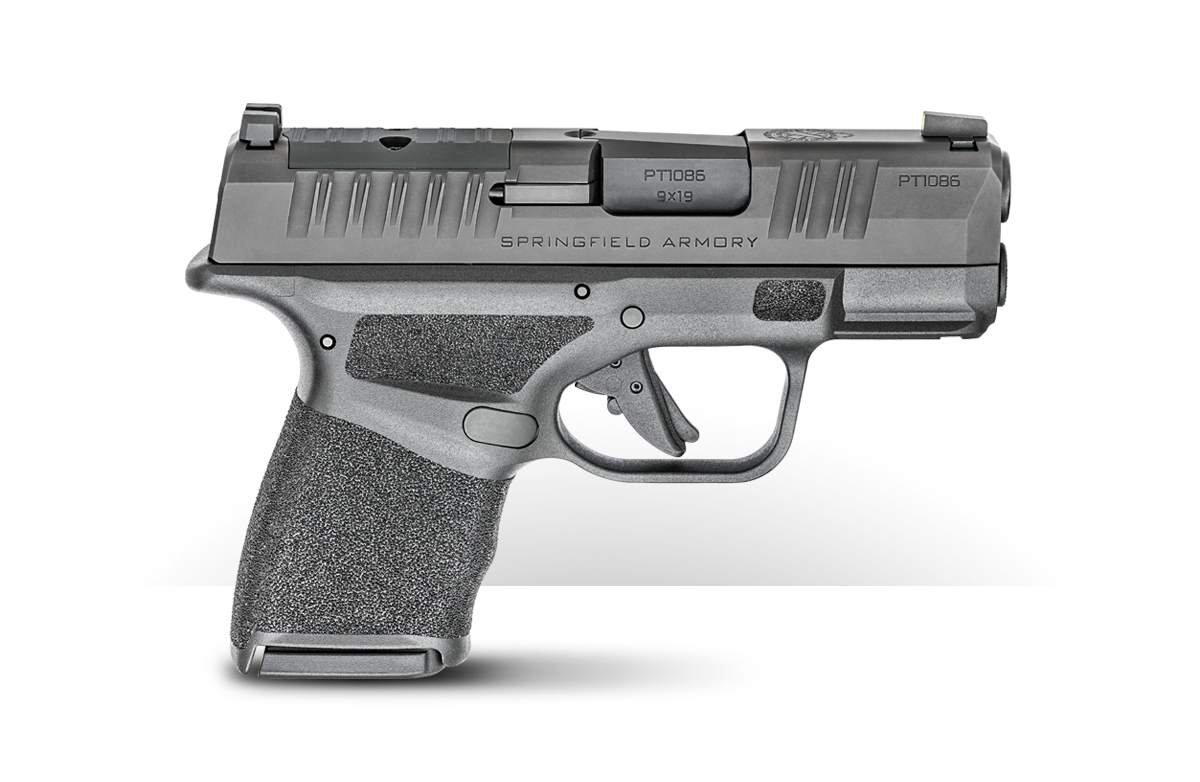
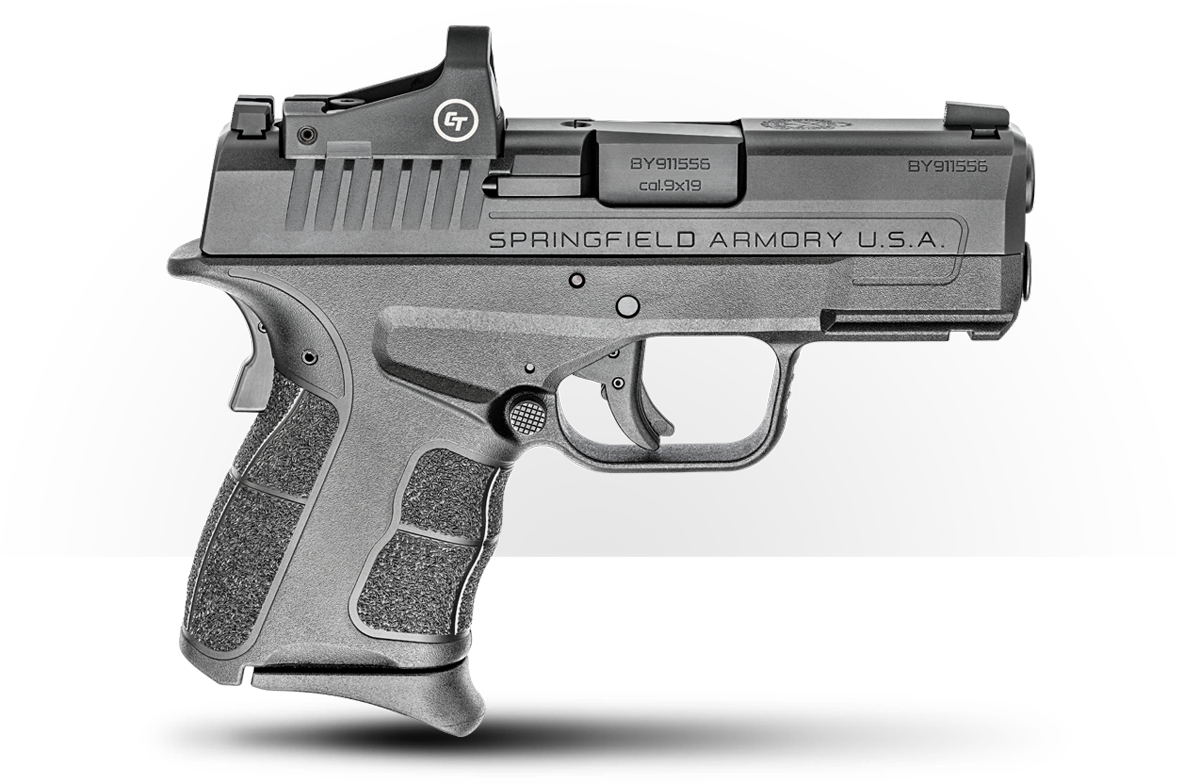
Mounting the HEX Wasp to slim Springfield Armory pistols like the double-column Hellcat OSP and Hellcat RDP, or the single-stack XD-S Mod. 2 OSP, is a piece of cake. These pistols both feature the Springfield Micro Footprint (compatible with the Shield RMSc) and match up to the HEX Wasp right out of the box. There is no need for gunsmithing or an adapter plate. This provides some serious advantages.
First off, the fact that your Springfield OSP (optical sight pistol) arrives from the factory cut for optics saves you time and money. Quality doesn’t come cheap, and finding a good gunsmith to machine your pistol slide can be expensive and time consuming. Buying an OSP gun from Springfield Armory makes sense as it saves time and money that custom machining takes and guarantees it’s done right.
The How
When it comes to mounting the Wasp, the ability to mount directly to the slide you get with a Springfield Armory Hellcat OSP or XD-D Mod. 2 OSP is seriously advantageous. For starters, the process is simple. No additional hardware, no plate and fewer screws. The result is fewer points of potential failure.

The omission of a mounting plate also lowers the optic closer to the slide. This makes the package more compact, more durable, and maybe most importantly, it allows the co-witnessing of the stock sights. Having my Hellcat RDP U-Dot sights as a back-up probably won’t be necessary, but it does make me feel more secure.
The HEX Wasp has a short, succinct and well-written manual that is worth the read. One of the most important details included is the torque specifications for the Wasp’s mounting screws. Torque is a measurement of how much energy is used to tighten a fastener. Too loose, and your optic won’t stay mounted firmly. Too tight, and you will damage the screws, the threaded holes, or both.
In the case of the HEX Wasp, the number is 15 inch-pounds. To measure the torque on small screws for mounting optics, I use a Wheeler F.A.T. Wrench. This makes precisely measuring the torque very easy, and well worth the expense of the wrench.
The Where
Although Mounting the HEX Wasp on a Springfield makes a ton of sense, it isn’t your only option. The HEX Wasp is designed using the Springfield Micro Footprint (Shield RMSc-compatible). So, if you are looking to mount up the Wasp directly to the slide, you will need to have a Springfield Micro or Shield RMSc cut.

Fortunately, this format is becoming more and more common and widely accepted these days for small red dot optics on a carry gun. Check your optics-ready handguns manual for the specs on its optics cut, or check with your machinist to ensure they can replicate the necessary cut. Keep in mind that screw diameter, thread count, pitch and length all matter. Make sure that you have the right hardware to mount your HEX Wasp and always function-check your pistol before going live.
If your pistol is cut for a different footprint, you may still be able to mount up a Wasp. You may be able to find a mounting plate to convert your pistol’s optics cut to a Springfield Micro footprint.
If your gun isn’t cut for an optic and you want to give red dots a try, consider sliding a mounting plate into the rear sight dovetail. This can be a good way to try out the Red Dot Life to see if it’s for you without permanently modifying your pistol. I think of these plates as an easily reversible step on the way to a permanent solution. I don’t recommend a dovetail plate for serious use.
In Your Sights
You’ve got your optic mounted up, but until it is zeroed it’s just a cool-looking accessory. Having your dot sighted in is just as important as having it mounted properly. Ammo is tough to come by these days and when you can find it, it is pricey. As a result, we want to conserve ammo as we sight in our new optic. An easy way to do that is to align the dot with the factory sights by sight.

When you get to the range, point your pistol at the berm and align your iron sights. Use the included 1.5mm Allen wrench to turn the windage and elevation screws so that the dot sits right on top of your irons.
This won’t be a perfect zero, but it is a great starting point.
I typically sight my red dot handguns at 10 yards. I want to select a distance that is far enough away to minimize the additional height of my red dot and at the same time allow me to shoot a solid group off-hand. For me, 10 yards seems to be a good balance. Most days, that is.

When it comes to the HEX Wasp, I actually start out a touch farther at 12.5 yards. The reason is simple. For each hash mark of adjustment, the dot moves ½” at 25 yards. If I’m at 12.5 yards, the dot will move half of that ½”, or ¼”. 12.5 yards makes the math easy, and then I can fine-tune the results at 10 yards.
Dialing It In
The HEX Wasp’s elevation and windage screws turn smoothly. This means that you can’t hear or feel clicks as you adjust the dot. HEX has handled that issue by including a handy dial to help you efficiently sight the dot in. Above, I mentioned that the hash marks represent ½” of dot movement at 25 yards. The hash marks are found on this dial and using it is a piece of cake.

Simply insert the 1.5mm Allen wrench into the dial. Then, when you are ready to make an adjustment, insert the wrench into the windage or elevation screw. I used the edge of the sight as a reference point and I simply counted the number of hash marks that passed by the edge to know how much of an adjustment I had made. Take your time, measure how far your groups are off your zero and do the math. It will take a bit of time, but it isn’t hard.
Of course, the dial is just a guide and isn’t necessary. You can wing it. I’ve taken that route in the past and found that I was chasing my tail, adjusting back and forth to both sides of what my actual zero should be.
You do you. I’ll use the dial.
Keeping It Prepped
Proper maintenance is an important part of the reliability of defensive handguns. The same is true for the optics we put on top of our pistols. We have to keep them in tip-top shape.
When it comes to optics, one of my top priorities is keeping them mounted securely. The first important step is torquing the screws properly on installation, but they also need to stay put. I don’t carry a torque wrench with me to torque the optics screws daily. Instead, I rely on witness marks.
Live The Armory Life. The latest content straight to your inbox plus an automatic entry to each of our monthly gun giveaways!
I use a fine tip white paint marker and I simply make a mark at a point or two on the edge of the screw head. The mark needs to be just big enough so that it is on both the screw head and the optic housing. As long as the marks match, I know that the optic is locked in place. If the marks don’t match, I’ve got a screw backing out.
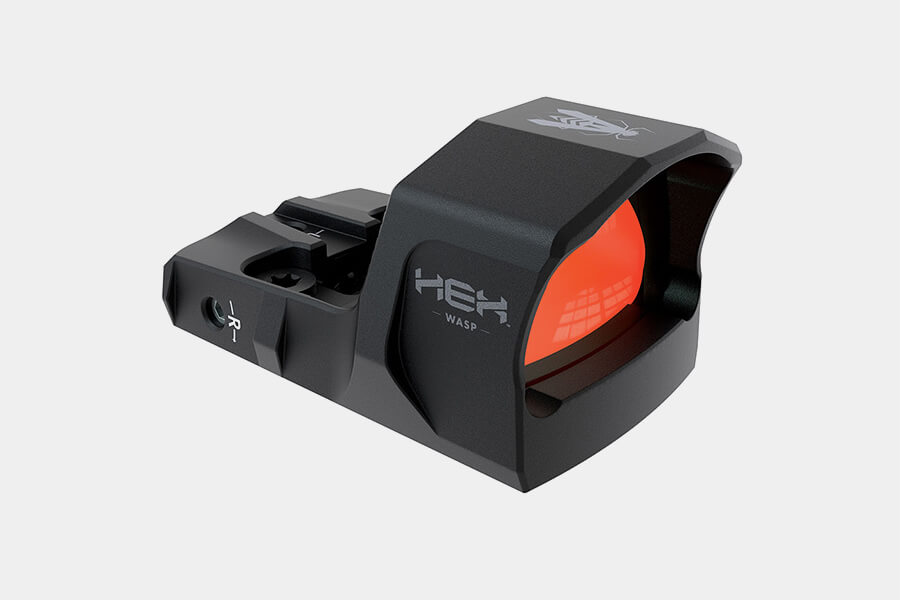
The always-on, auto-brightness HEX Wasp has an advertised battery life of 65,000 hours. That is impressive out of that tiny little 2032 button battery. I don’t doubt Springfield’s numbers, but I do seriously question my luck. Murphy is always lurking. So, I make it a habit of changing all my optics batteries every six months. When I change the batteries in the smoke detectors, I change the batteries in my optics. Just to be safe.
The Wasp has a bottom-loading battery so you will need to remove the optic from your pistol. Then, simply replace the battery, and before you remount the optic, clean and degrease the screws and apply a drop of blue thread locker to the screws. Of course, make sure to properly torque the screws to 15 inch-pounds. Finally, head to the range and fine-tune that zero to make sure your dot is ready to rock. You needed a reason to shoot, anyway!

To use your dot, you have to be able to see it. That means keeping the lens clean. If you are carrying your Wasp daily as a concealed handgun, it doesn’t take long for debris to build up inside the housing. Also, I always seem to get handprints on the front of the objective.
The best way I’ve found to clean the lens is to simply hit it with some compressed air and then brush it clean with the brush of a lens pen. If I get something really goopy on there, just plain water seems to do the trick for me.
Conclusion
Red dot sights have come a long way since people have been mounting them on the slides of pistols. A dot can be a tremendous asset or a tremendous liability. The choice is really yours.
If you select a solid dot (like the HEX Wasp), make sure it is properly mounted and sighted in. If you put in the effort to make sure you maintain your gear, you’ll get years of service from your electronic sight. More importantly, it will be bright and ready should your life depend on it.
Editor’s Note: Please be sure to check out The Armory Life Forum, where you can comment about our daily articles, as well as just talk guns and gear. Click the “Go To Forum Thread” link below to jump in!
Join the Discussion
Featured in this video

Share


Continue Reading
Did you enjoy this video?

 75
75
Springfield Armory® recommends you seek qualified and competent training from a
certified instructor prior to handling any firearm and be sure to read your owner’s manual. These
articles and videos are considered to be suggestions and not recommendations from Springfield Armory. The views
and opinions expressed on this website are those of the authors and do not necessarily reflect the
views and opinions of Springfield Armory.
Product prices mentioned in articles and videos are current as of the date of publication.

Paul Carlson
Paul Carlson is the owner of Safety Solutions Academy, LLC, a professional defensive shooting instructor, content creator in the firearms industry, and most importantly a husband and a father. Through Safety Solutions Academy, Paul teaches a variety of critical defensive skill courses in more than a dozen states annually. When Paul’s not traveling to teach and work in the firearms industry, you can find him with his family, either on the range or in the mountains.
